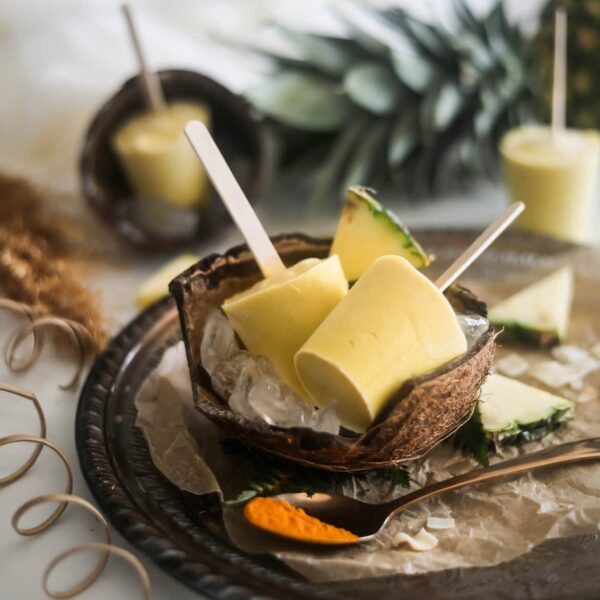
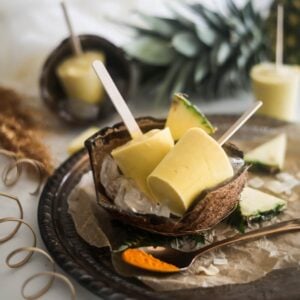
Beat the heat with this easy and healthy homemade pineapple coconut ice lollies recipe. Creamy coconut milk blended with chunks of pineapple, banana and a dash of turmeric to create a low carb and decadent vegan delight. Insanely delicious and with zero added sugar, they’re a coconut lover’s dream!
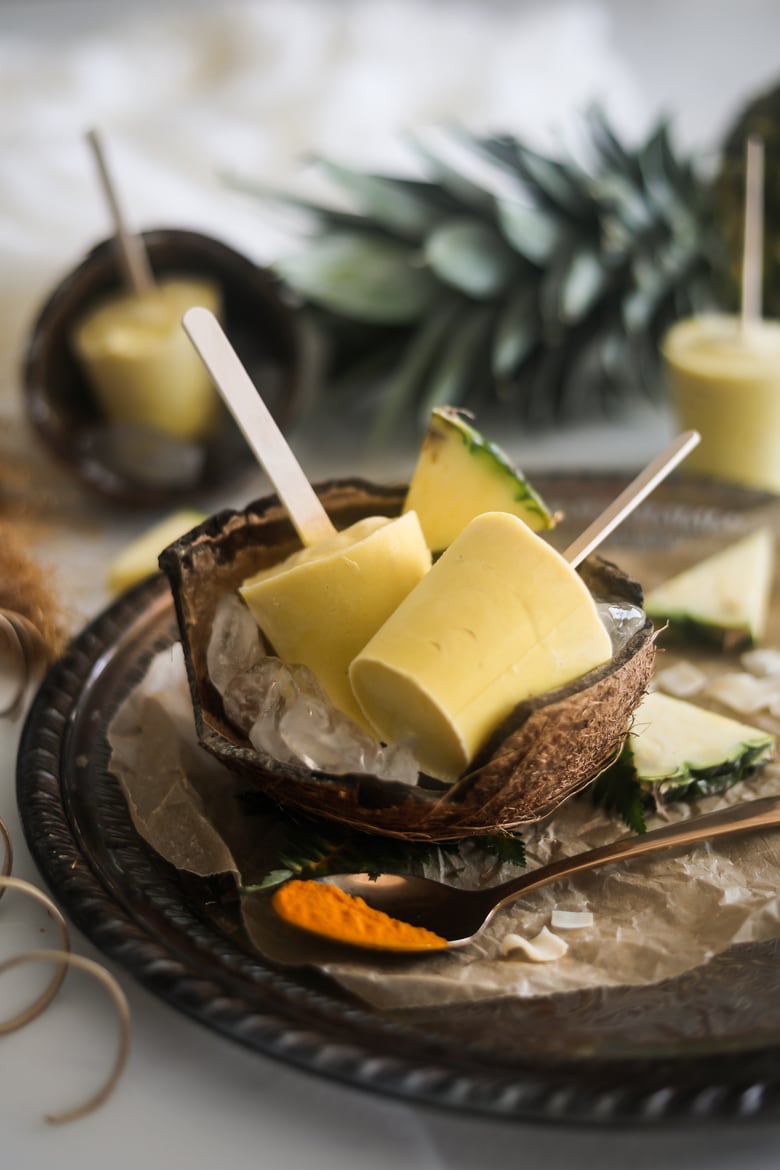
A cinch to make, this Pineapple Coconut Ice Lollies Recipe screams summer! And they’re not just for kids either – we’ve all been going gaga over them! Besides being the perfect cooling treat, they are also ideal as a sweet delight – post-workout or to serve as a healthy dessert option at parties. Let’s be honest; they’re way more nutritious than typical store-bought ice cream lollies. So many of those contain artificial colours, added sugar, and artificial flavours. I don’t think any of this is needed to create a tasty and straightforward summer treat – right at home! Just look at how easy and no-fuss this recipe is.
How To Make Pineapple Coconut Ice Lollies – Step By Step
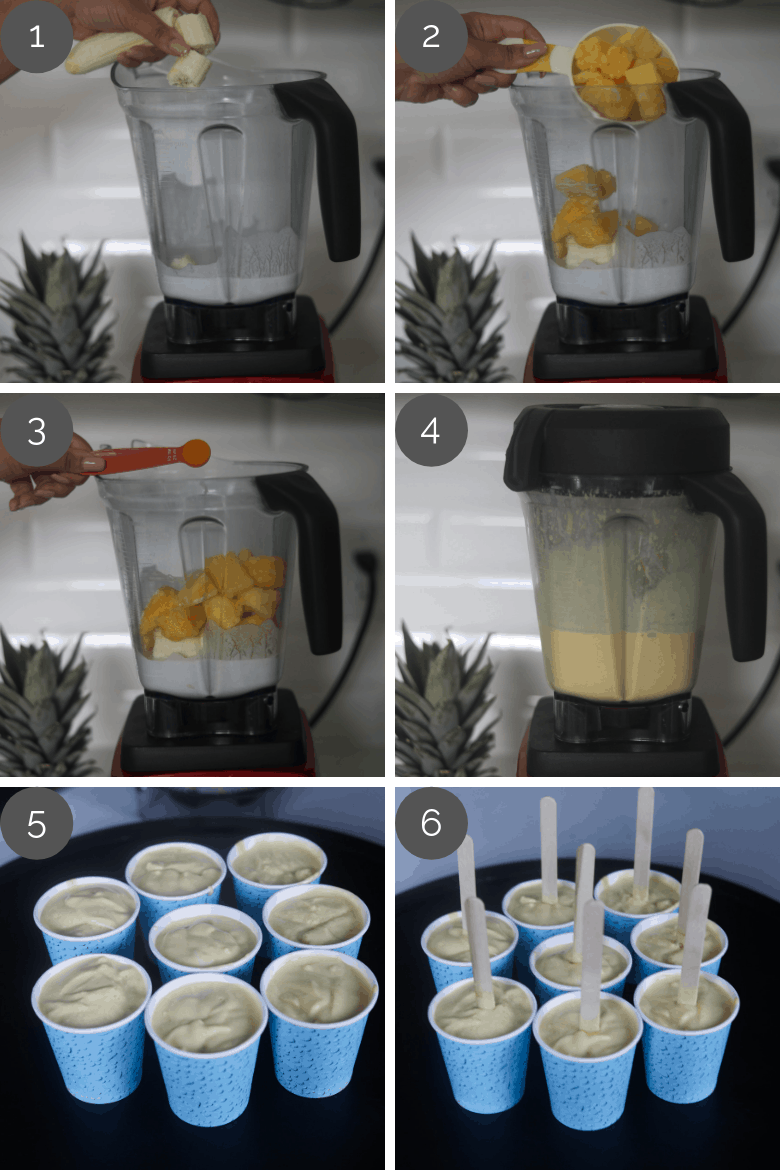
- In a high-speed blender, start by adding the coconut milk along with the banana. I keep it rustic and simple and use my hands to throw in medium-sized pieces (Image 1).
- Make sure the frozen pineapple chunks are separated before adding them to the blender (Image 2).
- Add turmeric and blend away (Images 3-4).
- Once the Pineapple Coconut Ice Lollies mixture is a creamy consistency, pour into your moulds and insert your lolly sticks (Images 5-6). Freeze them for at least 3 hours or until completely frozen.
What Are The Benefits Of Eating Pineapples?
We love the tropical taste of pineapple. With its juiciness and vibrant colour, it offered the perfect balance of sweet and tart and packed full of vitamin C, manganese, fibre and antioxidants. Although research is limited, the nutrients found in pineapples may help ease inflammation and improve digestion.
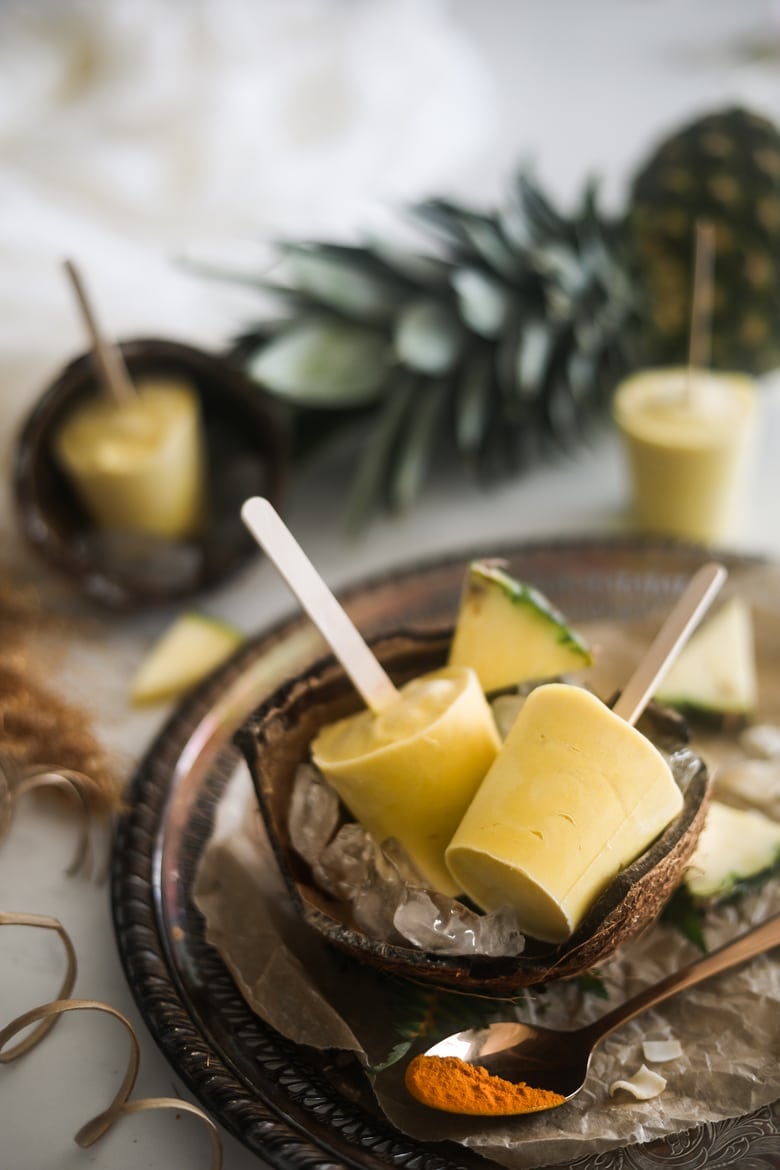
Top Tips For Making Pineapple Coconut Ice Lollies
- Make sure you use high quality and thick coconut milk. I use the Aroy-D canned coconut milk
- Use a ripe banana as this offers the sweetness. It won’t taste as good with an unripe banana.
- Opt for frozen pineapple. Otherwise, it will be too runny preventing your wooden stick from standing upright.
- Blend well to ensure there are no lumps
- I use recyclable paper 5-oz cups instead of plastic moulds. You rip the paper away when you’re ready to enjoy the ice lollies – so easy. Plus, there’s no hassle of trying to pull them out of a mould and risk pulling out an empty stick (it’s happened to us far too often!).
- Place your ice lollies at the back of the freezer (if possible) – where it’s the coldest.
- These will keep in the freezer for three weeks.
Here are five more coconut flavour combos for homemade ice lollies (no added sugar):
- Coconut + banana and raspberries
- Coconut + banana + almonds
- Coconut + lime
- Coconut + banana + coffee
- Coconut + banana + blueberries
Other Easy And Healthy Sweet Recipes You May Like:
Tell me, how do you like to cool down? Have you tried my Pineapple Coconut Ice Lollies recipe before? Leave me a comment and share your all-time fave coconut recipe?
If you try this recipe, would love to hear from you! Leave a comment, rate it, or share a photo and hashtag with #desiliciousrd on Instagram, Facebook and Twitter! Can’t wait to see your photos.
Ingredients
- 2 cups coconut milk, canned, creamy-type
- 1 banana, large, ripe
- 2 cups pineapple, frozen
- 1/2 tsp turmeric, powder
Equipment
- blender
Instructions
- Add all the ingredients (in the order they appear on the ingredient list) and blend until creamy.
- Pour into 8 5-oz paper cup moulds and insert lolly sticks.
- Freeze for at least 3 hours or until completely frozen.
- When you're ready to eat, simply rip the paper cup and enjoy.
Notes
- Make sure you use a high quality and thick coconut milk. I use the Aroy-D canned coconut milk
- Use a ripe banana as this offers the sweetness. It won’t taste as good with an unripe banana.
- Opt for frozen pineapple, otherwise it will be too runny preventing your wooden stick from standing upright.
- Blend really well to ensure there are no lumps
- I use recyclable paper 5-oz cups, instead of plastic moulds. You just rip the paper away when you’re ready to enjoy the ice lollies – so easy. Plus there’s no hassle of trying to pull them out of a mould and risk pulling out an empty stick (it’s happened to us far too often!).
- Place your ice lollies at the back of the freezer (if possible) – where it’s the coldest.
- These will keep in the freezer for 3 weeks.
Nutrition Information:
Keep in mind that the nutritional values provided are approximations and suggestions, and might fluctuate depending on ingredient variations, portion sizes, and recipe adjustments. This nutrition facts table cannot account for your individual needs. Your body — including your hunger and satiety cues — change daily. It’s perfectly fine to eat more or less on different days. Instead of letting food guilt take over, consider mindful eating.
* Percent Daily Values are based on a 2000 calorie diet.
FIX MEAL PLANNING OVERWHELM
- Done-for-you meal plans that will end your cooking wars!
- A selection of mouthwatering eco-friendly and plant-focused whole food recipes, complete with grocery lists.
- Food shopping and meal prep tips to make the most of your time in the kitchen and take the guesswork out of what to eat and how to prepare it!
