
Learn how to make crispy, pan-fried Indian flatbread (paratha) at home in 35 minutes with this easy step-by-step guide. My version of homemade paratha is made with multigrain flour (chapati flour), flax and hemp seeds.
What is paratha eaten with?
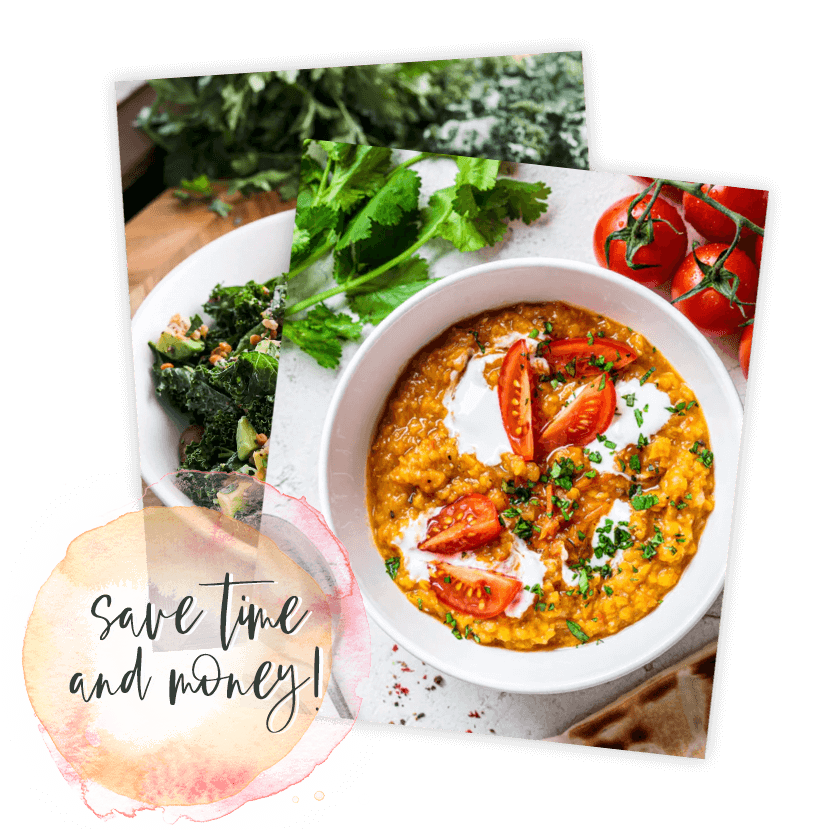
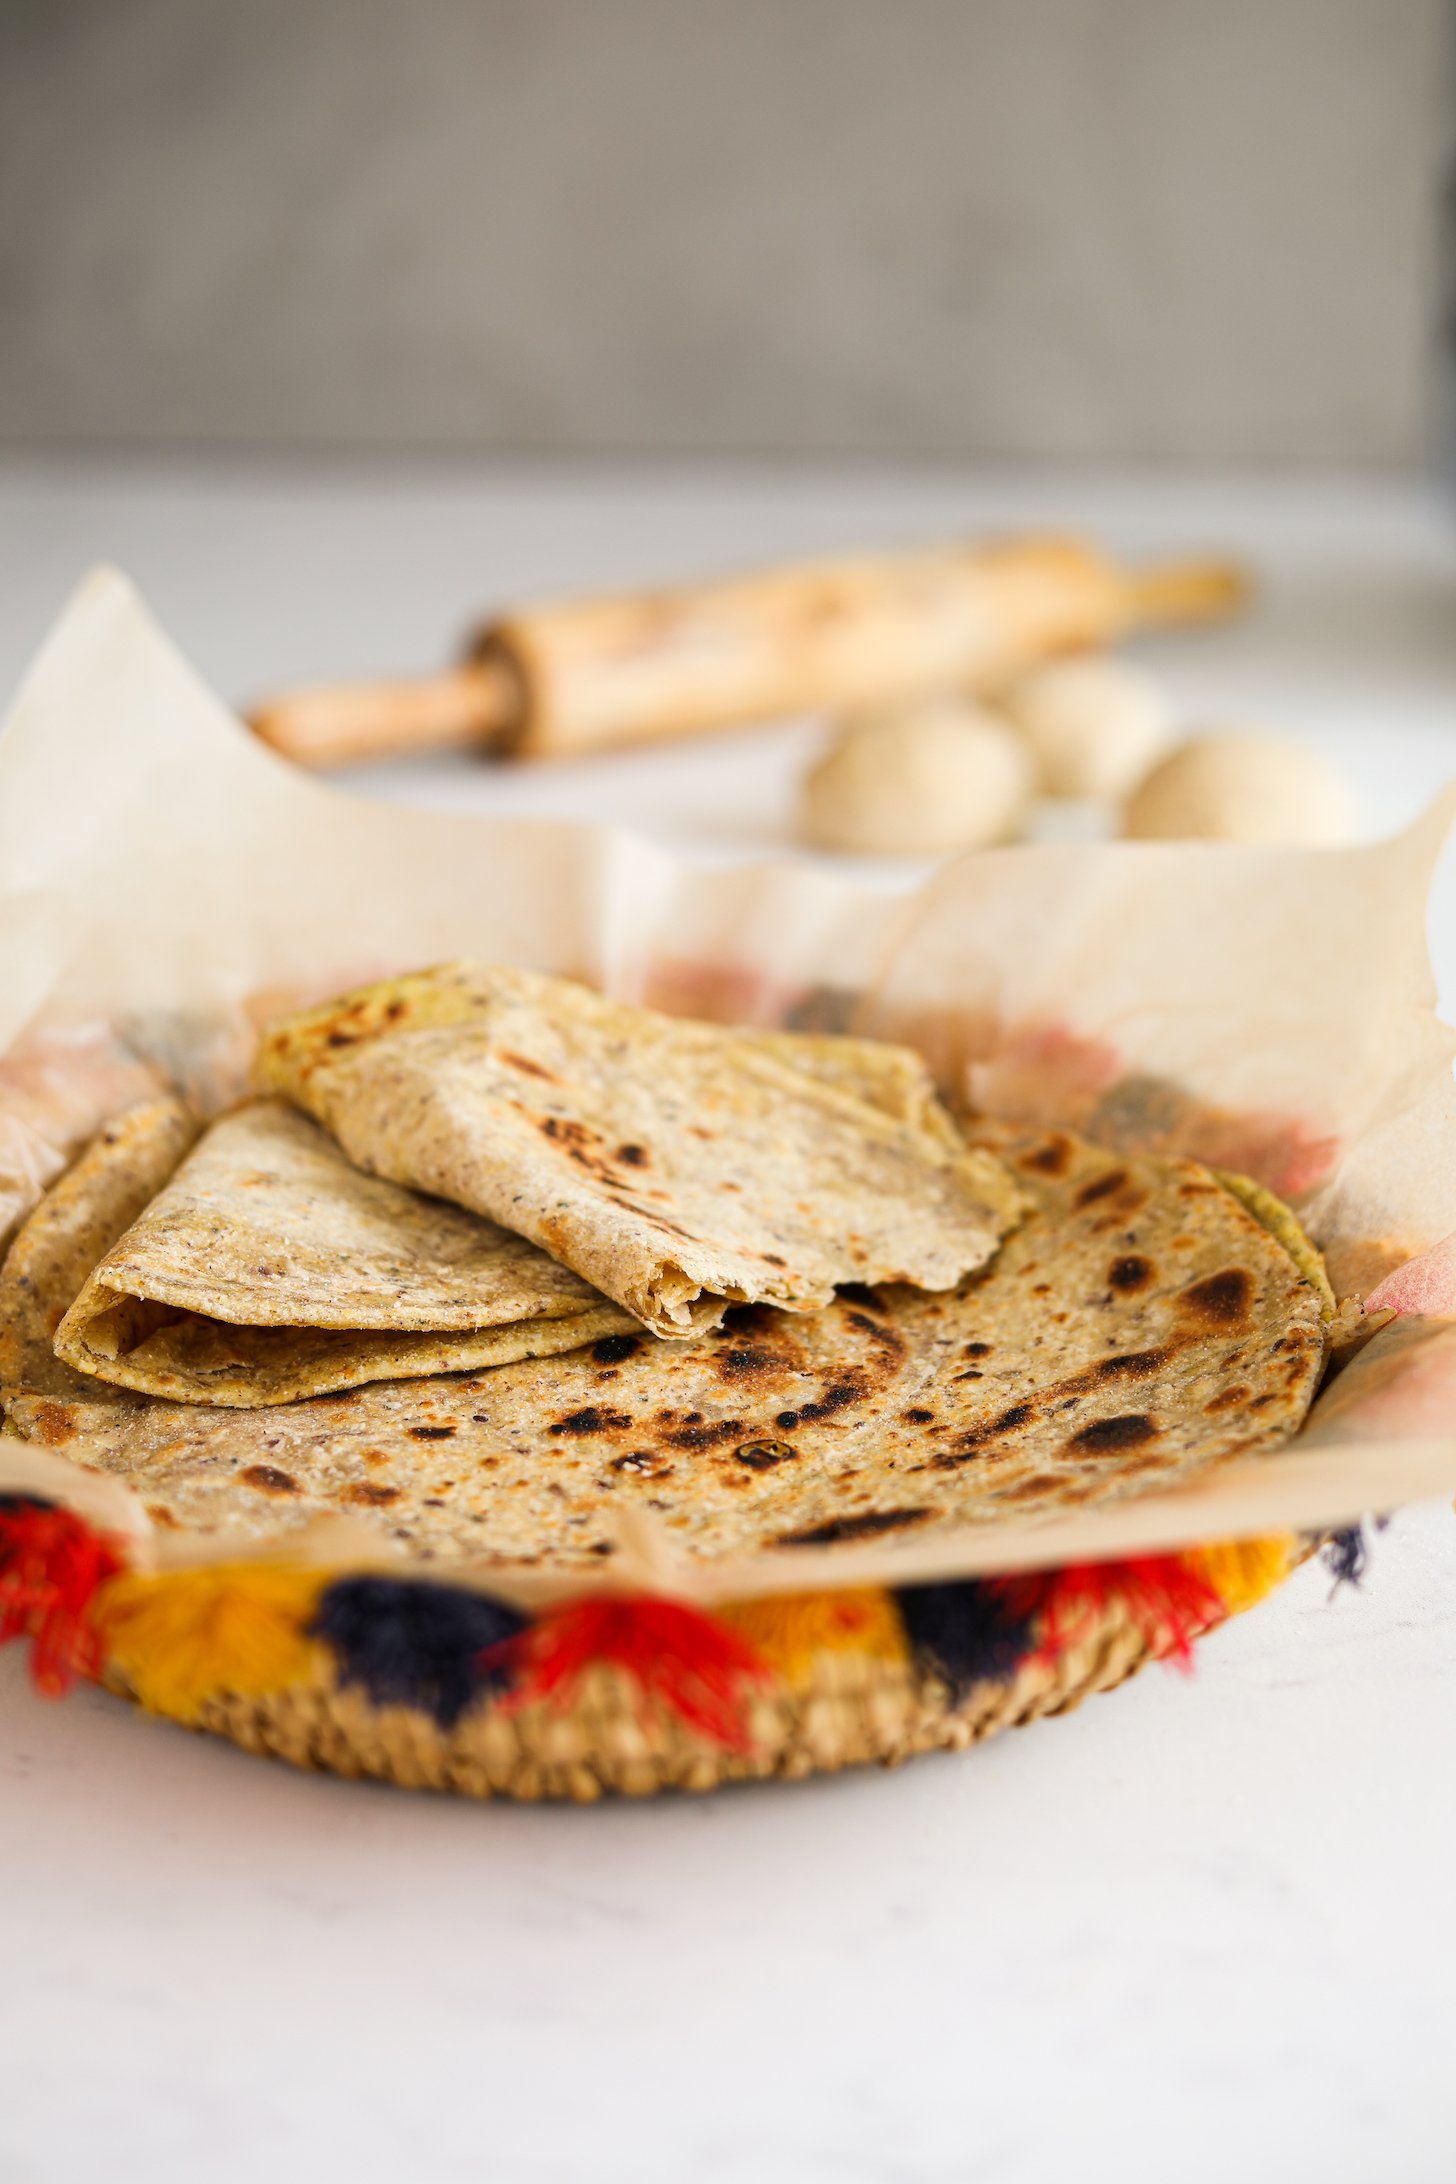
Enjoy it piping hot with a lovely cup of masala chai. Oh, that’s classic! Or go all out and serve the paratha alongside thick, creamy daal. Why not embrace my go-to pick when time is tight and slather it with glorious avocado dip, or top it with a thick veggie-packed desi omelette, roll and tuck in. Truly irresistible!
Making traditional Indian and Pakistani recipes with my dietitian hat means I always look to incorporate nutrient-dense ingredients in homemade recipes. Because cultural cuisine brings joy, comfort and connection to the table. And we fully support that!
What is paratha?
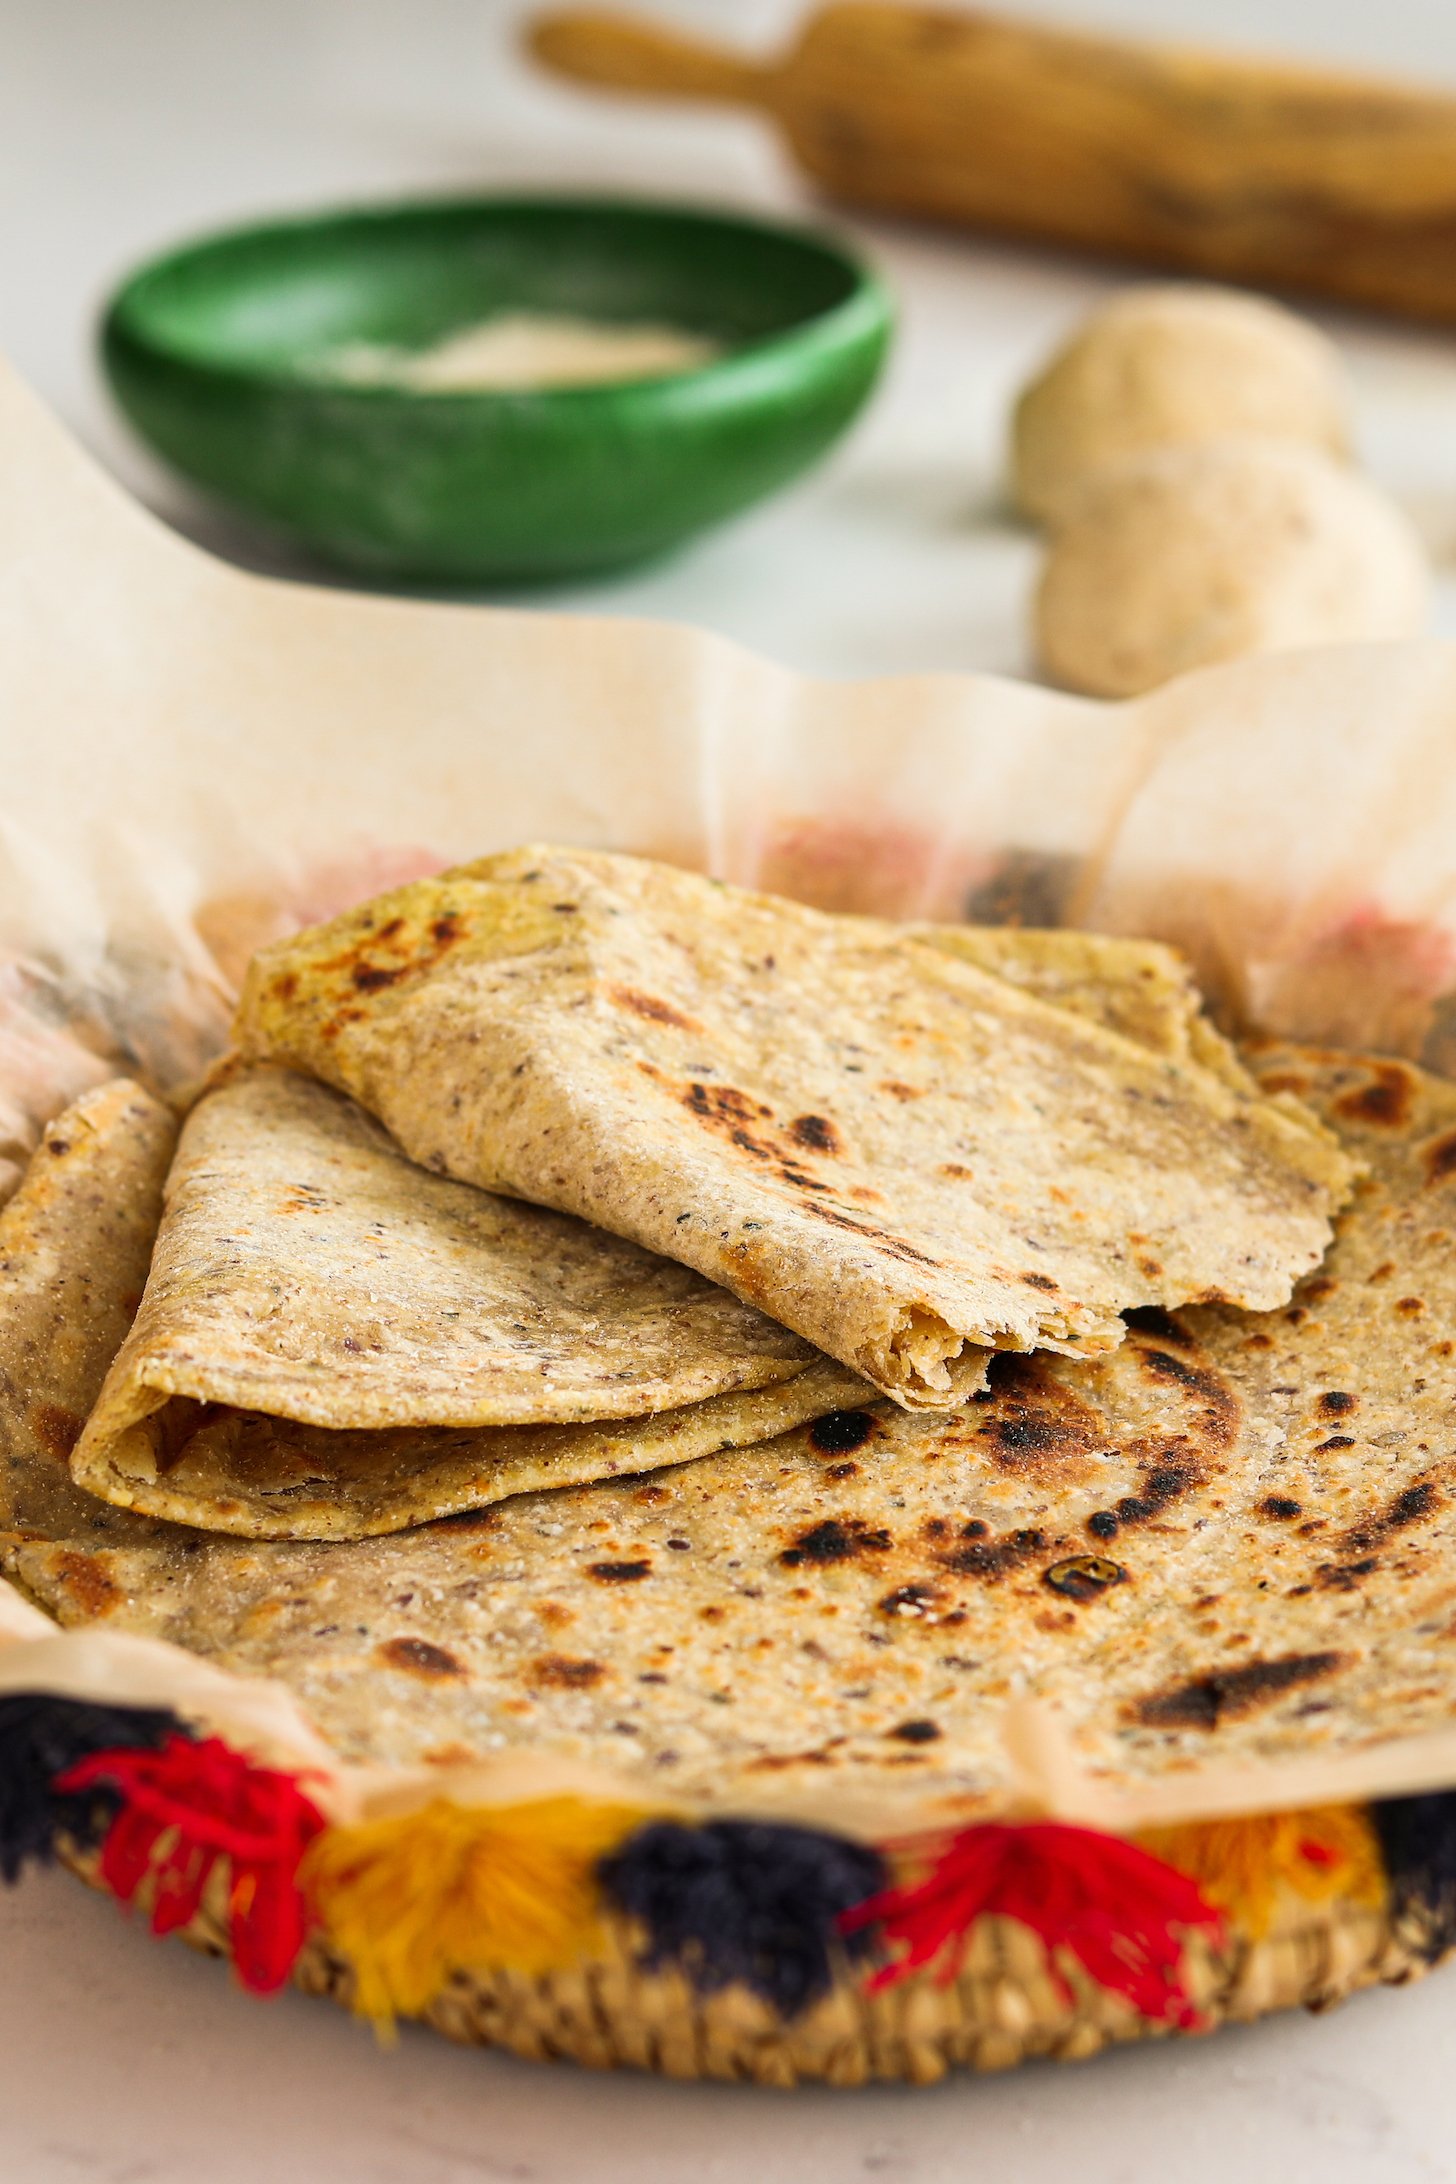
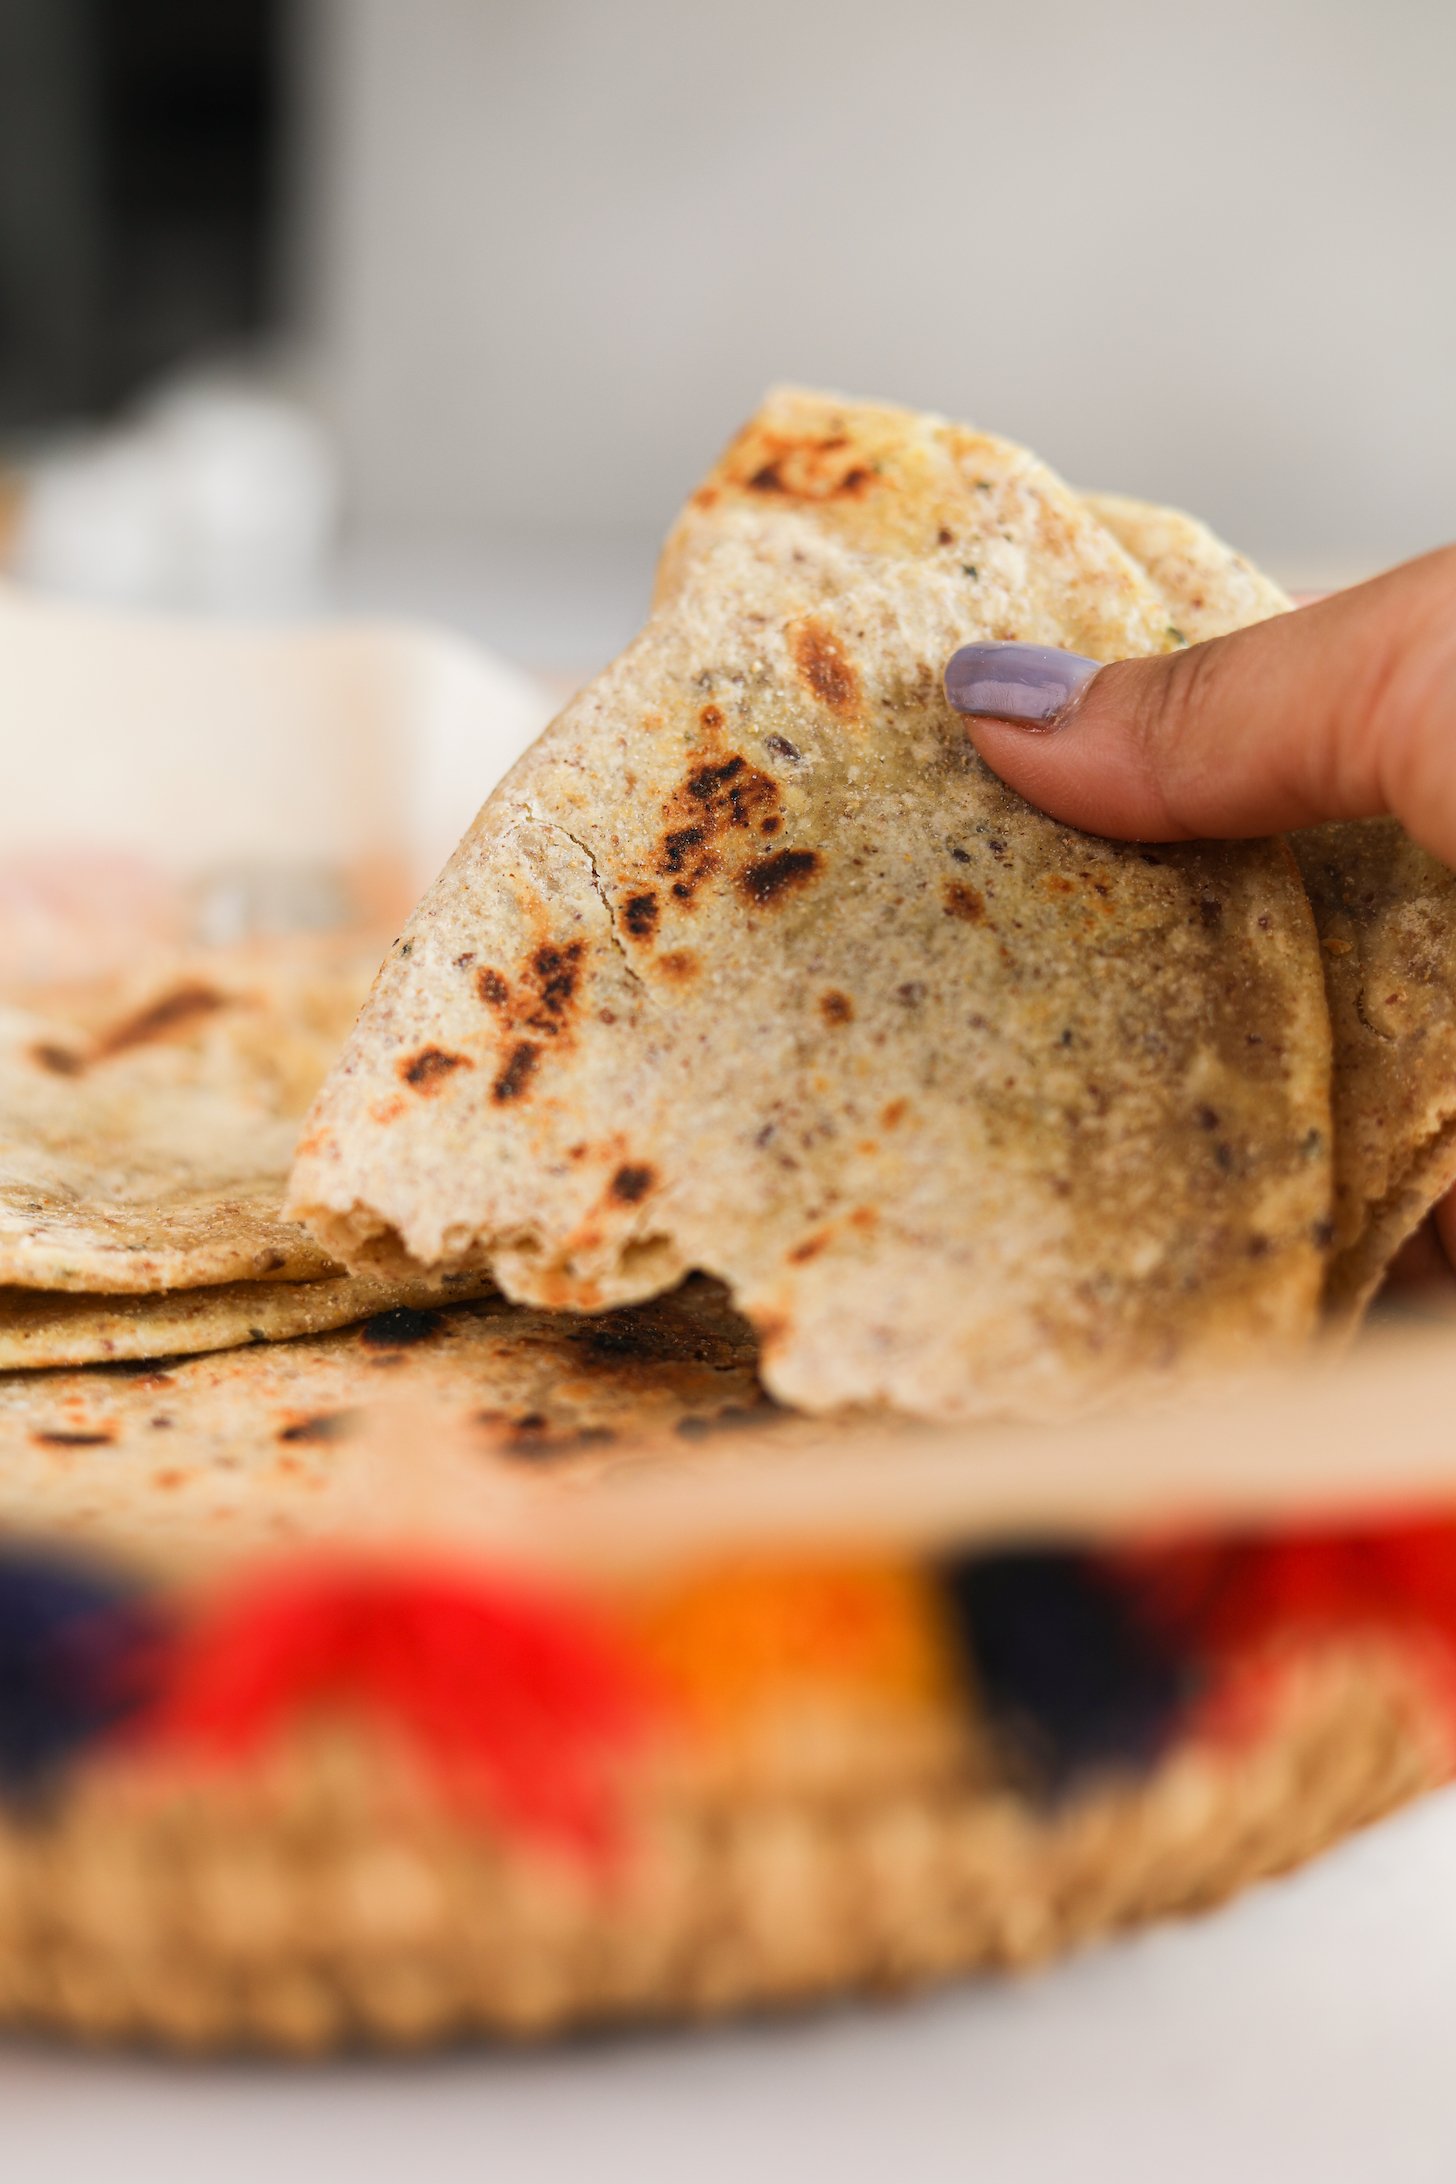
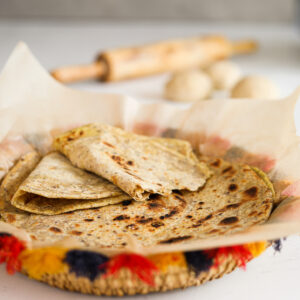
There aren’t many foods more delicious than homemade paratha.
It’s a South Asian flatbread that you’ll find in all shapes and sizes. Although it’s typically fried in oil, ghee or butter to create crispy Indian flatbread. I’ve grown up eating a lighter version – a more health-promoting twist of a classic Pakistani recipe. We include it in our meal plan every week.
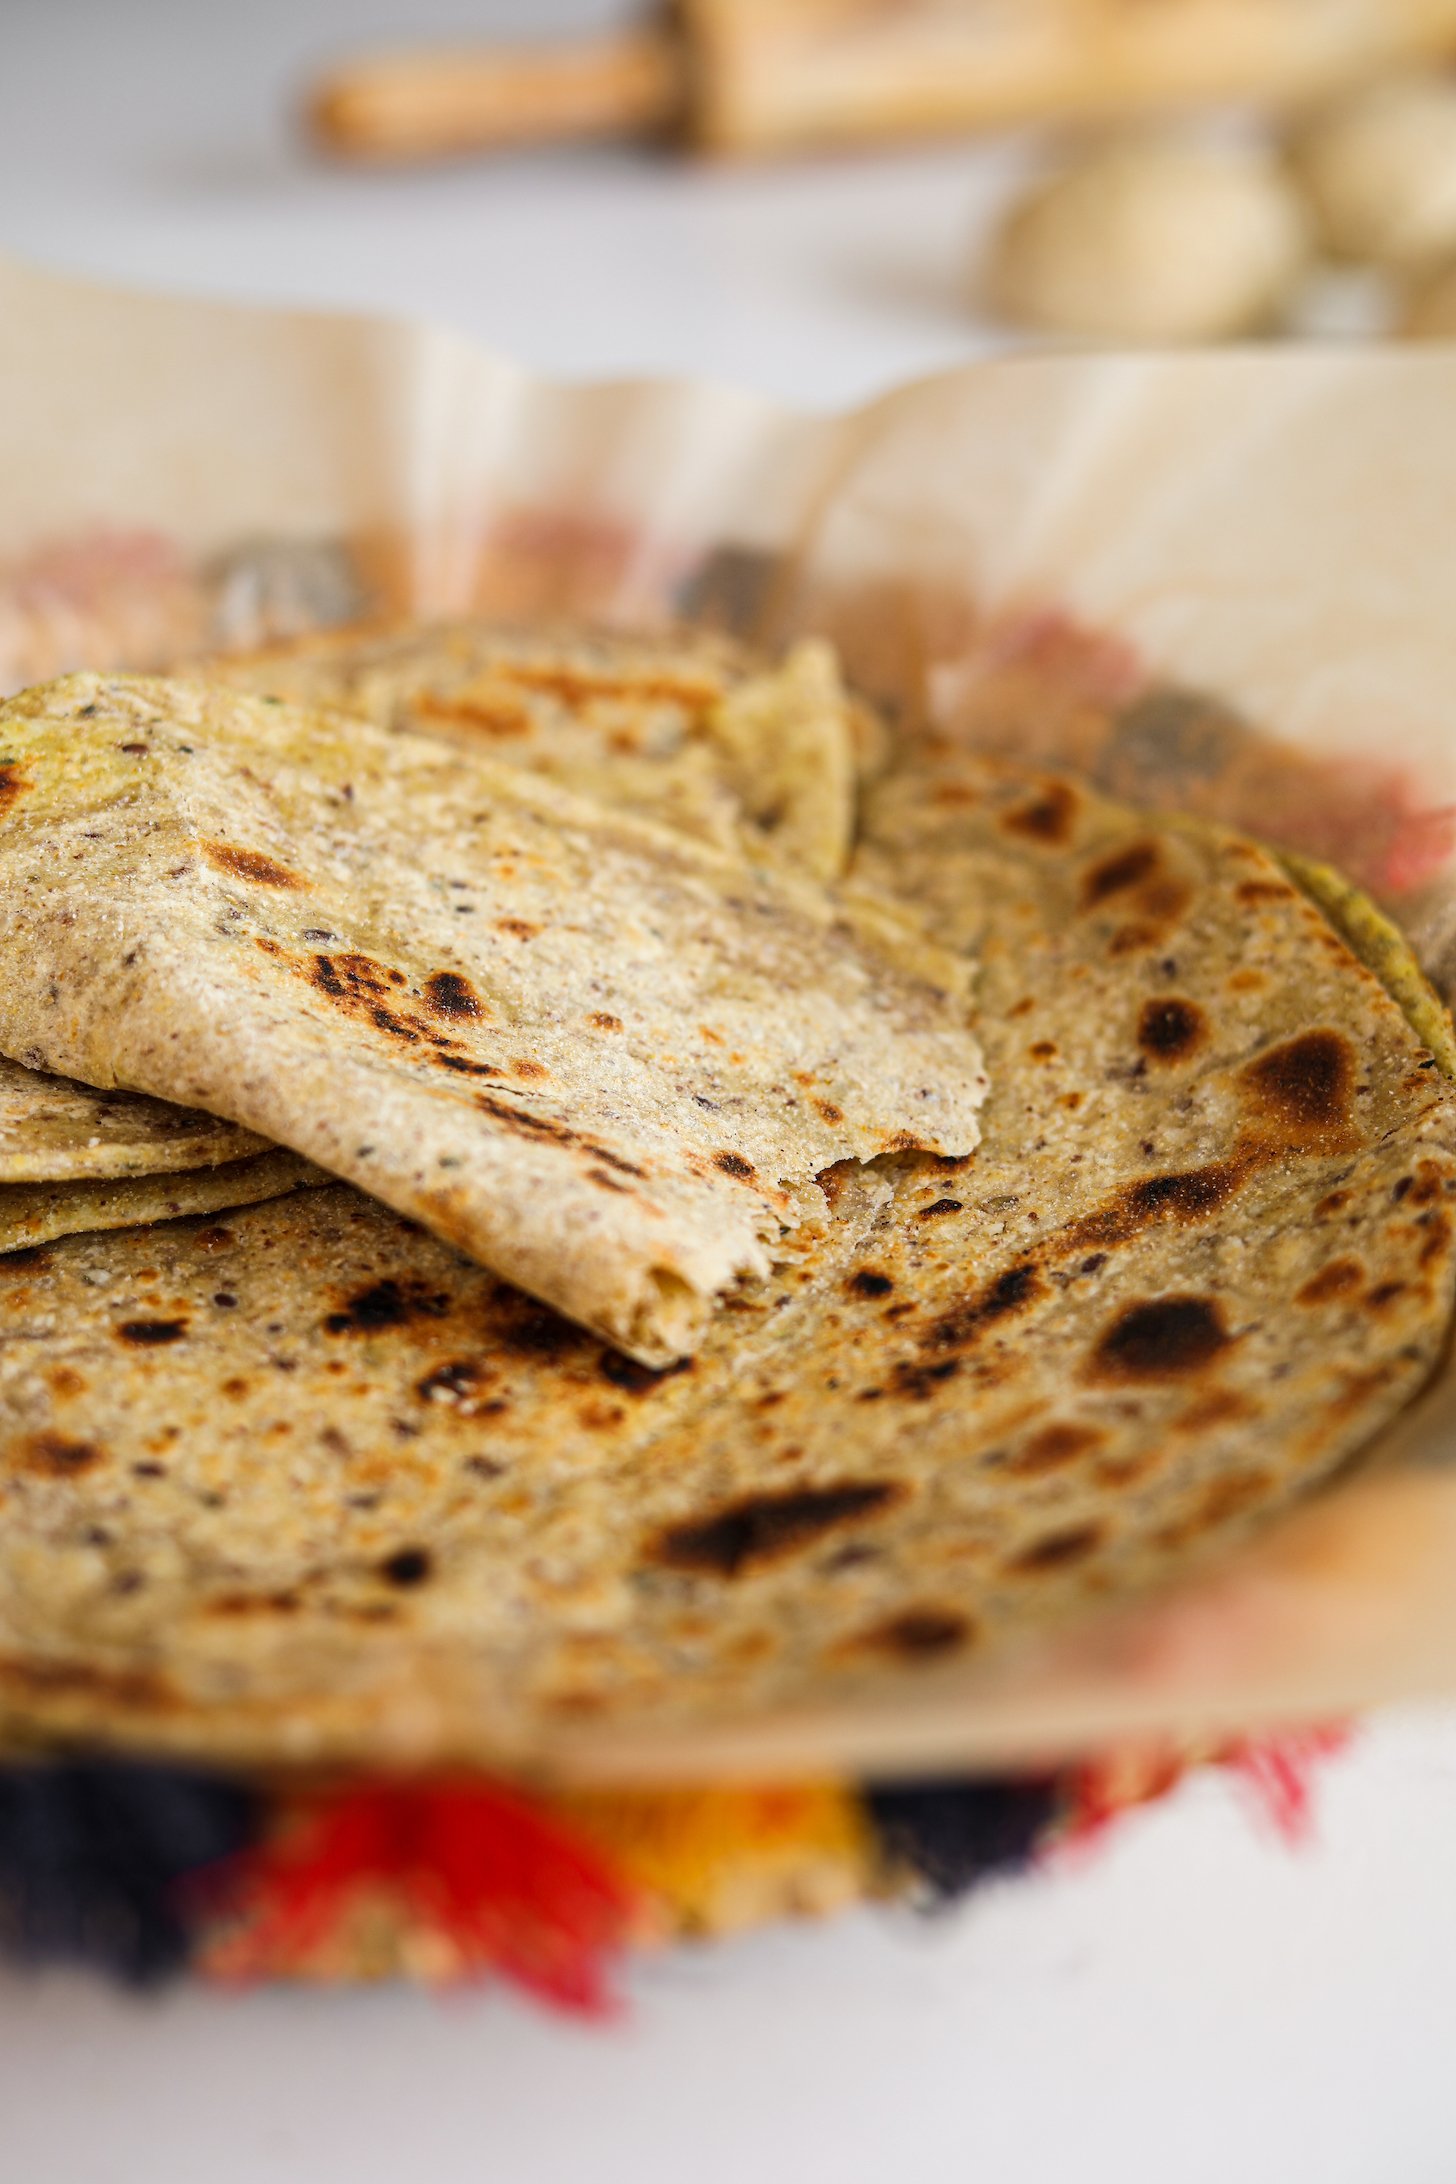
Indeed, you may consider this paratha bread a blend between roti and paratha. The recipe calls for a small amount of oil and is quite filling due to the high protein content – thanks to the flax meal and hemp seeds.
Most Indian flatbread recipes can be plain or stuffed with vegetables (potato, radish, cauliflower) and even meat. I particularly love experimenting with spices to give my chapati flour recipes an extra flavour boost and nutrition.
Is paratha the same as roti?
Roti and paratha are two types of Indian flatbread. Both are unleavened, primarily made from wheat dough, including Indian chapati flour or atta. Several add-ins, like chickpea flour or jowar (millet) flour, can give the flatbread a different texture and flavour.
The difference lies in the way they’re prepared and cooked:
- Roti is usually cooked on the stovetop, using dry heat only. The dough is rolled out circularly and cooked on a tava, a flat Indian griddle. Typically, a kitchen cloth presses the roti down until it puffs up and is cooked and soft.
- Paratha is usually cooked on the stovetop. Oil, butter or ghee are used when rolling out the dough and cooking the paratha on a tawa, resulting in a crispy, flaky texture.
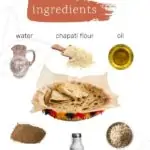
The ingredients you’ll need to make it
For a simple and easy-to-follow multigrain paratha recipe, you’ll need the following ingredients:
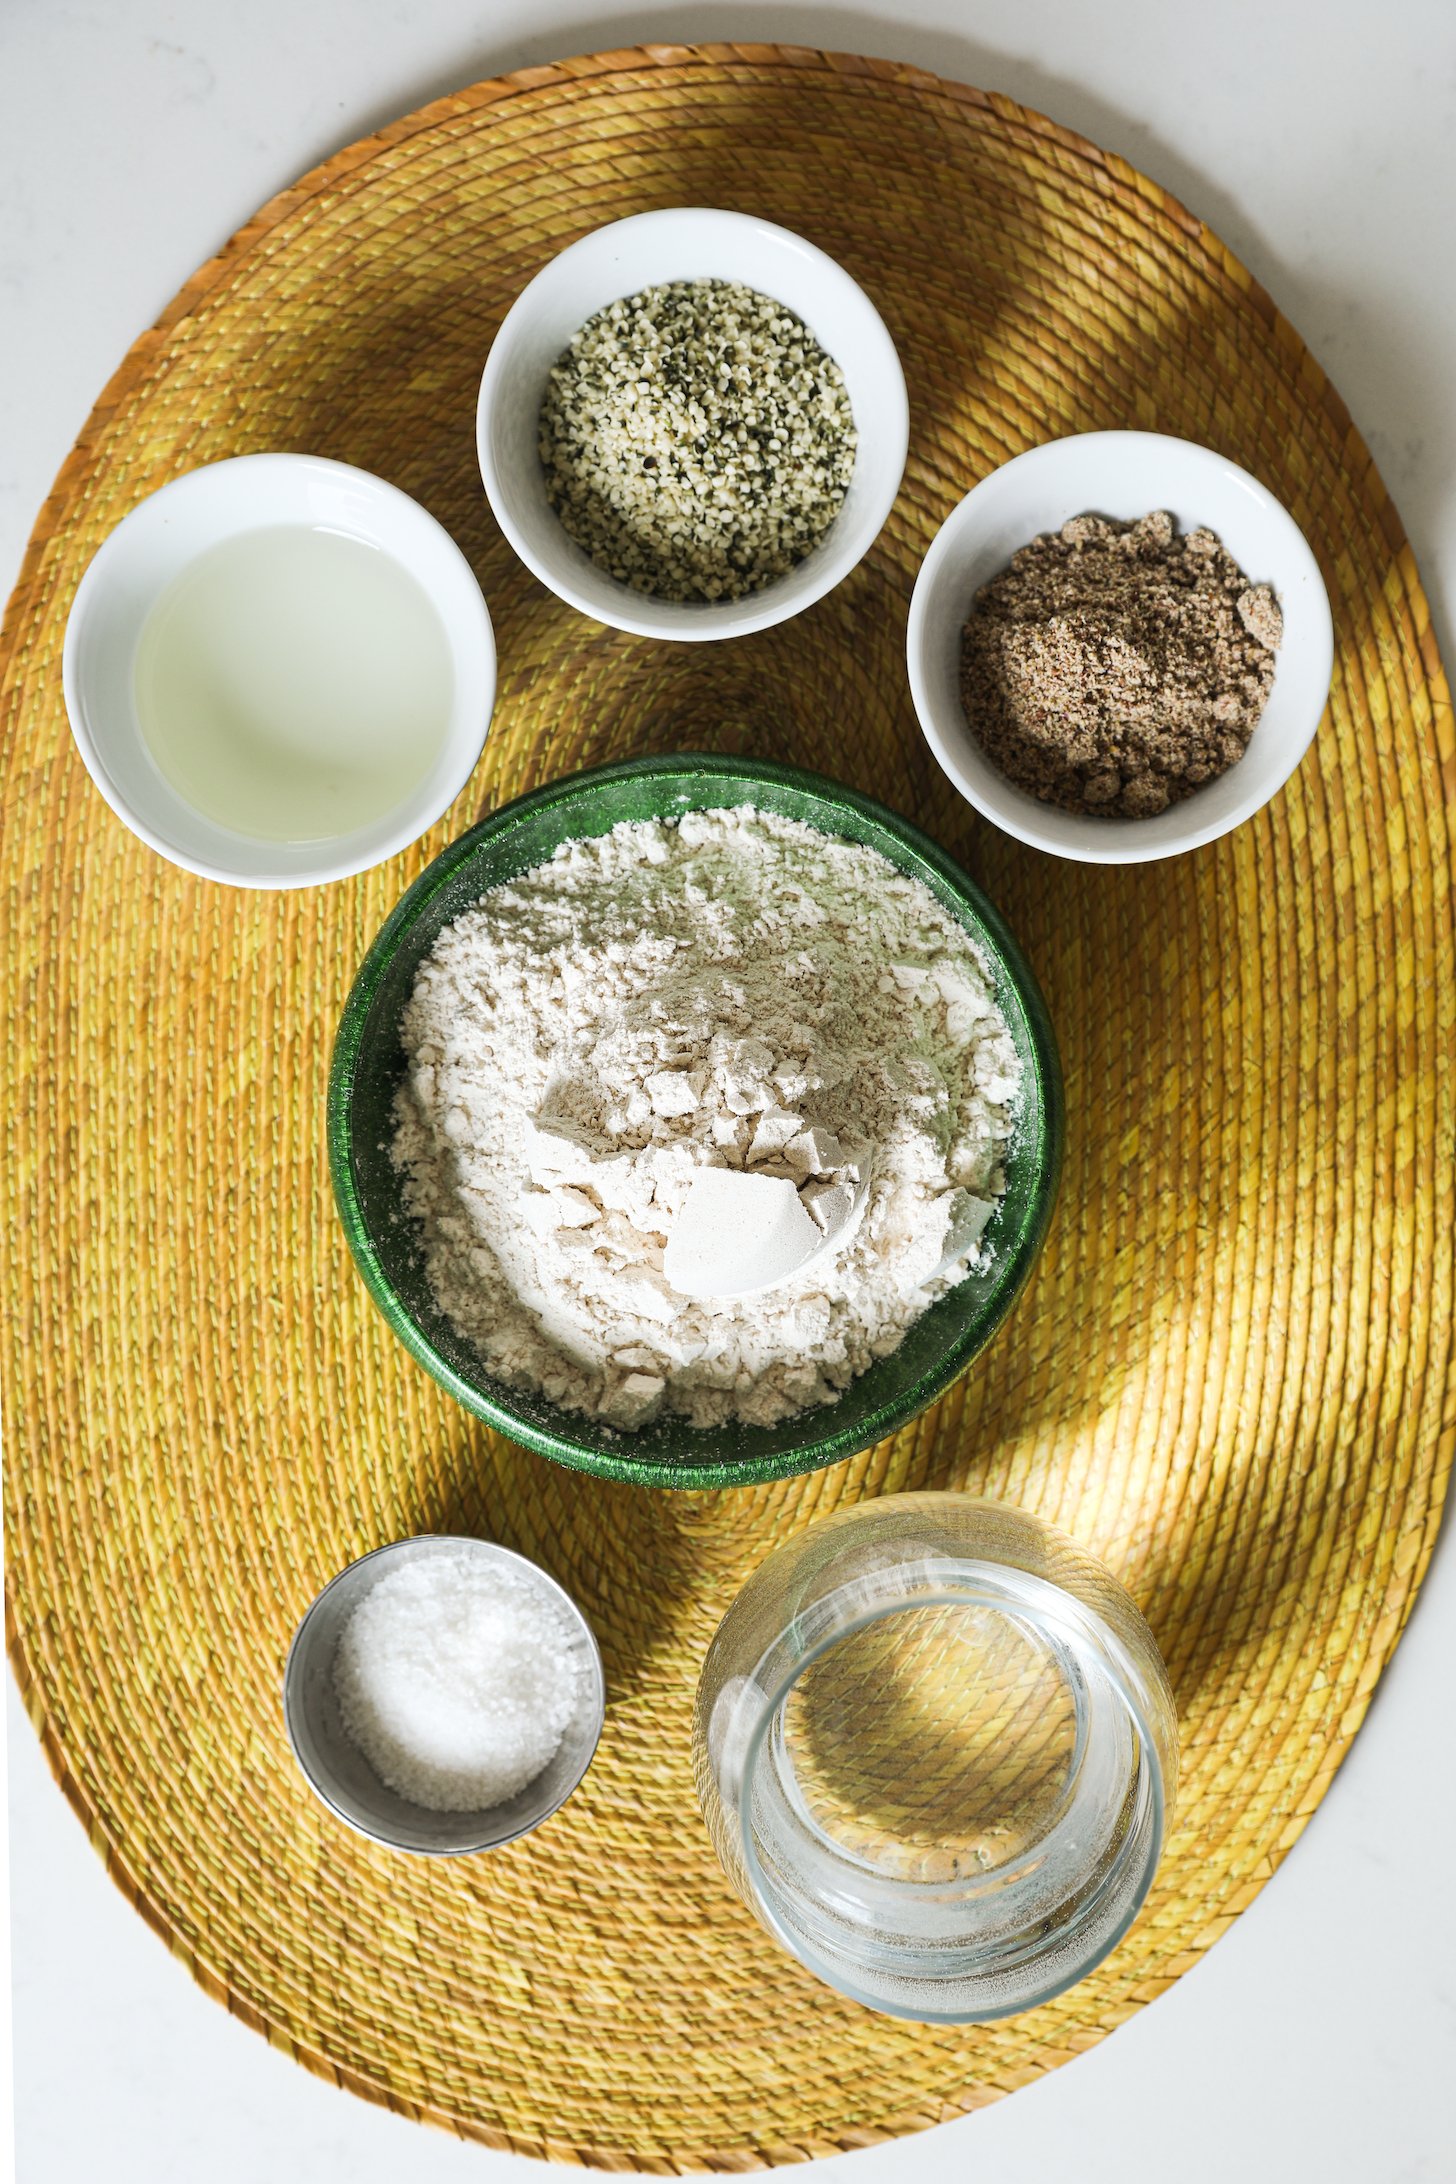
- Chapati flour – also known as atta.
- Ground flax seeds
- Hemp seeds
- Sunflower oil
- Water
- Salt
Substitution don’t
Regular all-purpose white flour won’t give you the same texture and flavour as an authentic paratha, so be sure to use chapati flour. You can find this type of flour in most South Asian supermarkets.
How to make multigrain paratha – step by step

The complete recipe with ingredient amounts can be found in the recipe card at the bottom of this post.
Commonly ask question (you asked:)
How many calories are in a paratha?
It depends. On the amount of oil and flour used and the type of paratha, you’re making (add-ins and stuffings). Generally speaking, a single paratha contains around 250-400 calories.
That being said, remember that when discussing calories, it’s important to focus on the quantity and quality of the calories, not just the number of calories. Failing to do so could lead to unhealthy and unsustainable eating habits.
Different foods are processed differently by our bodies, affecting how we utilize those calories. For example, a cookie made with refined white flour – and laden with sugar will provide empty calories. Eating these types of food regularly is associated with higher weight, insulin resistance, type 2 diabetes and other health issues.
This paratha recipe provides approximately 330 calories.
Nutritional highlights
One paratha serving* is:
- A rich source of dietary fibre, thanks to the atta blend.
- A source of iron, with the addition of seeds.
- A higher source of protein (compared to traditional recipes) because of the seeds.
*Percent Daily Values are based on a 2000-calorie diet.
What’s your favourite way to enjoy paratha?
If you try this chapati flour recipe, I would love to hear from you! Leave a comment, rate it, or share a photo of your paratha on Instagram, and tag me @desiliciousrd. I look forward to seeing your creations!
Want a FREE Delicious Offer?
Get the Recipe:
Crispy Multigrain Paratha (Indian Flatbread)
Video
Ingredients
- 2½ cups multigrain flour, chapati flour, atta
- ¼ cup flax seeds, ground, or use flaxmeal
- 2 tbsp hemp seeds, hulled
- ½ tbsp salt
- 1 ¼ cup water, tap
- 4 tbsp sunflower oil, 2 tbsp for dough and 2 tbsp for frying
- flour, for dusting
Equipment
- 1 stand mixer use dough hook attachment
Instructions
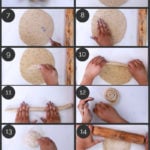
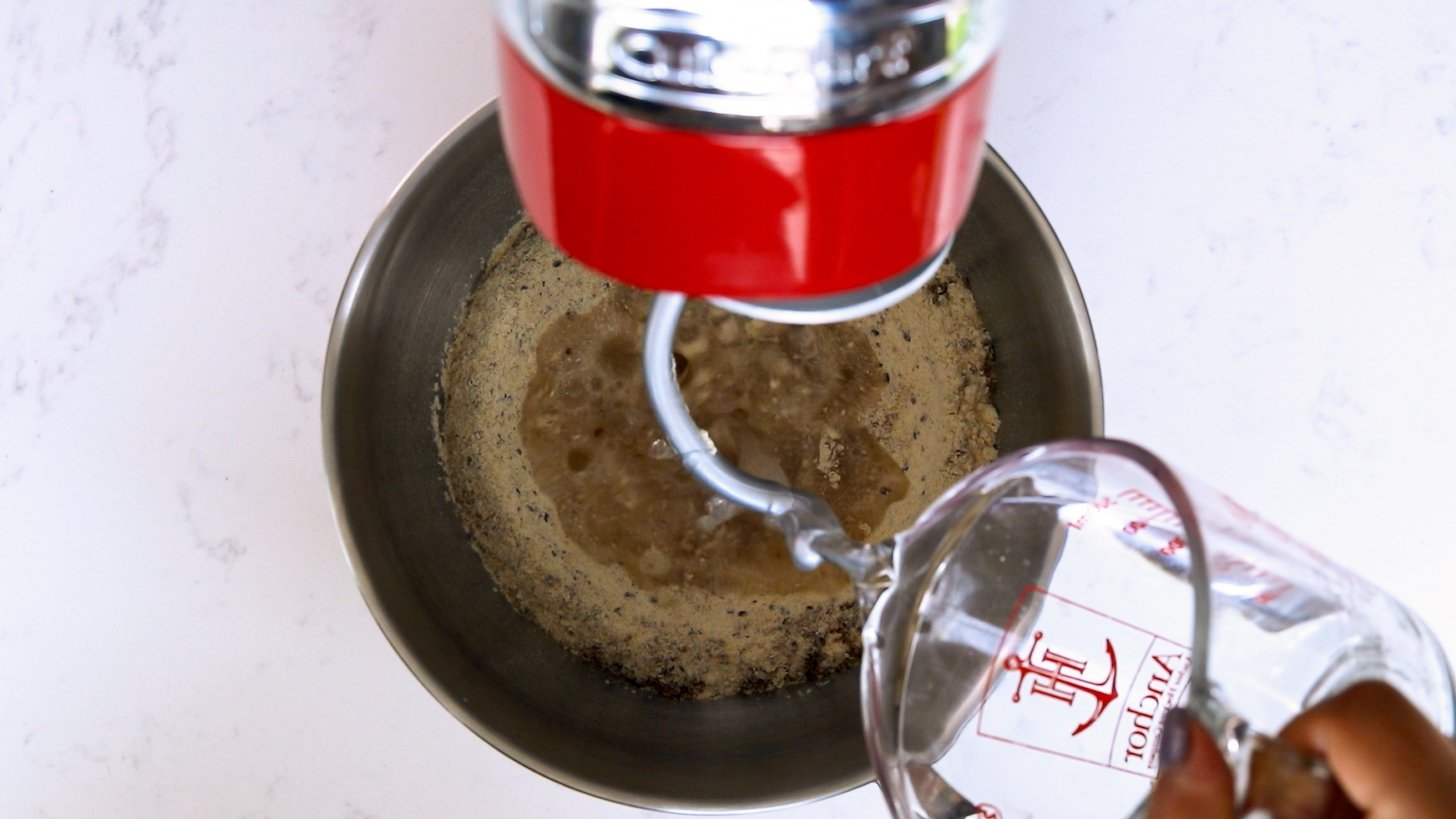
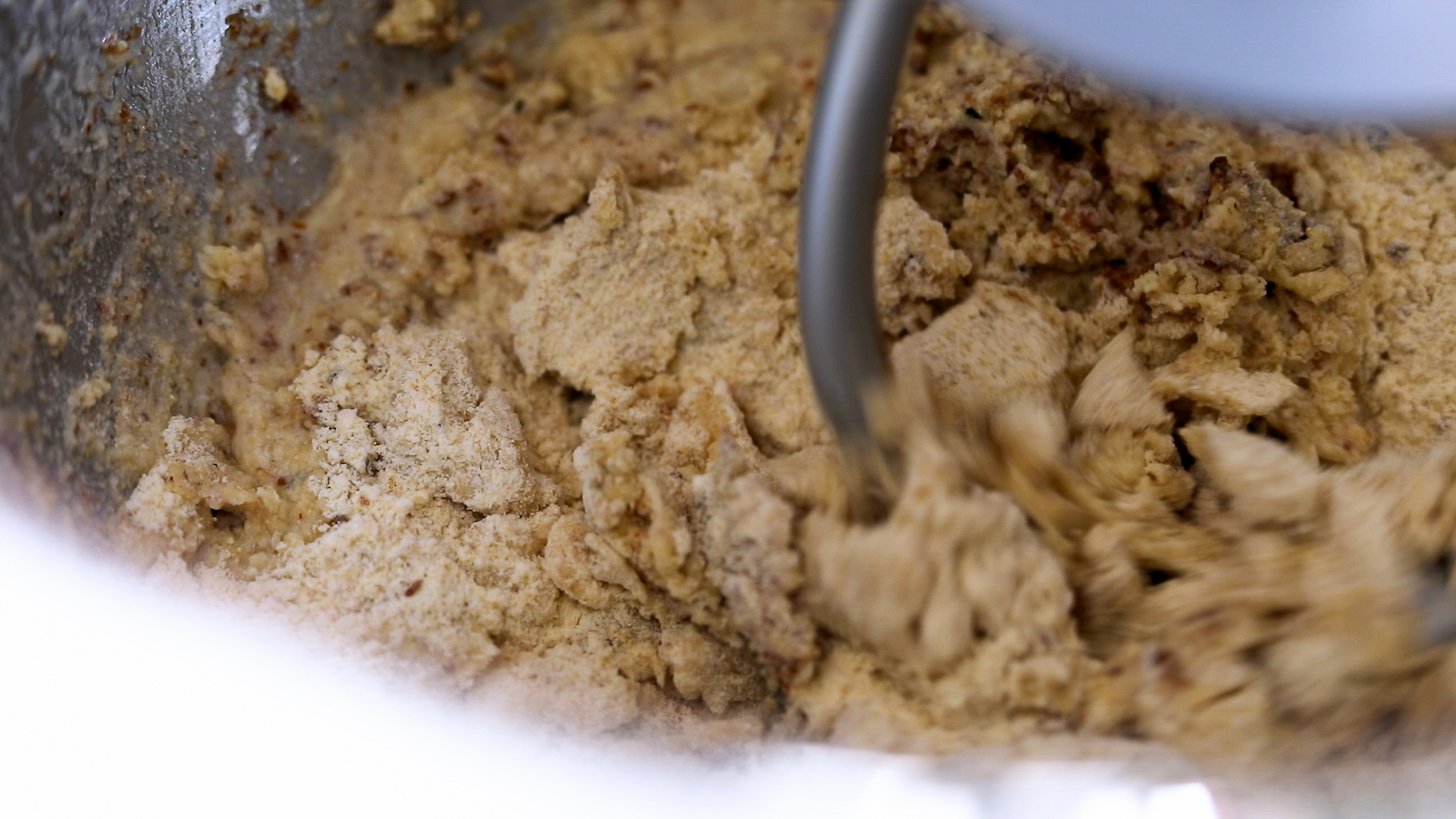
- To make paratha dough, you can use a stand mixer or knead the dough by hand. Combine the dry ingredients with salt and water. Mix the ingredients at medium/high speed for approximately 5 minutes. Remember to scrape the sides of the bowl a few times to mix the ingredients well.
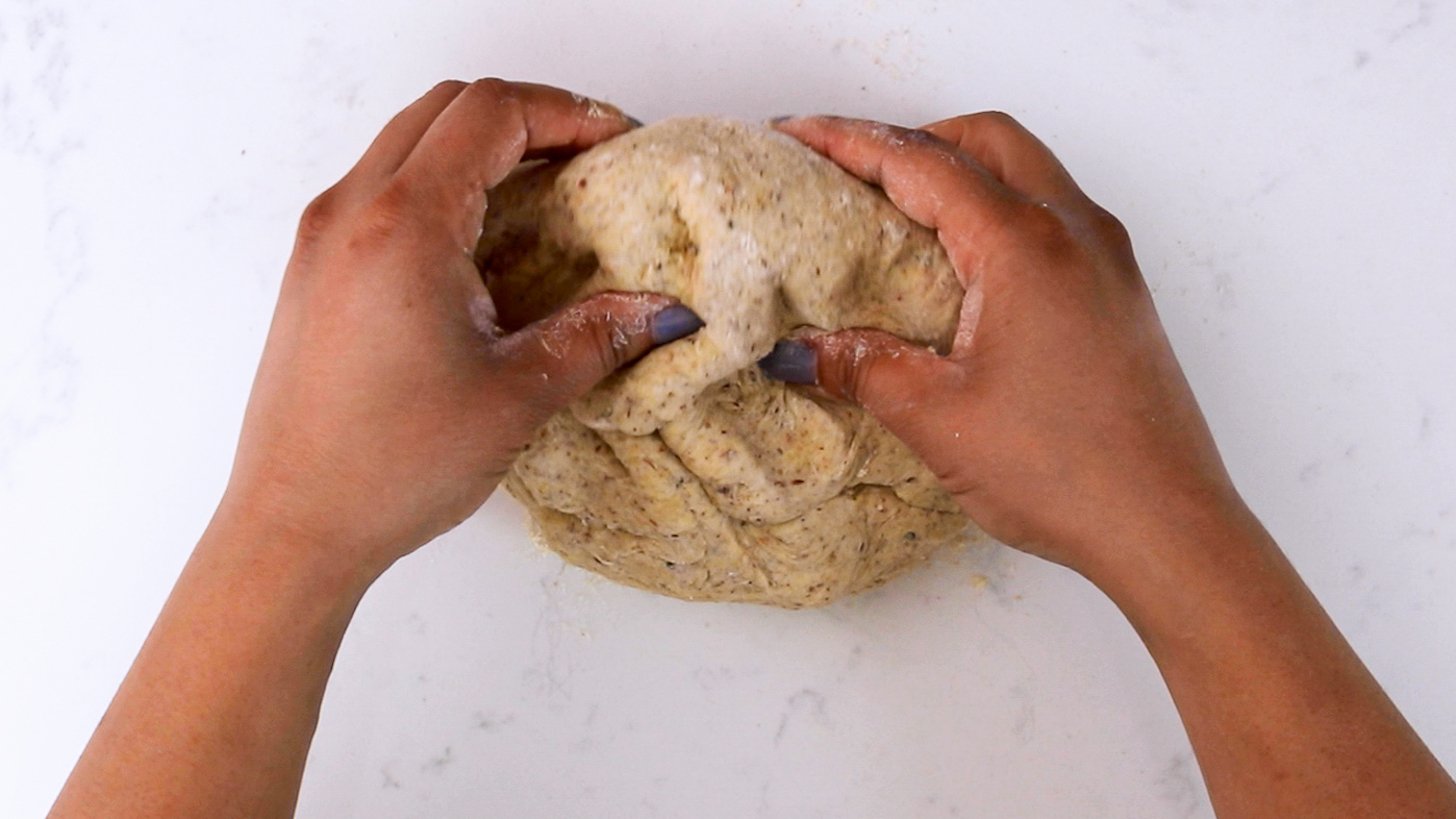
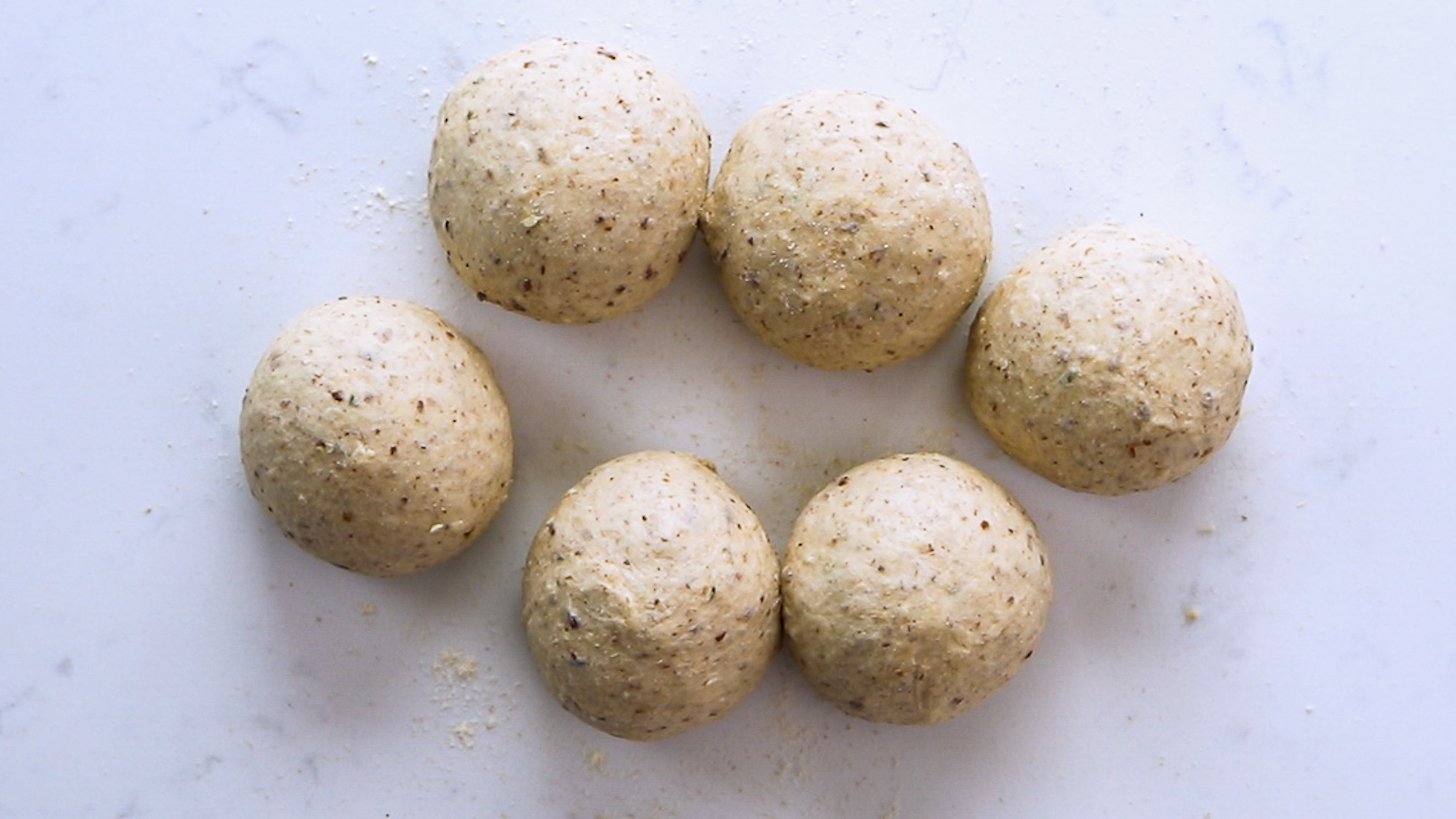
- After the flour has transformed into a smooth and soft dough, divide it into six equal portions and place them on a floured surface.
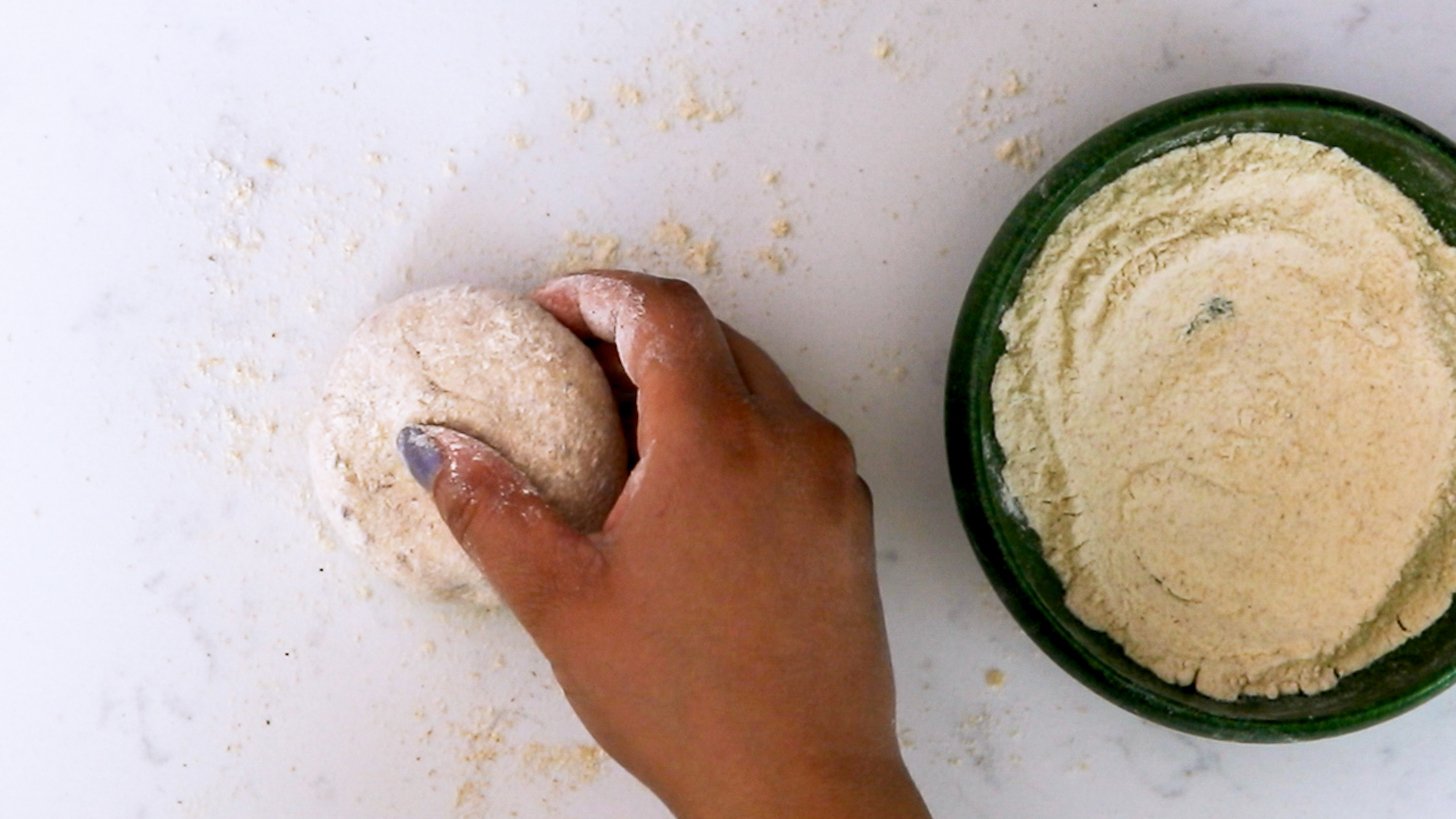
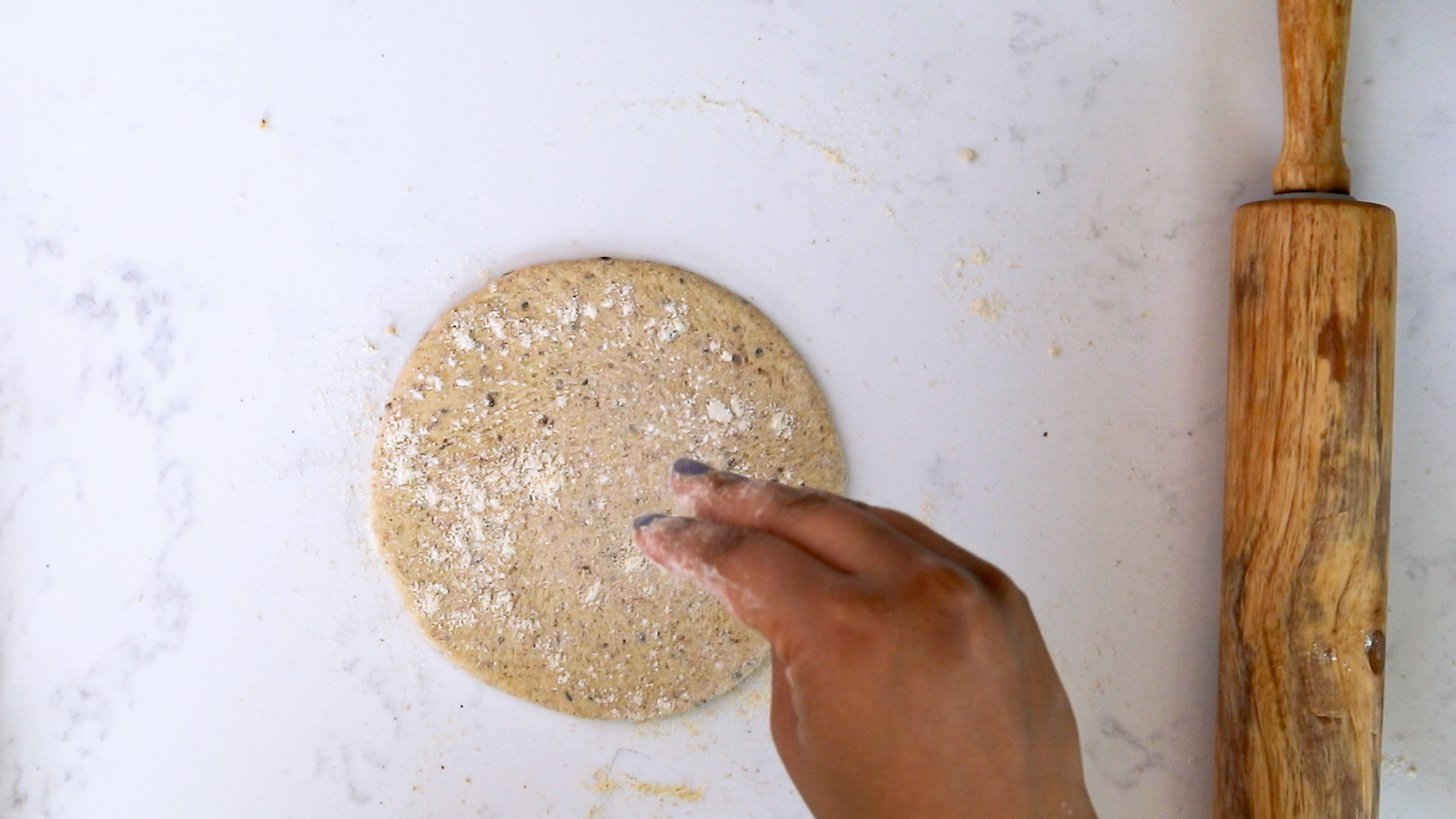
- Use some flour to sprinkle on your surface and then use it to roll one ball into a small circle (8-inch diameter). You will need to use more flour as you roll it out.
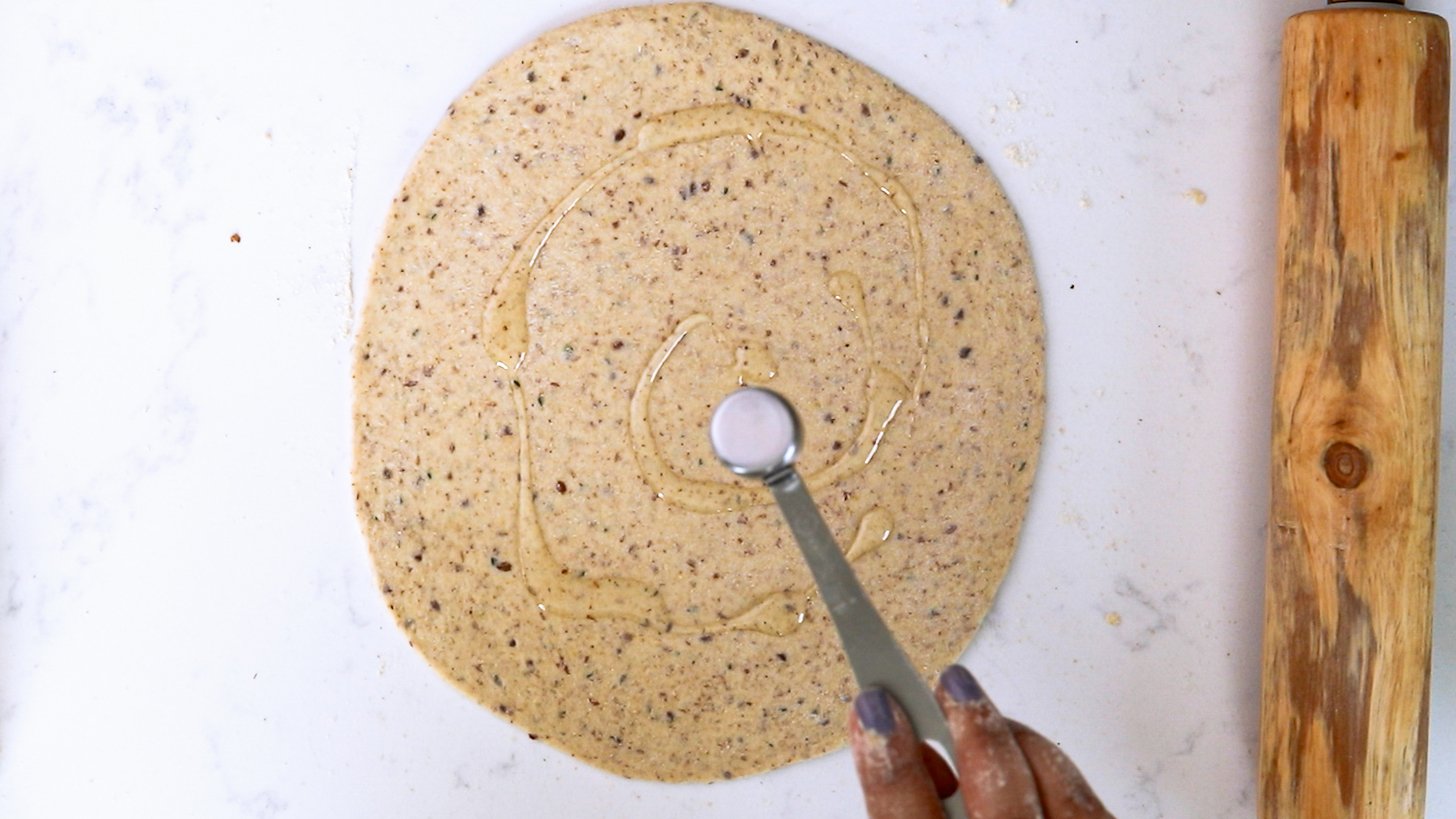
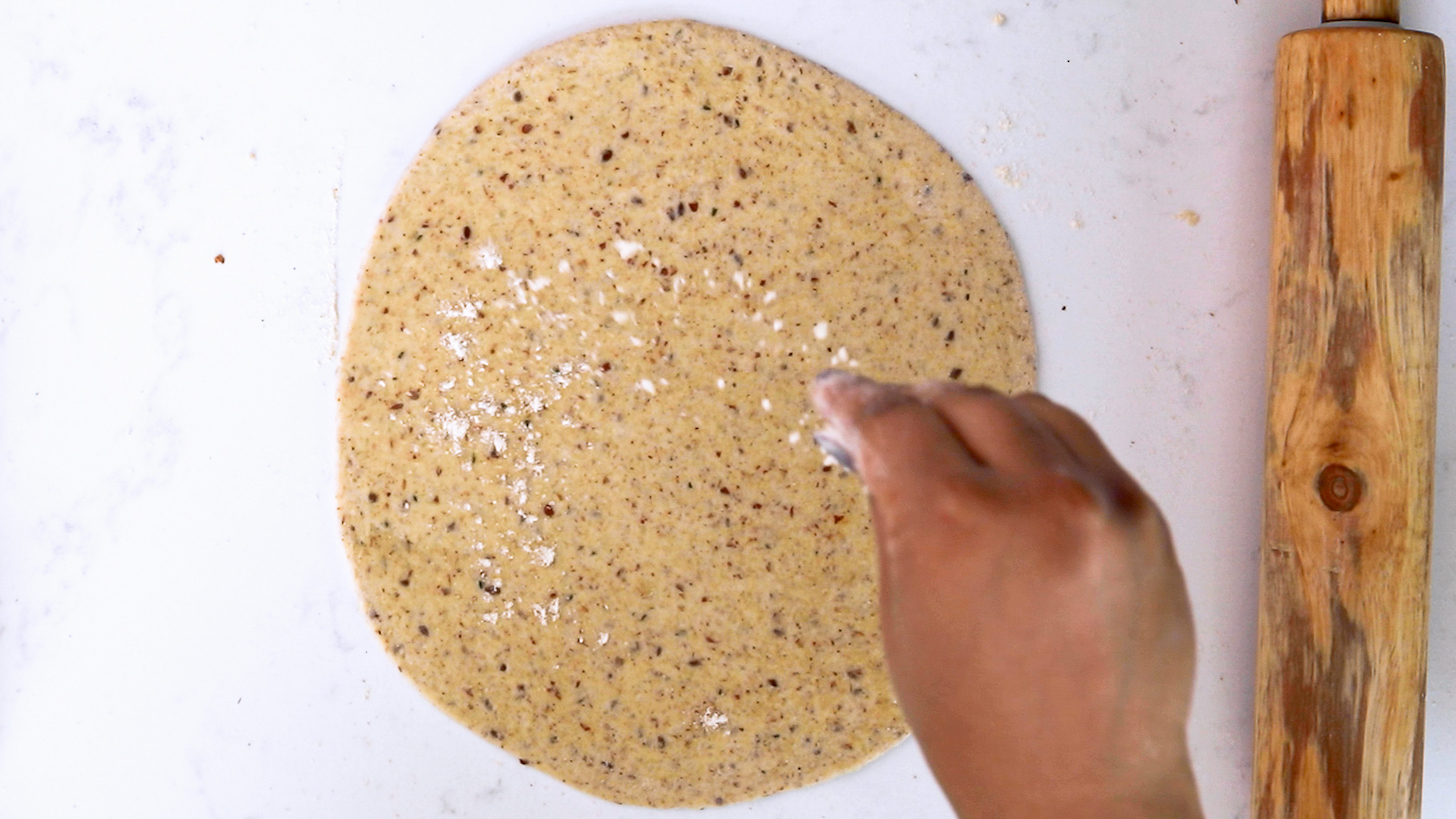
- Add 1 tsp of oil to the rolled-out paratha and use your hand to spread evenly.
- Then dust with flour and prepare for rolling.
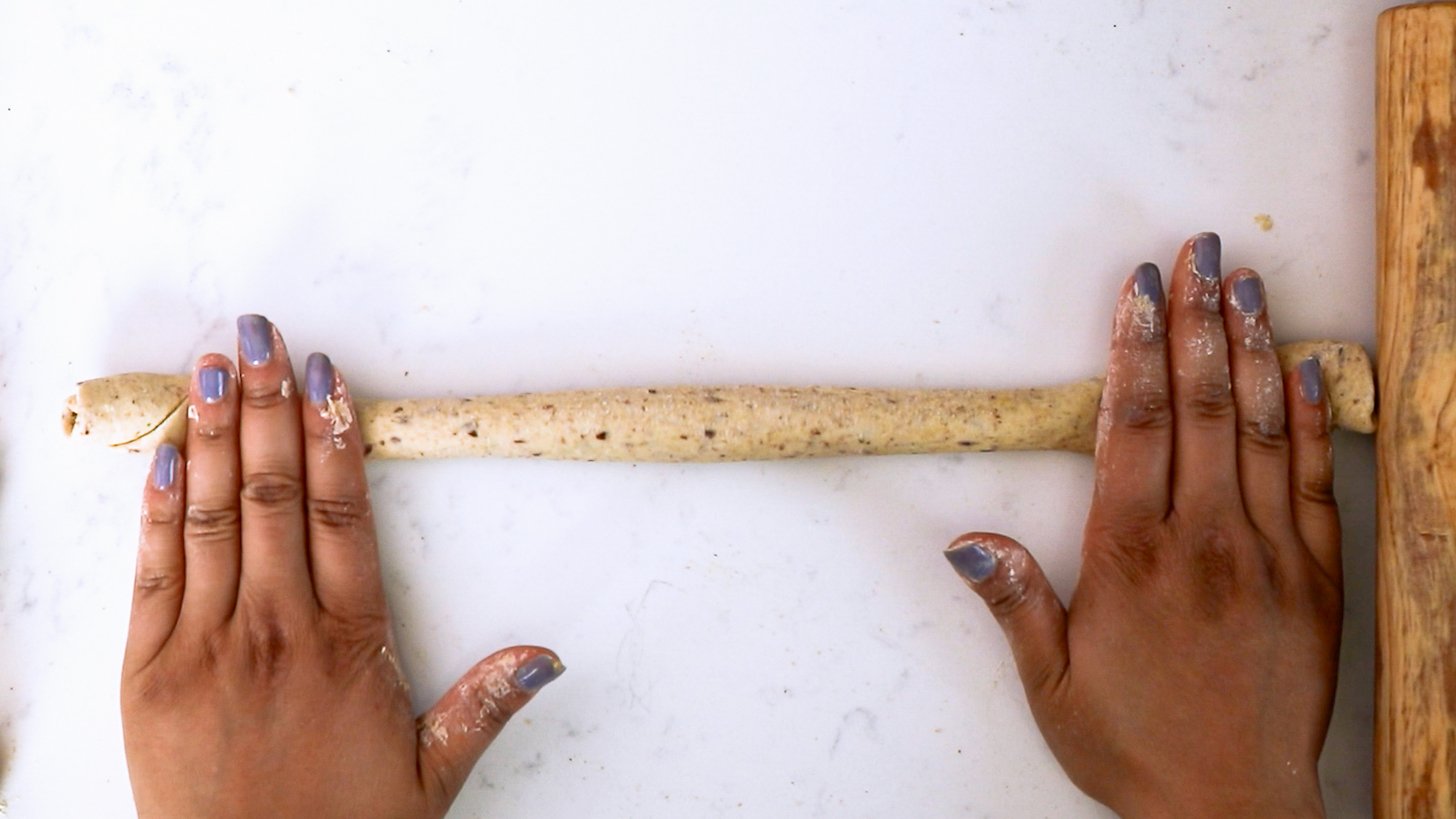
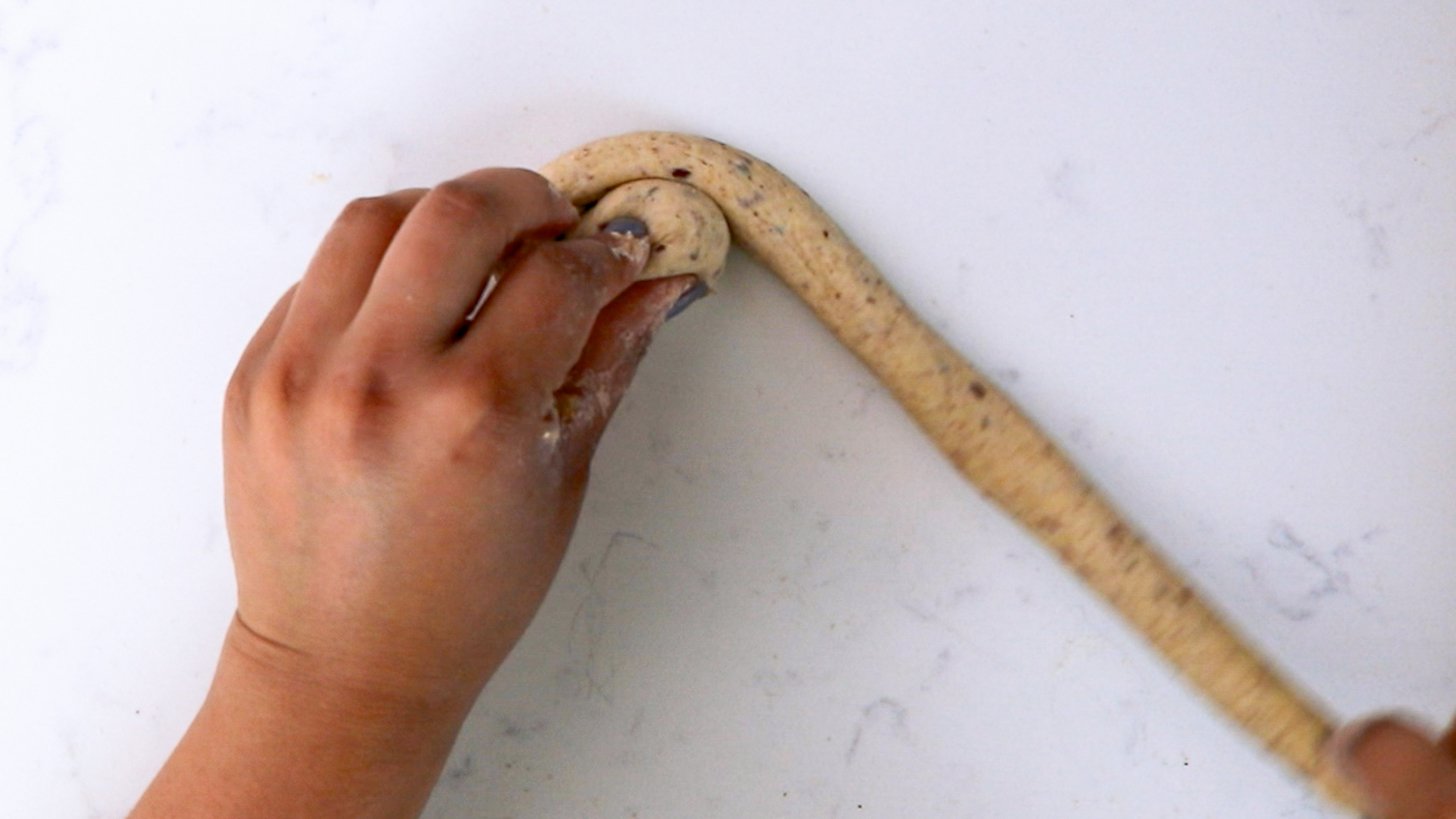
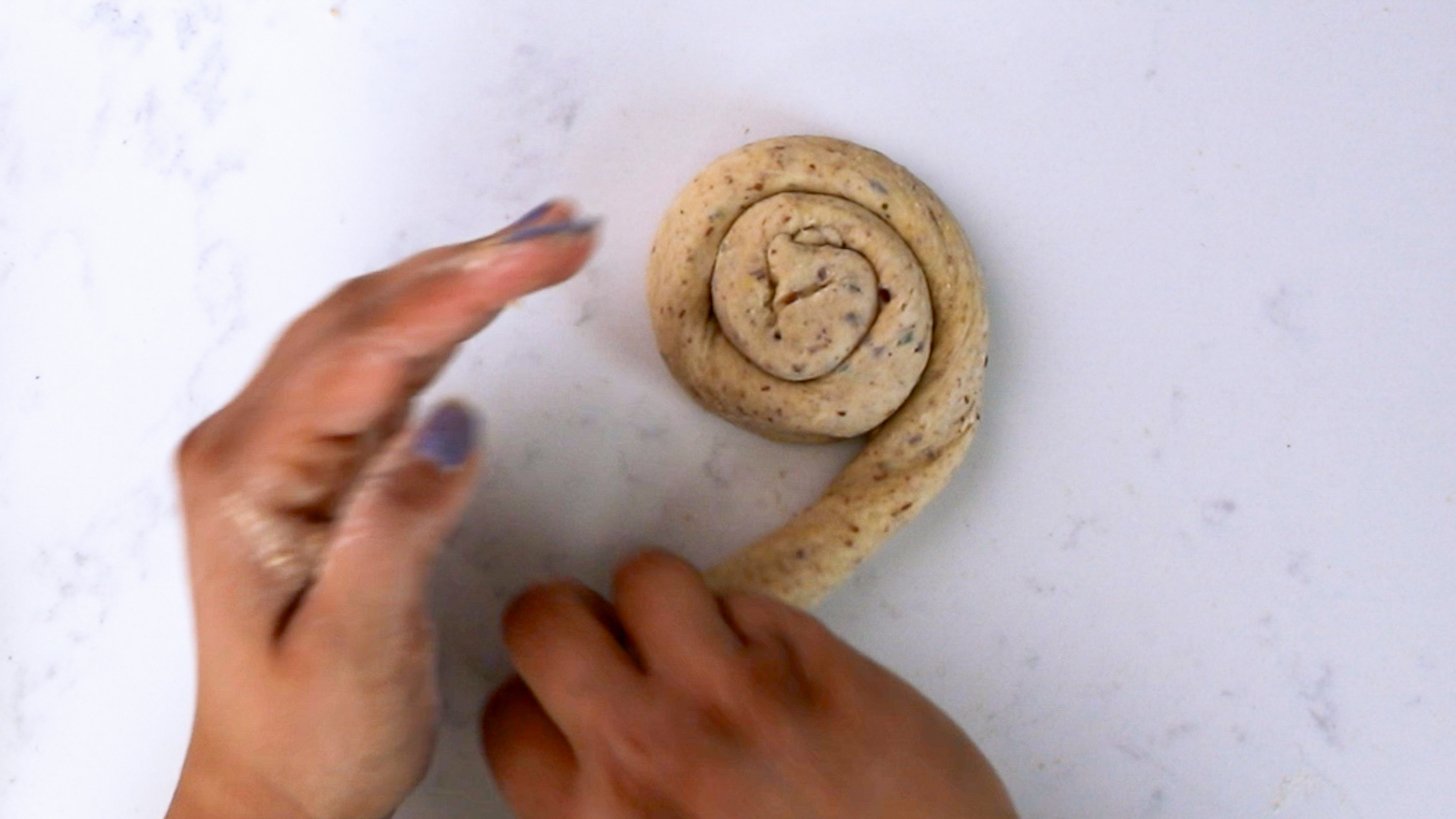
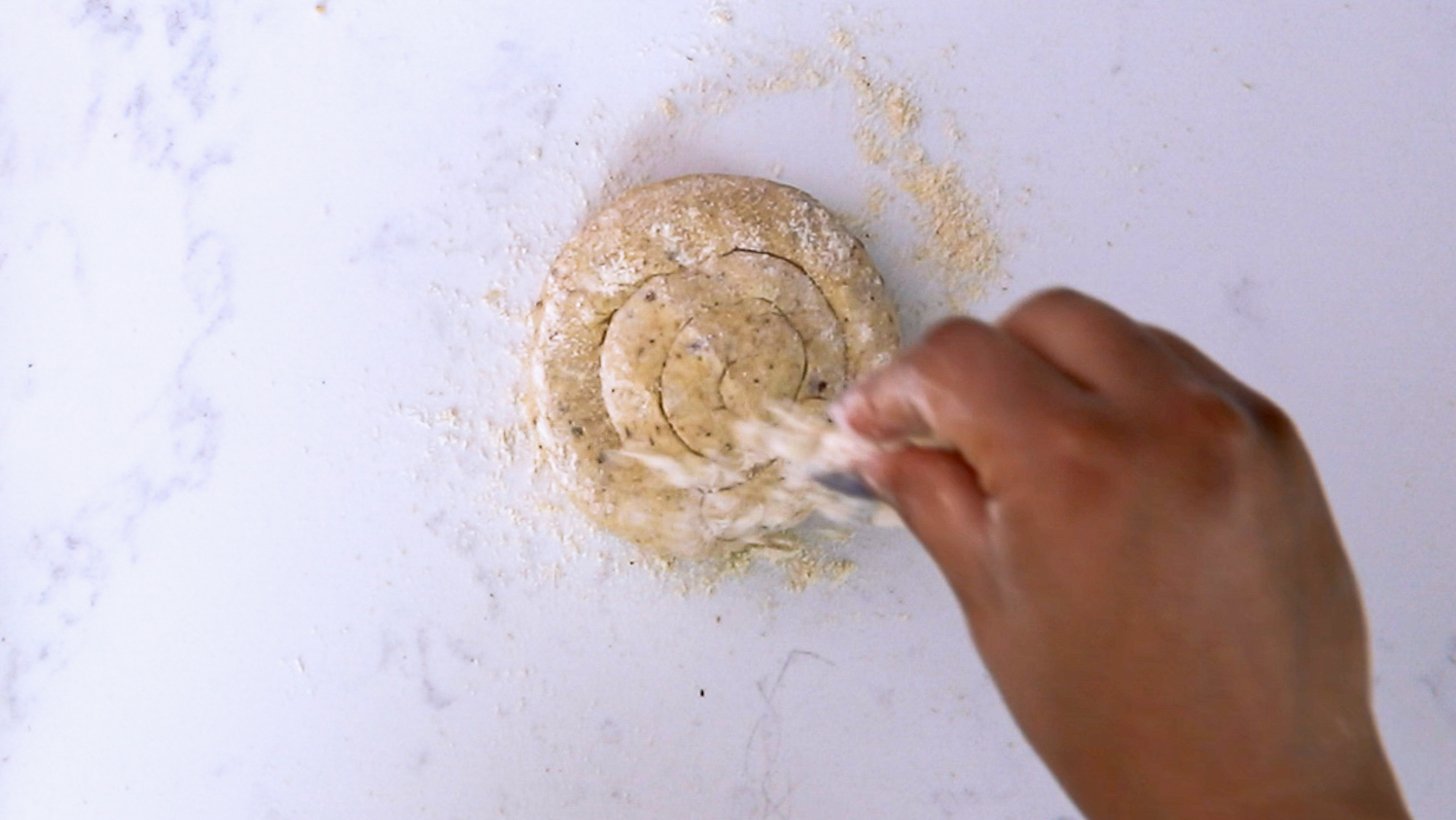
- Roll the dough into a cylinder shape and twist it to create a swirl.
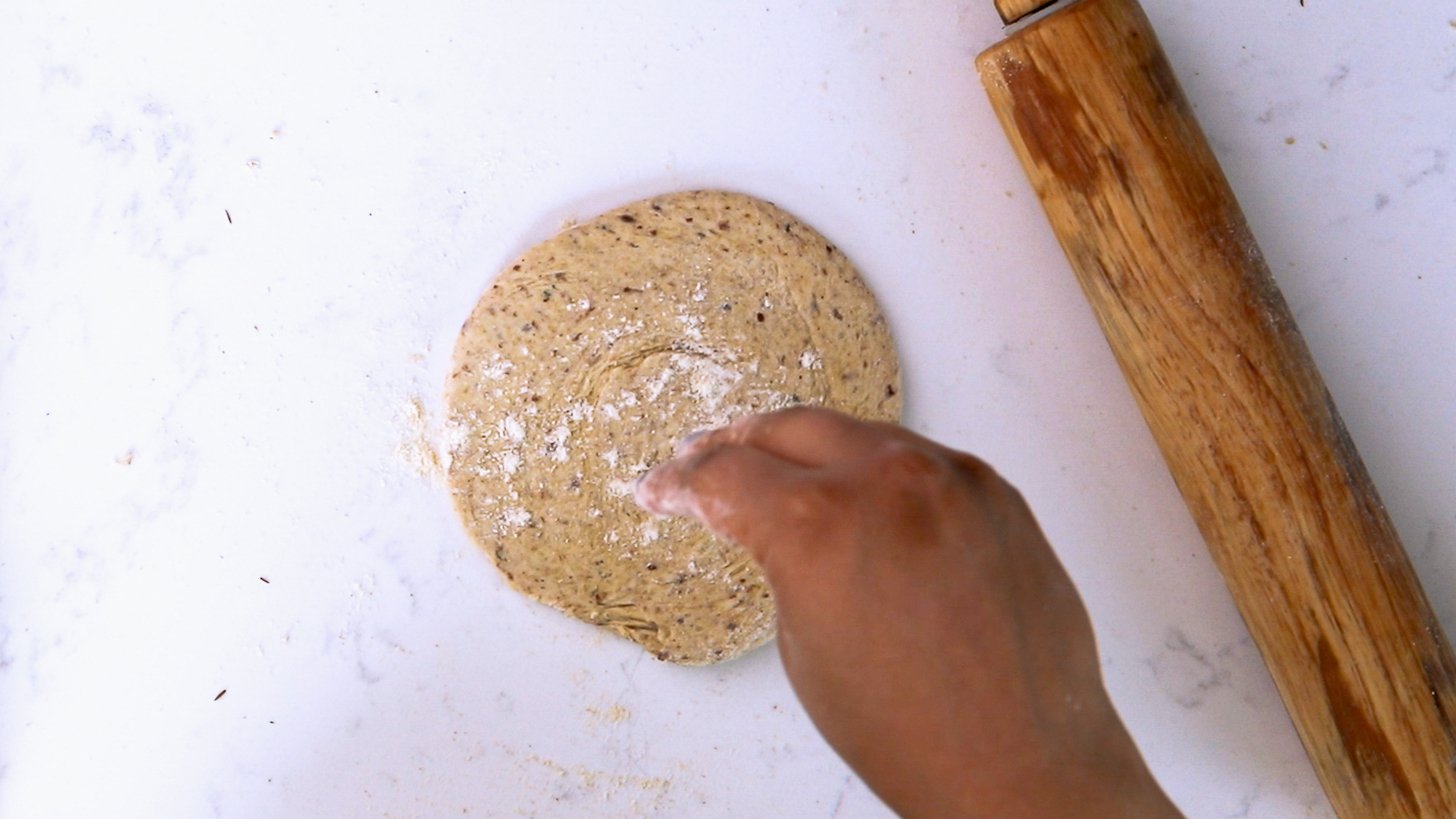
- Next, cover the entire swirl of dough with flour, and on a floured surface, roll it out using a rolling pin. Remember to sprinkle flour on the dough as you roll to prevent it from sticking to the surface. Roll until you achieve an 8-inch diameter.
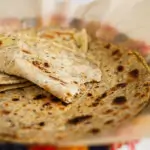
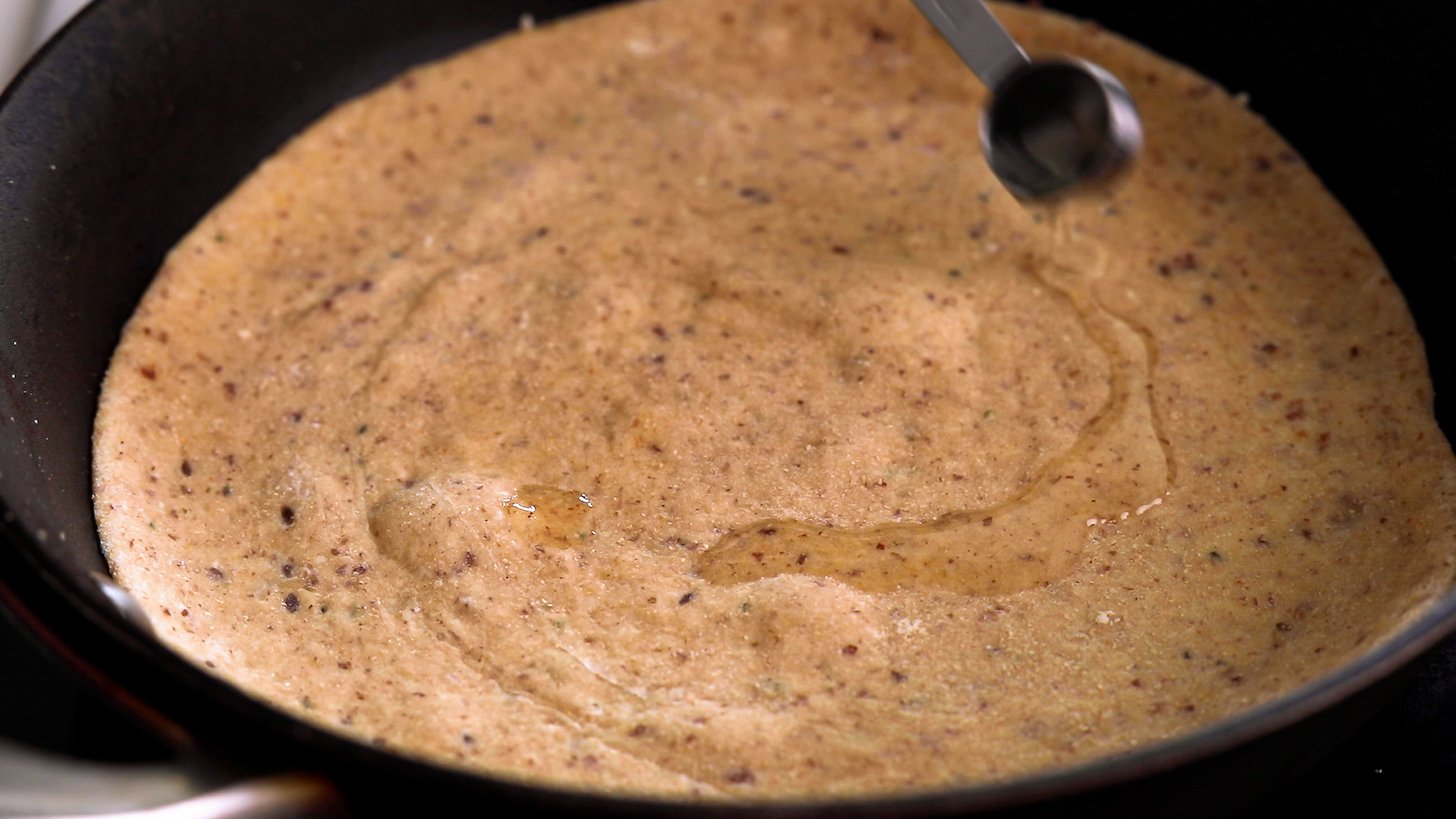
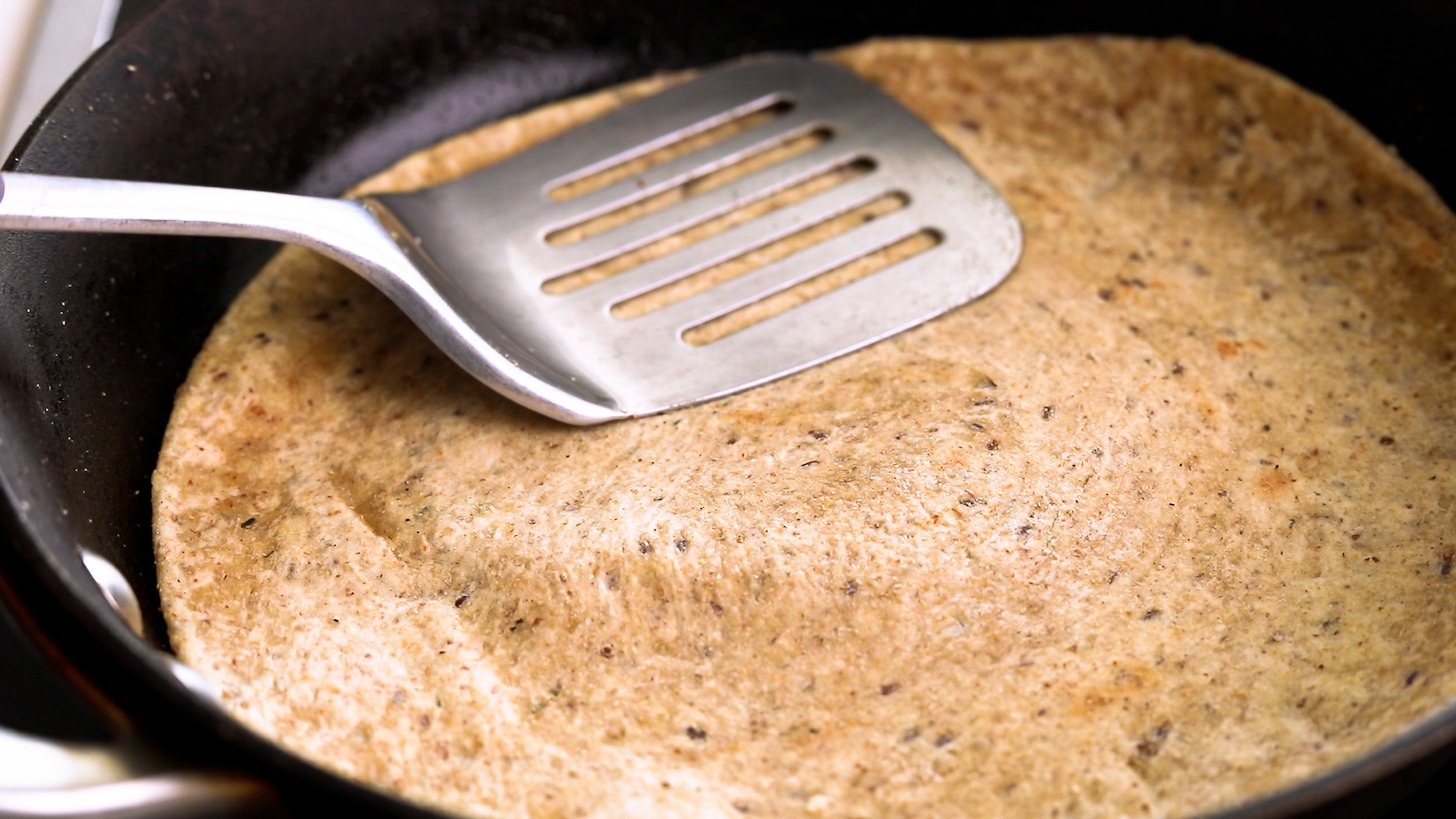
- Preheat a frying pan or tava over medium-high heat, and carefully place the rolled-out dough onto the pan or tava. Cook for a few minutes. When you notice air bubbles forming, add 1 tsp of oil.
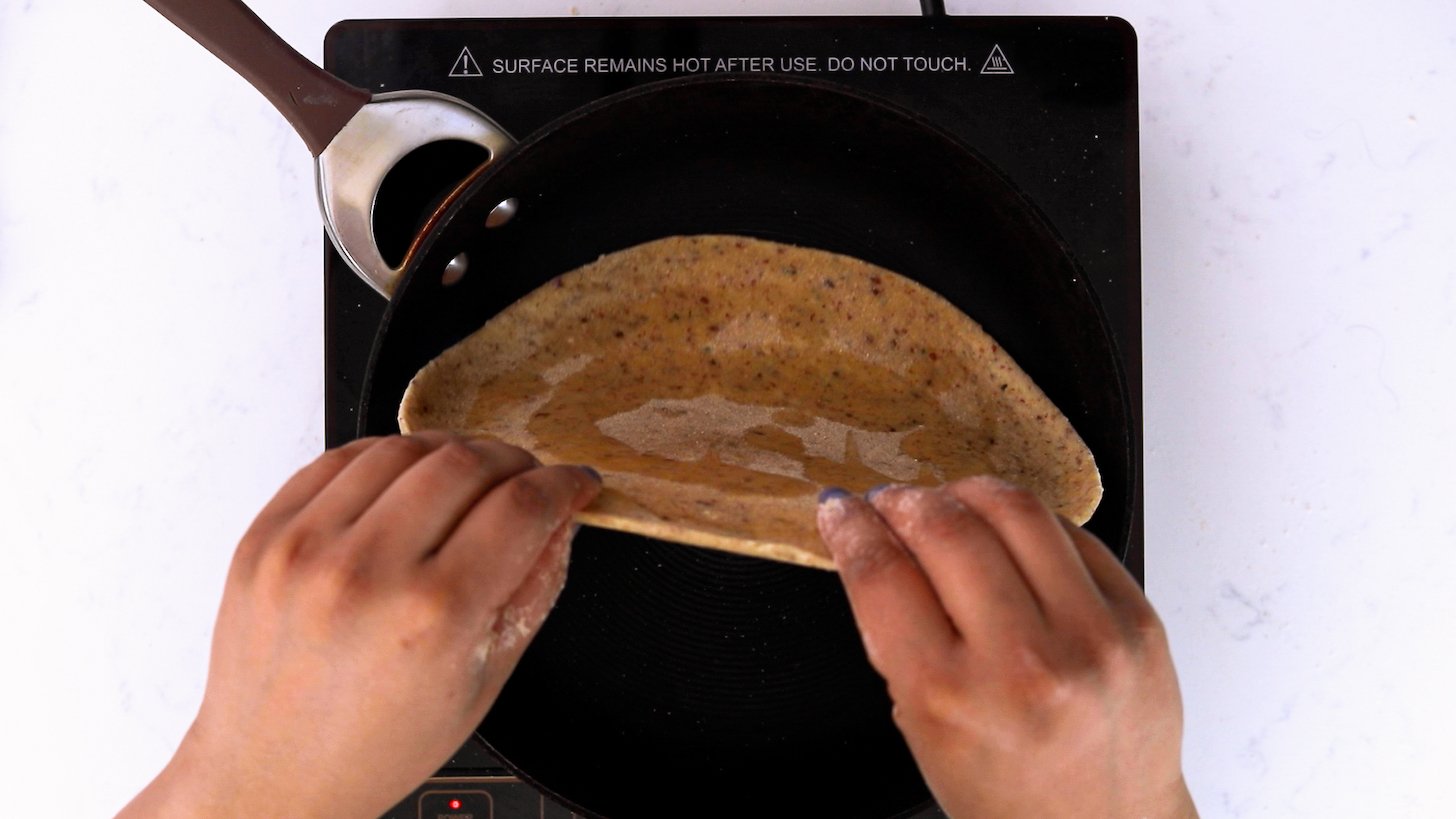
- Flip the dough gently and cook it for a few minutes. While it cooks, use a spatula to press and rotate the paratha.
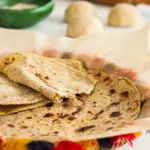
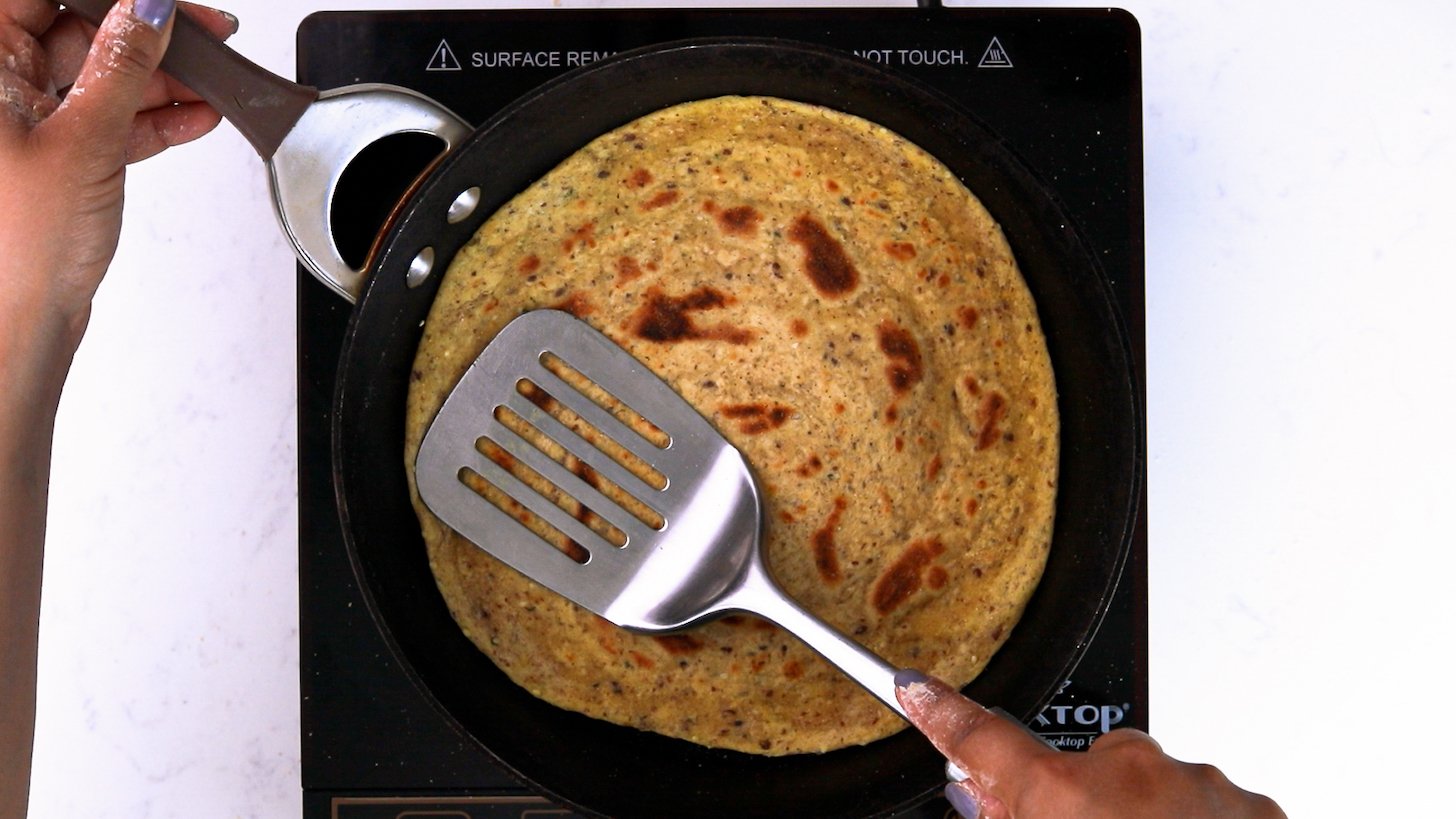
- After one side of the paratha turns golden, flip it. Use a spatula to press and rotate the paratha. This ensures the other side also becomes golden and crispy. Remove from the heat and enjoy.
Notes
Substitution don’t
- Regular all-purpose white flour won’t give you the same texture and flavour as an authentic paratha, so be sure to use chapati flour. You can find this type of flour in most South Asian supermarkets.
Add-ins and pairings
- Experiment with spices and herbs like cumin, coriander powder, ajwain and kasuri methi for flavour.
- Enjoy your warm parathas with some raita, pickle or curd or a spicy curry or tandoori chicken.
Nutrition Information:
Keep in mind that the nutritional values provided are approximations and suggestions, and might fluctuate depending on ingredient variations, portion sizes, and recipe adjustments. This nutrition facts table cannot account for your individual needs. Your body — including your hunger and satiety cues — change daily. It’s perfectly fine to eat more or less on different days. Instead of letting food guilt take over, consider mindful eating.
* Percent Daily Values are based on a 2000 calorie diet.