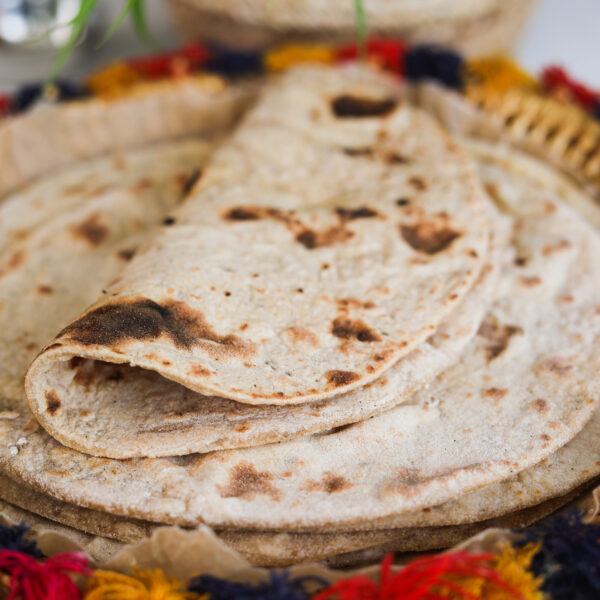


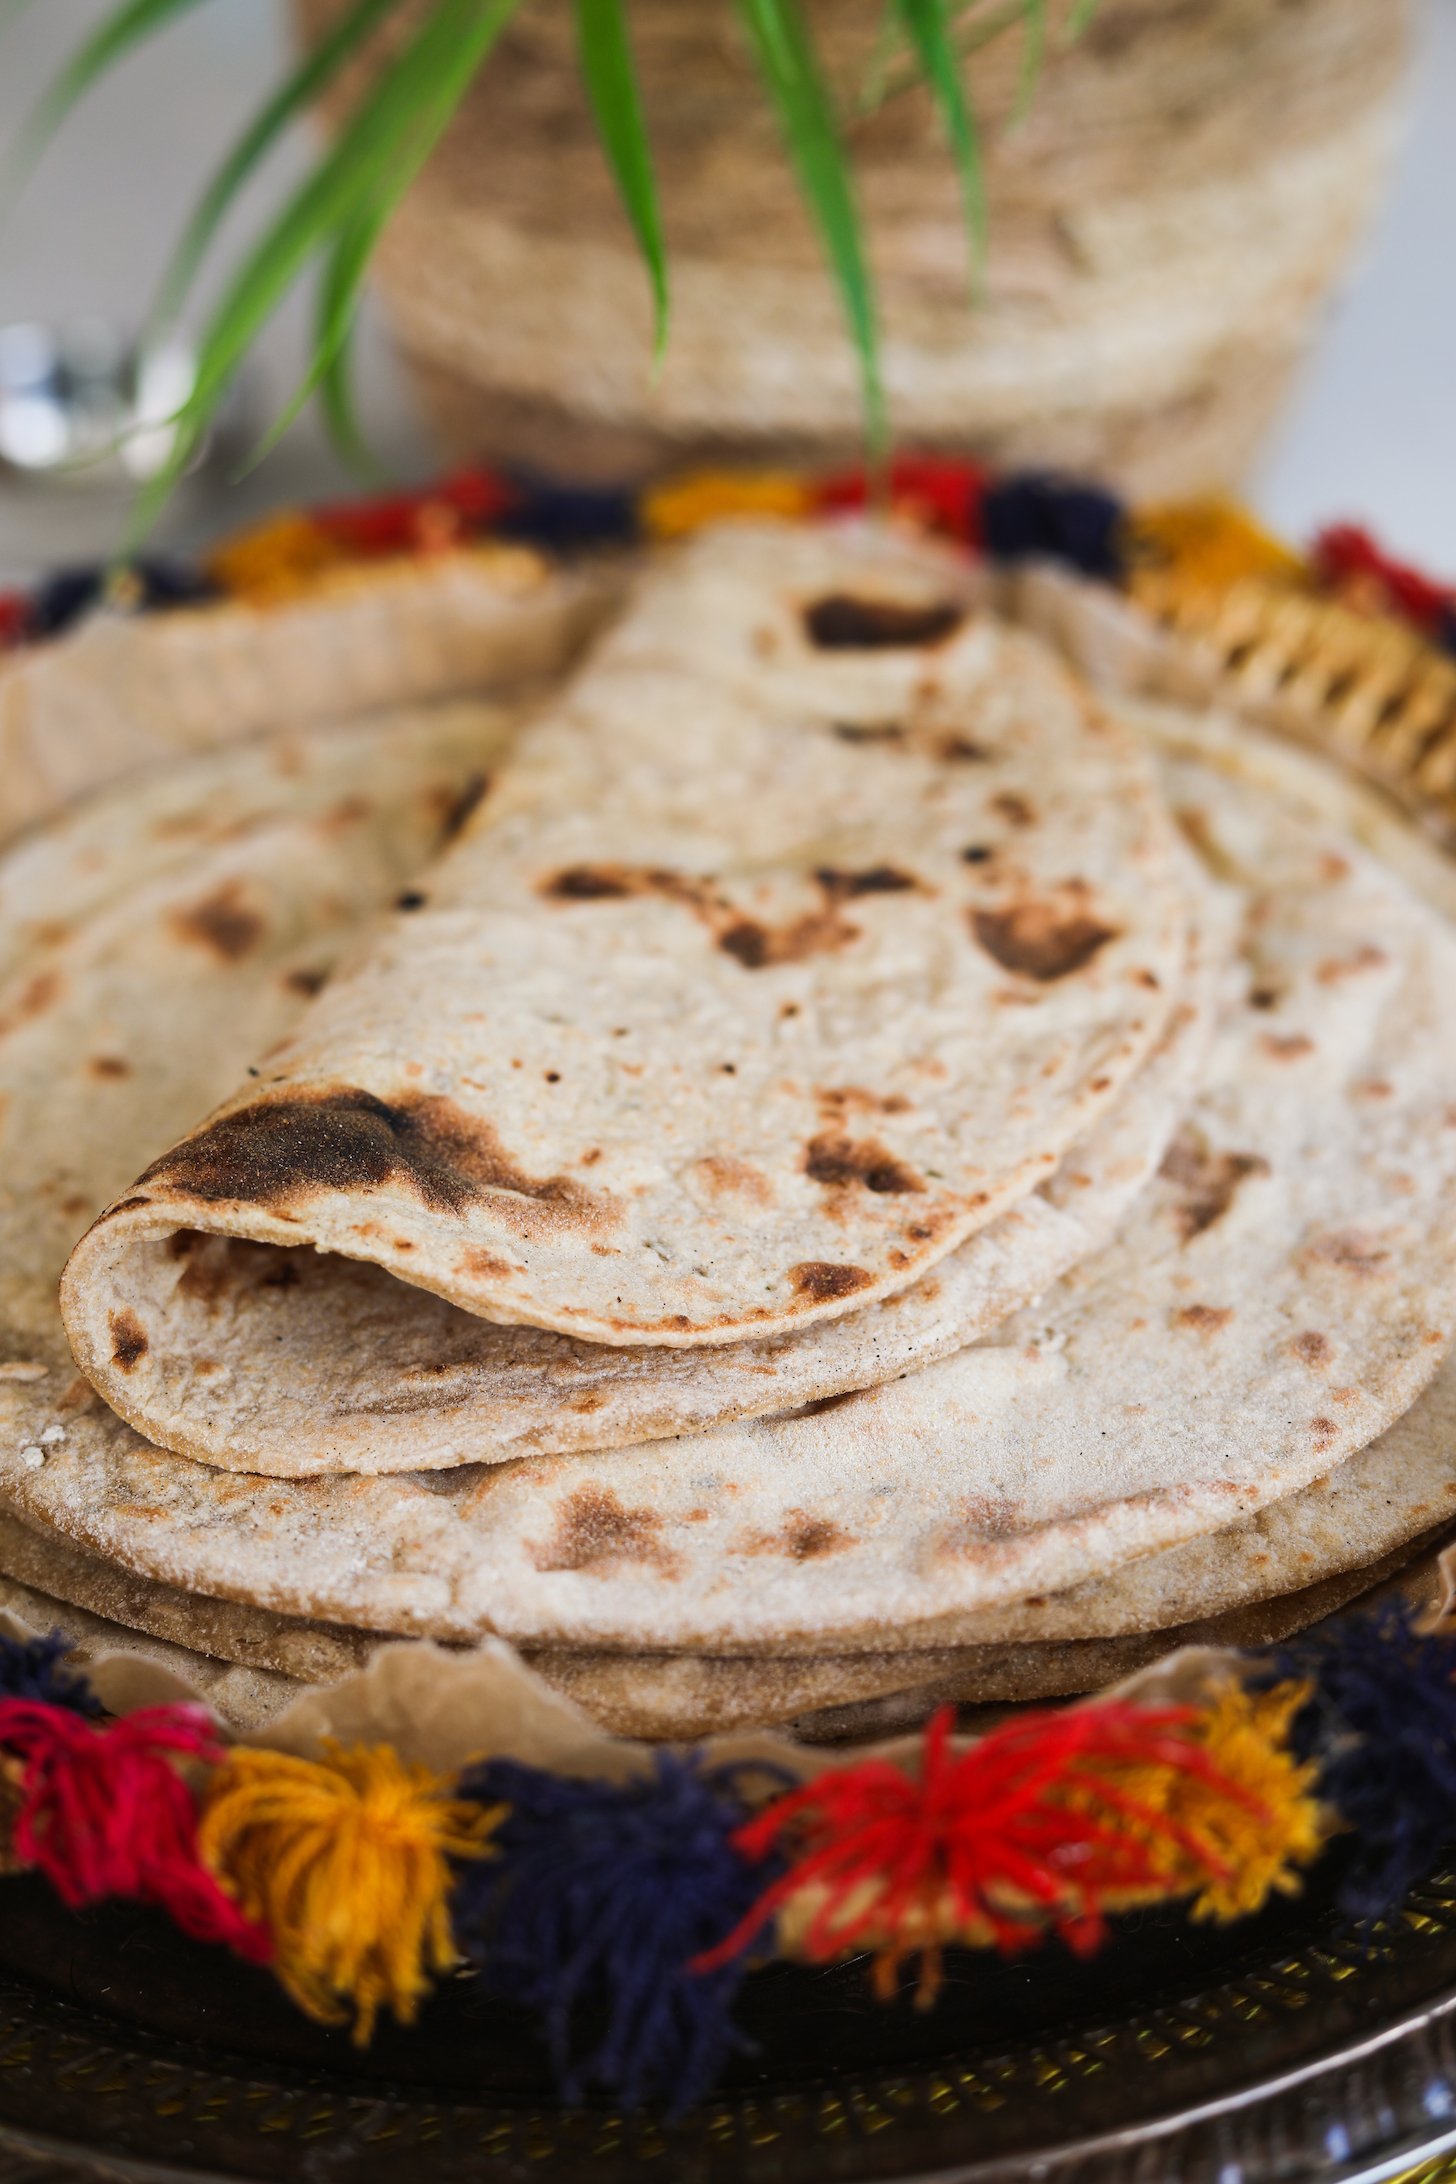
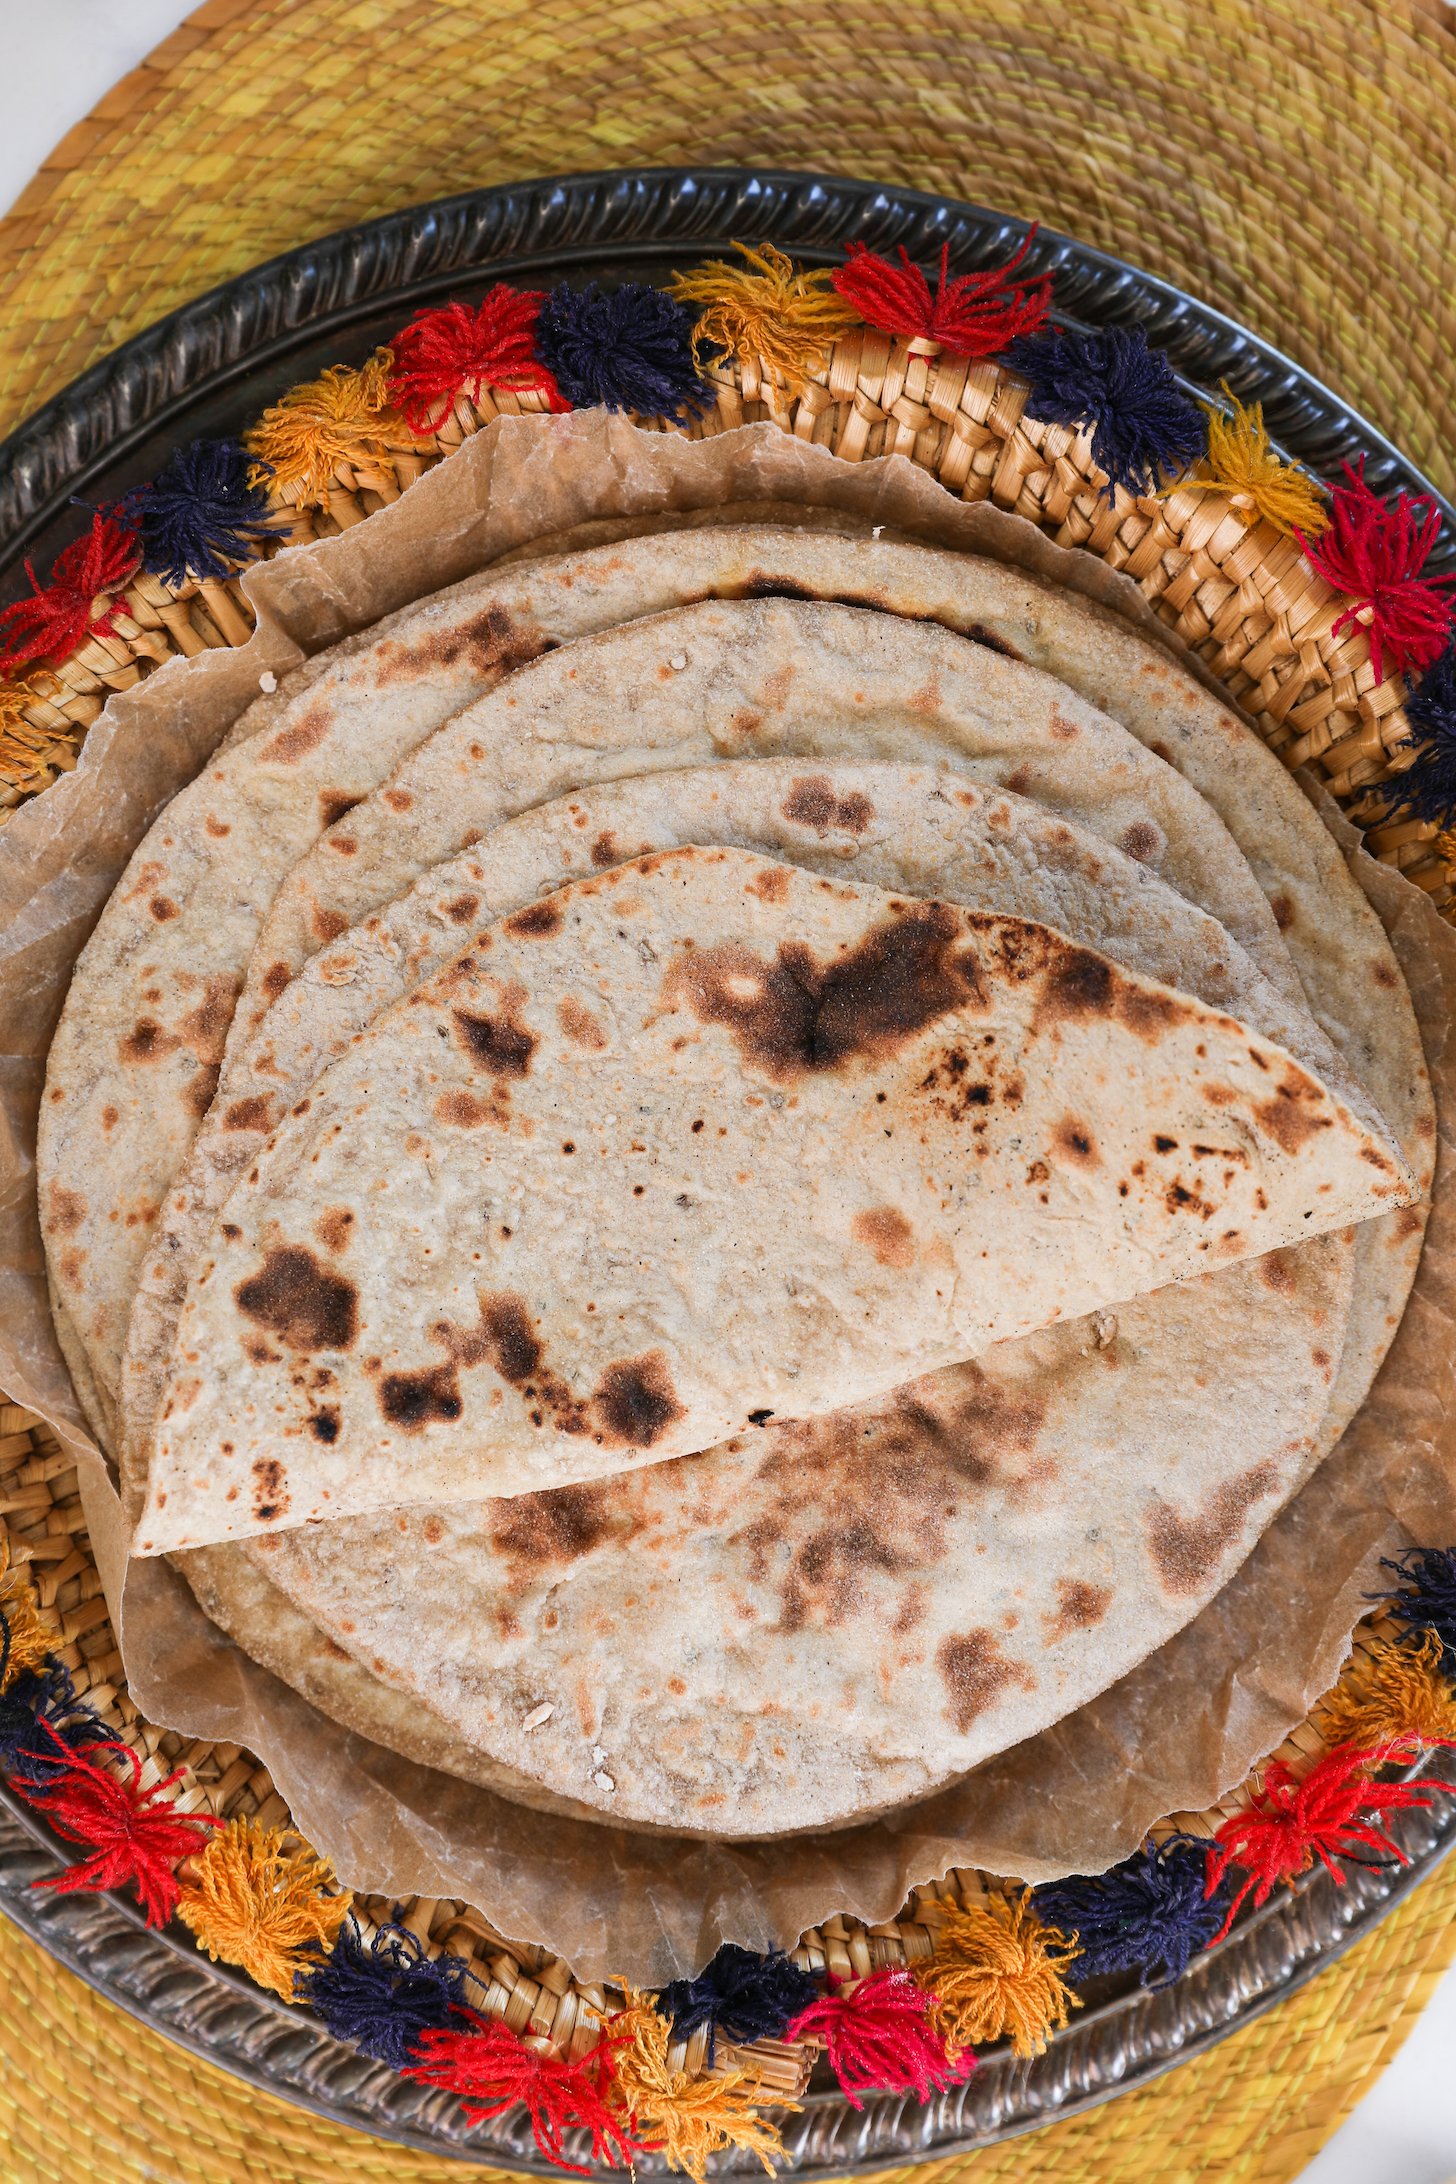
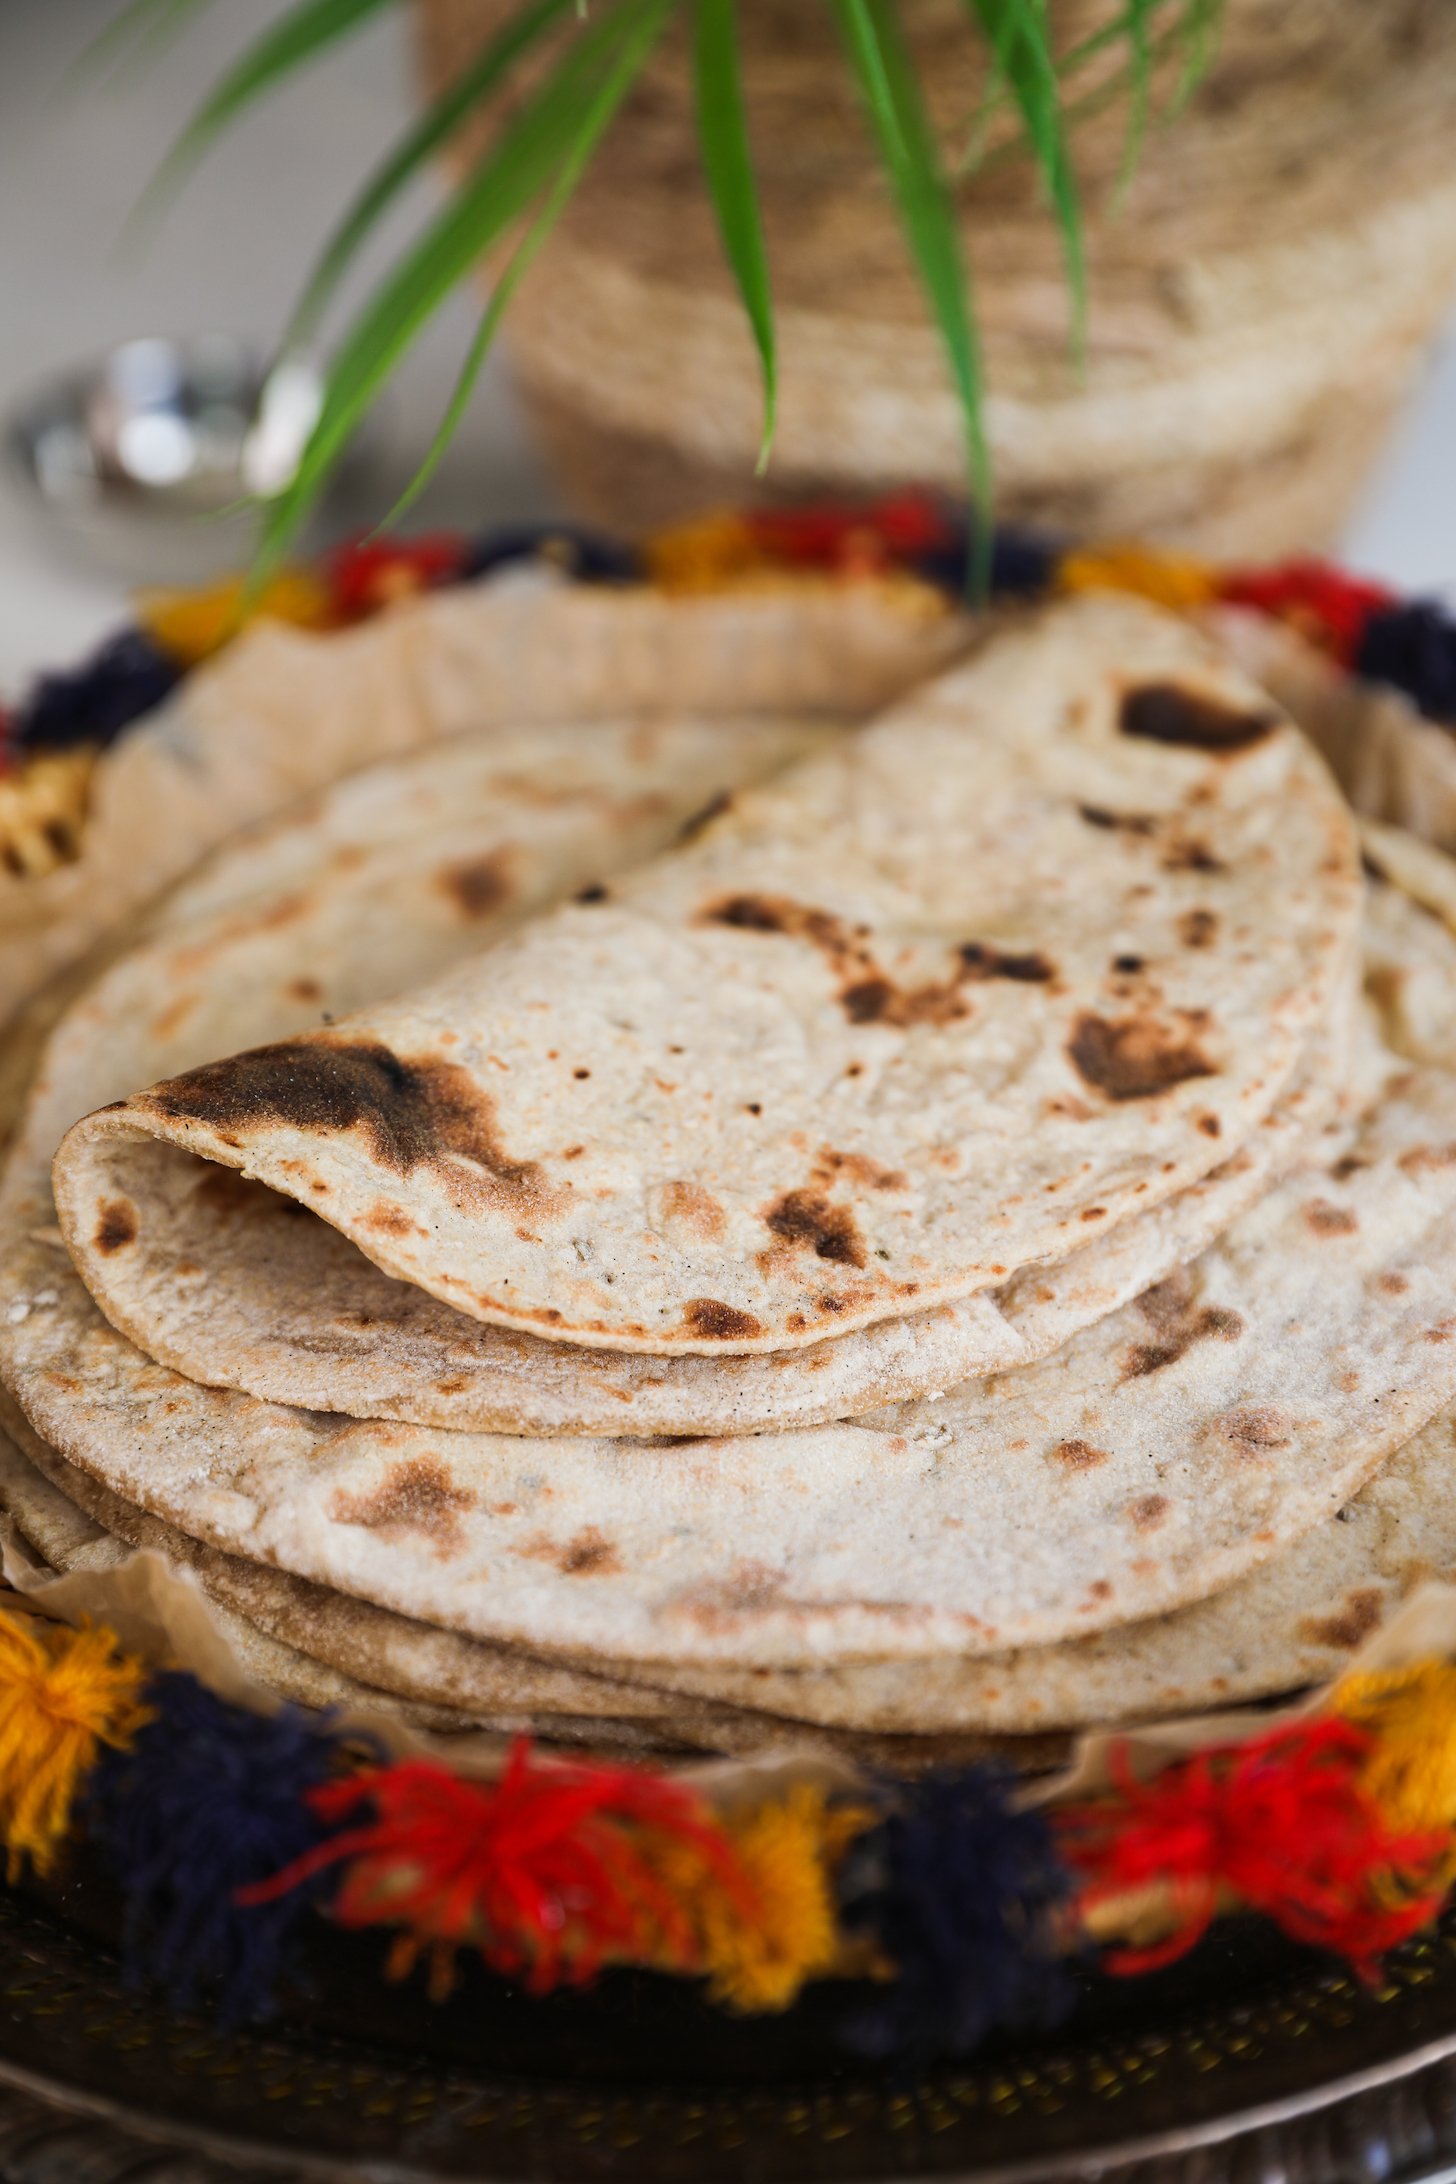
Get ready to sink your teeth into a big, fluffy hot Indian roti—lightly crisp on the edges, yet oh-so-soft in the middle. Pair with rich and creamy butter chicken for a truly indulgent meal, or enjoy the perfect combination of textures when you scoop up this vegan tikka masala.
Those early moments with my grandmother were the beginning of a delicious journey—one filled with laughter, love, and, of course, lots of roti! Now, as a dietitian, I’m thrilled to share this treasured family recipe with you. And I invite you to experience the joy and nostalgia it brings as you create your own cherished memories around the tava.
So, grab your rolling pin and let’s make some magic together!
Nutrition highlights
Yes, this easy roti recipe is a source of goodness:
- Dietary fiber galore, all thanks to whole wheat atta (flour)! Yes to better blood sugar control!
- Zero oil involved—because why not keep things light and easy?
- Plus, a source of protein to keep those hunger pangs at bay!
Roti ingredients
Let’s delve into the essentials for crafting these soft and delightful flatbreads:
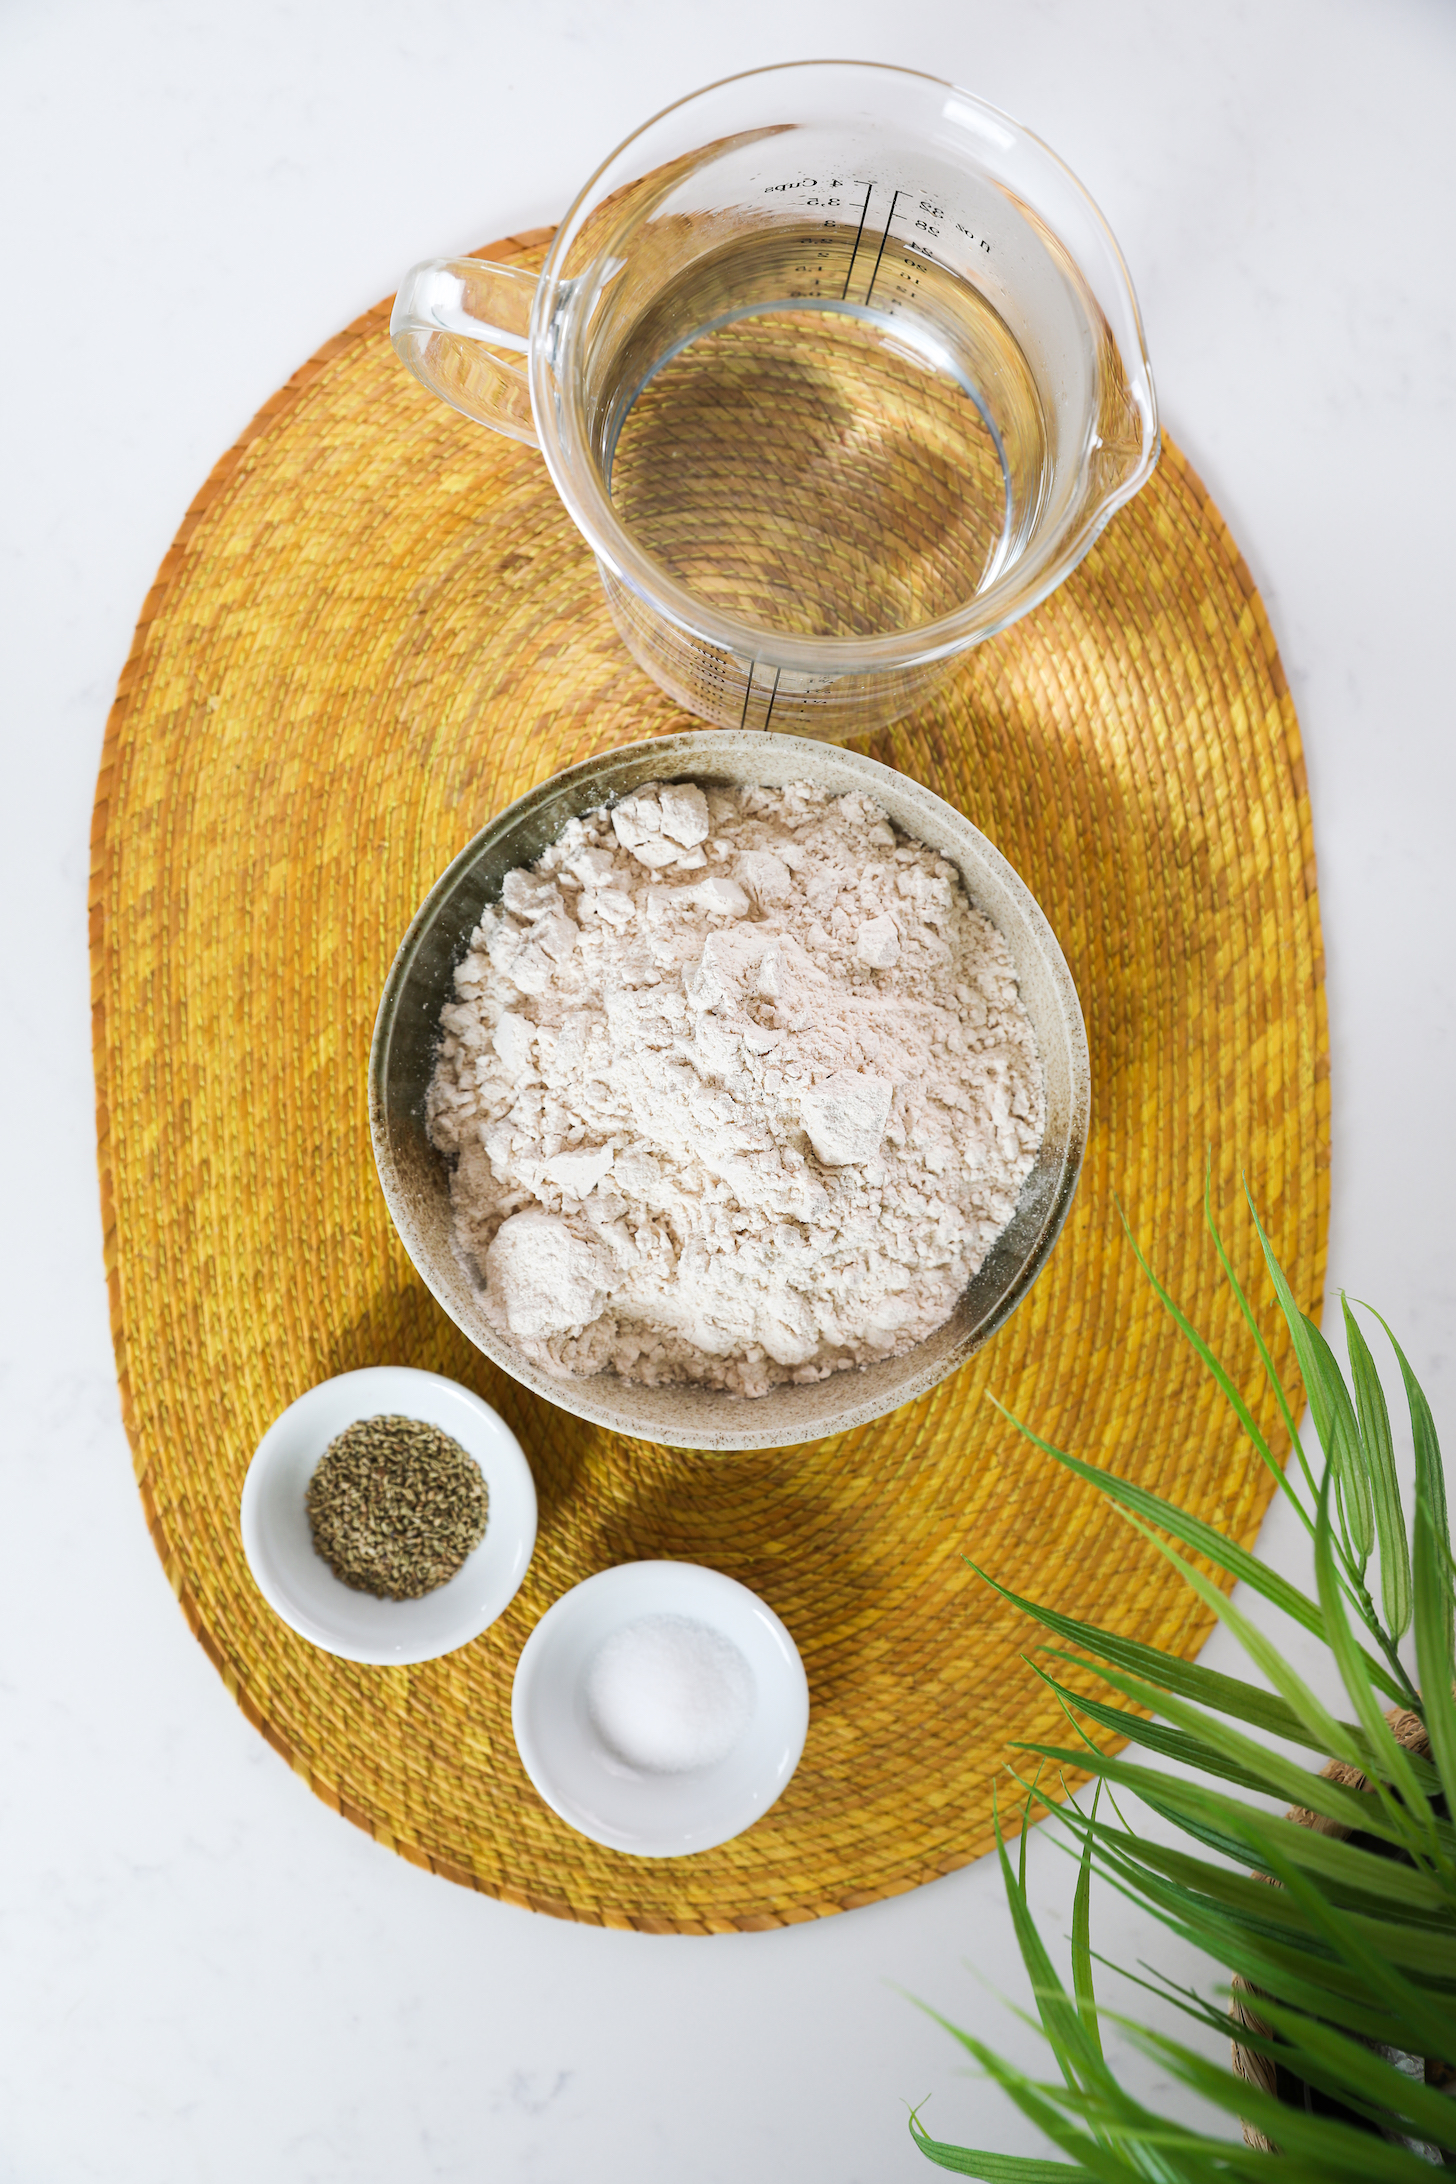
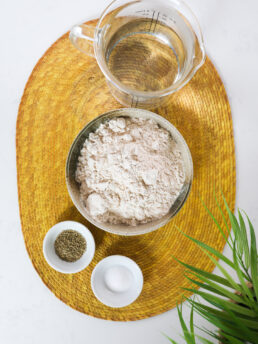
- Whole Wheat Flour: The heart and soul of roti, whole wheat flour (atta) provides the base for that wholesome and nutty flavour.
- Water: Simple, yet crucial! Adding warm water to the flour helps form the dough and activates the gluten for a soft texture.
- Dash of Salt: Just a dash is enough to enhance the taste and balance the flavours in your roti.

How to make roti
Cooking method tip to achieve perfectly soft roti
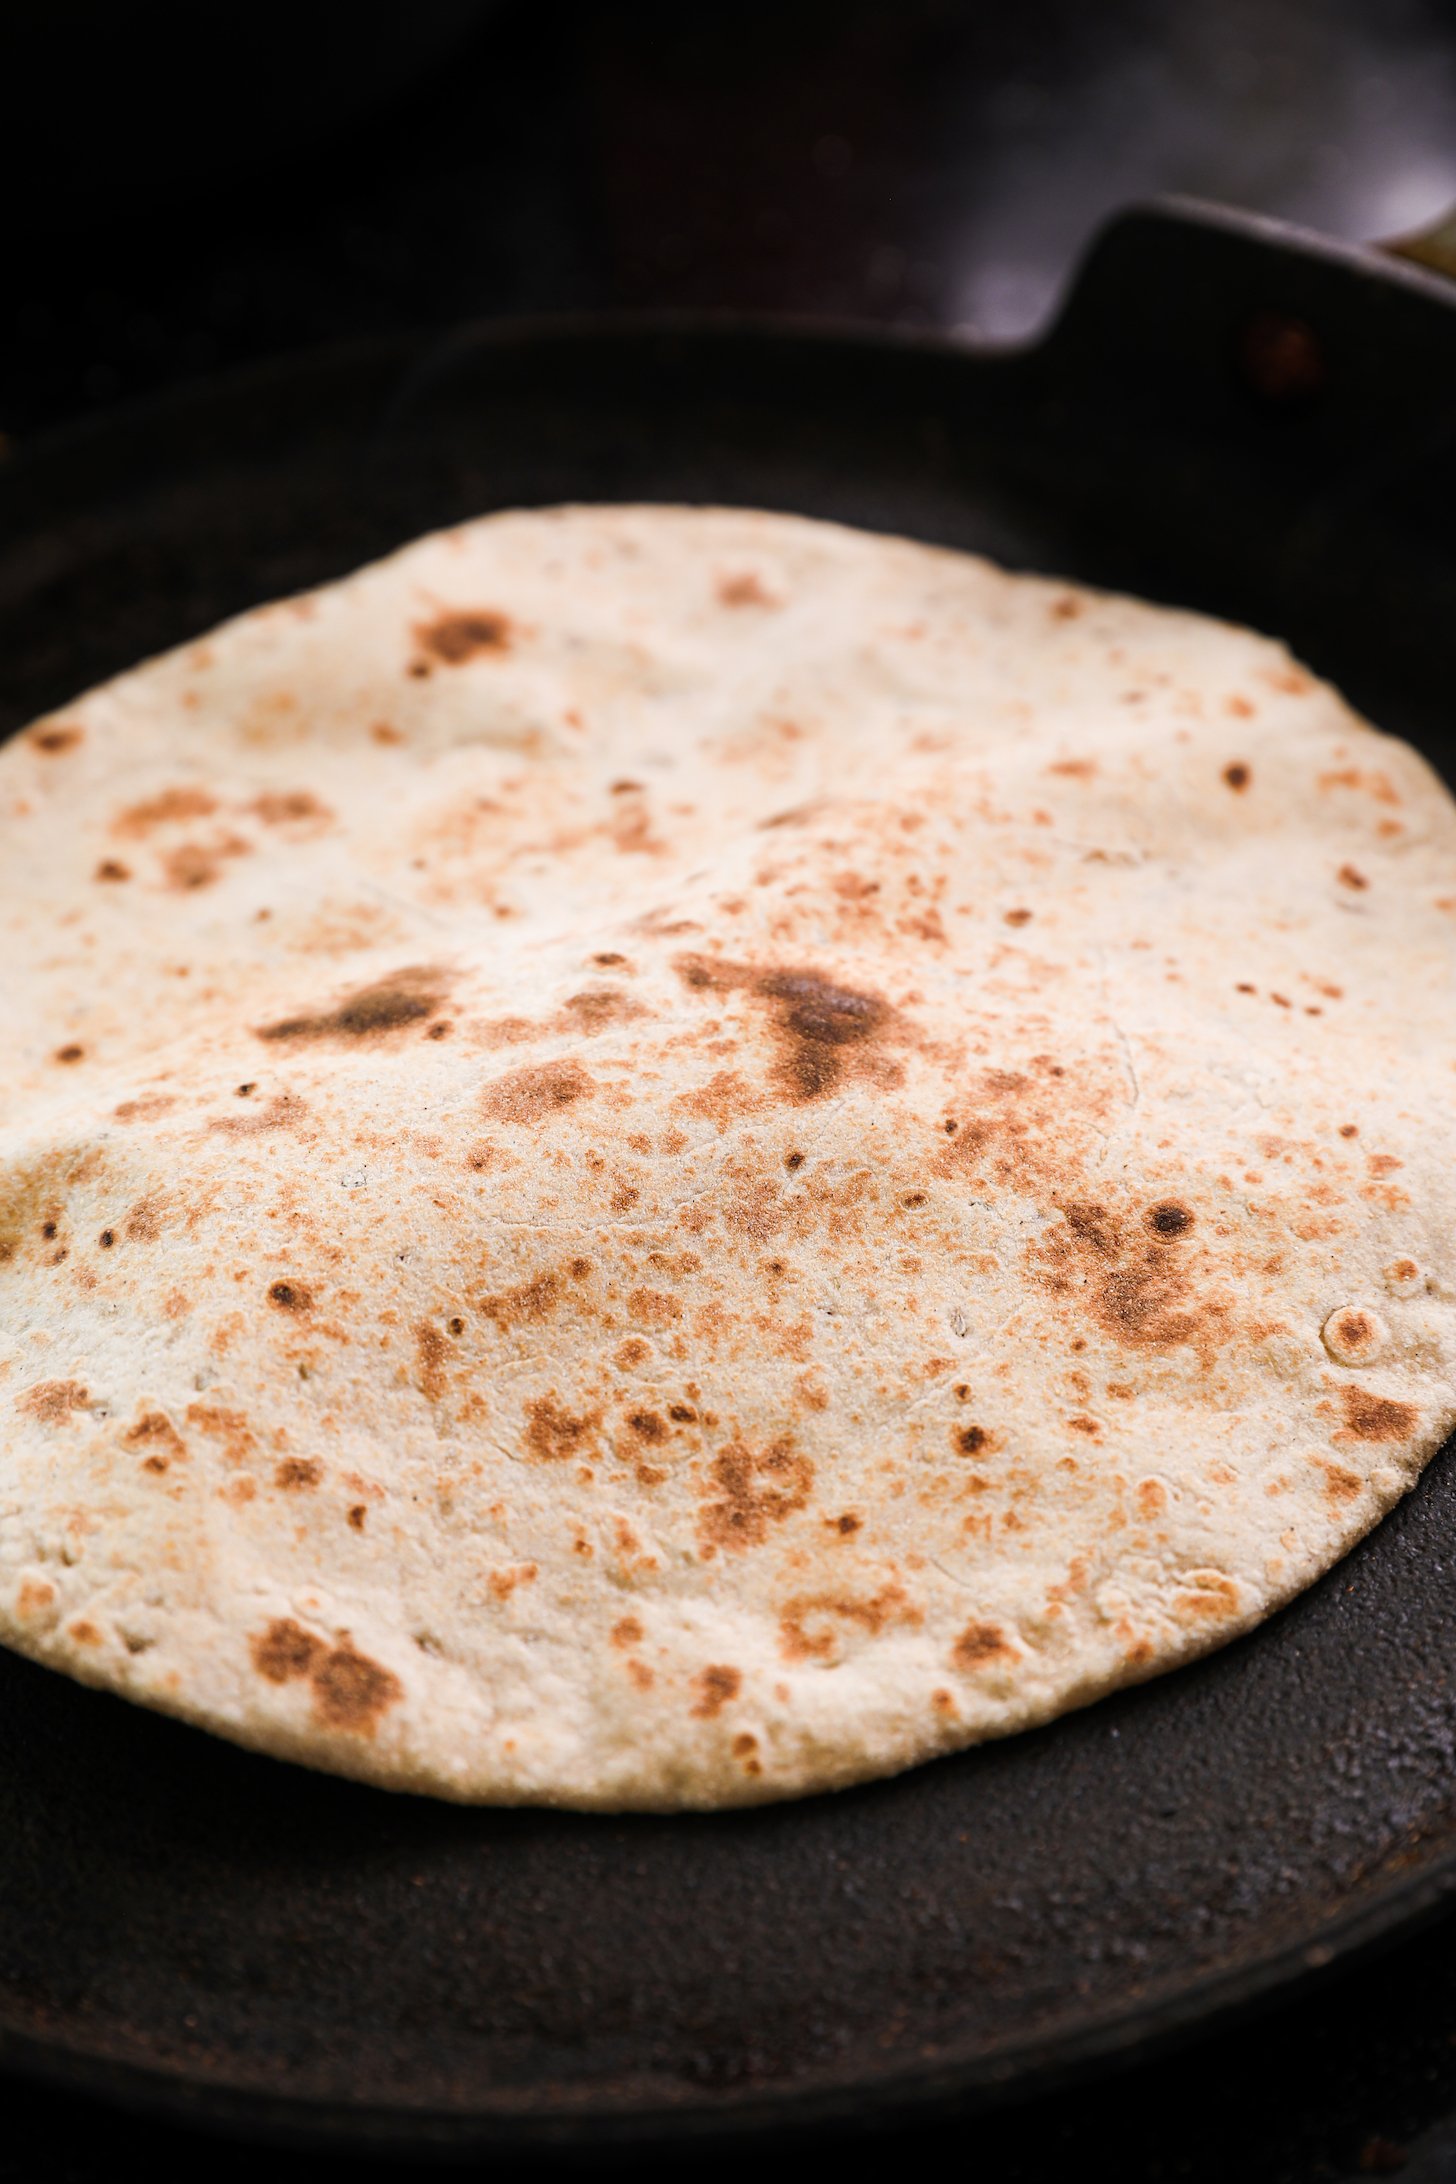
Mind the cooking time—avoid overcooking, which can result in a dry, tough texture. Cook until just puffed and golden brown on both sides.
Food safe storage
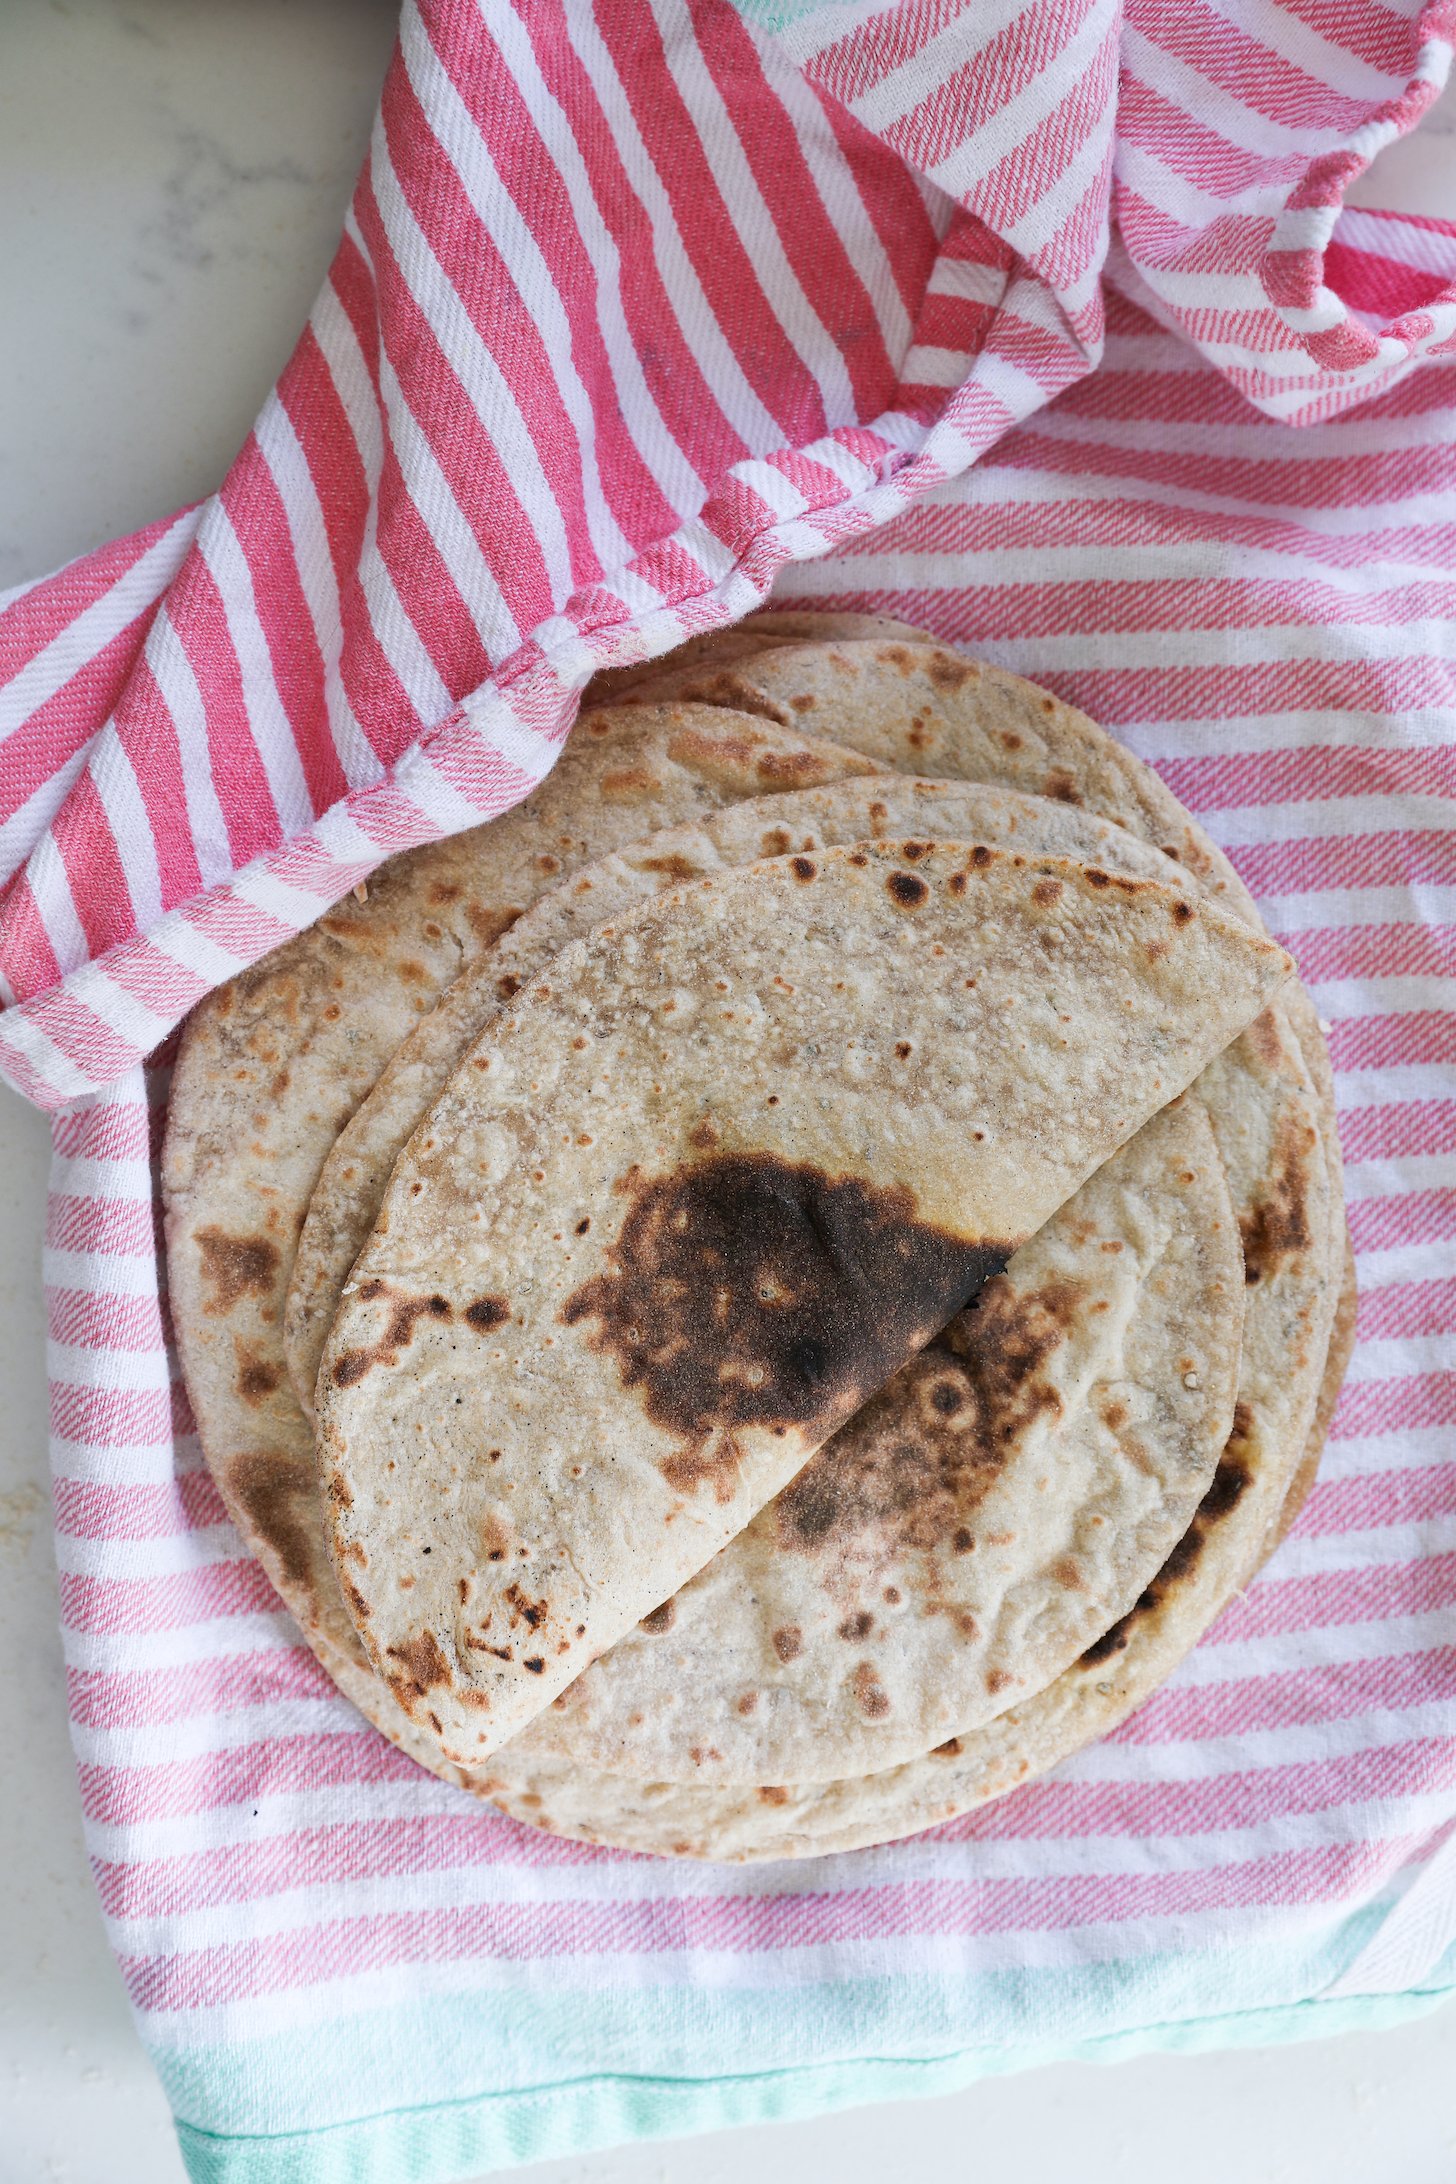
Best savored fresh and warm, our oil-free roti retains its softness when enjoyed immediately. For small batches, keep them covered by wrapping in a clean kitchen towel. Remember, they lose their softness over time. If you need to store them, a touch of oil or ghee will help prevent drying out.

Why is my roti never soft?
Been there, done that! Through my roti-making journey, I’ve stumbled upon a few game-changers that totally transformed my roti game:
- Insufficient Kneading: Skipping the kneading can affect the dough’s elasticity, leading to less-than-soft rotis.
- Uneven Rolling: Whether your roti ends up too thick or too thin, it can throw off the cooking process and impact the softness.
But no worries!
Pay attention to cooking time, give that dough a solid knead, and roll it out evenly. With a bit of practice, you’ll be whipping up soft rotis like a pro in no time! 🙂
Remember, even if your roti’s shape is more abstract art than perfect circle, it’s all part of the fun! Share your feedback in the comments below, rate the recipe, and if you’re feeling extra excited, snap a picture of your roti and share it on Instagram with the hashtag #DesiliciousRD. Let’s celebrate the joy of cooking together and keep this tradition alive!

Get the Recipe:
Fresh And Hot Soft Indian Roti Recipe
Ingredients
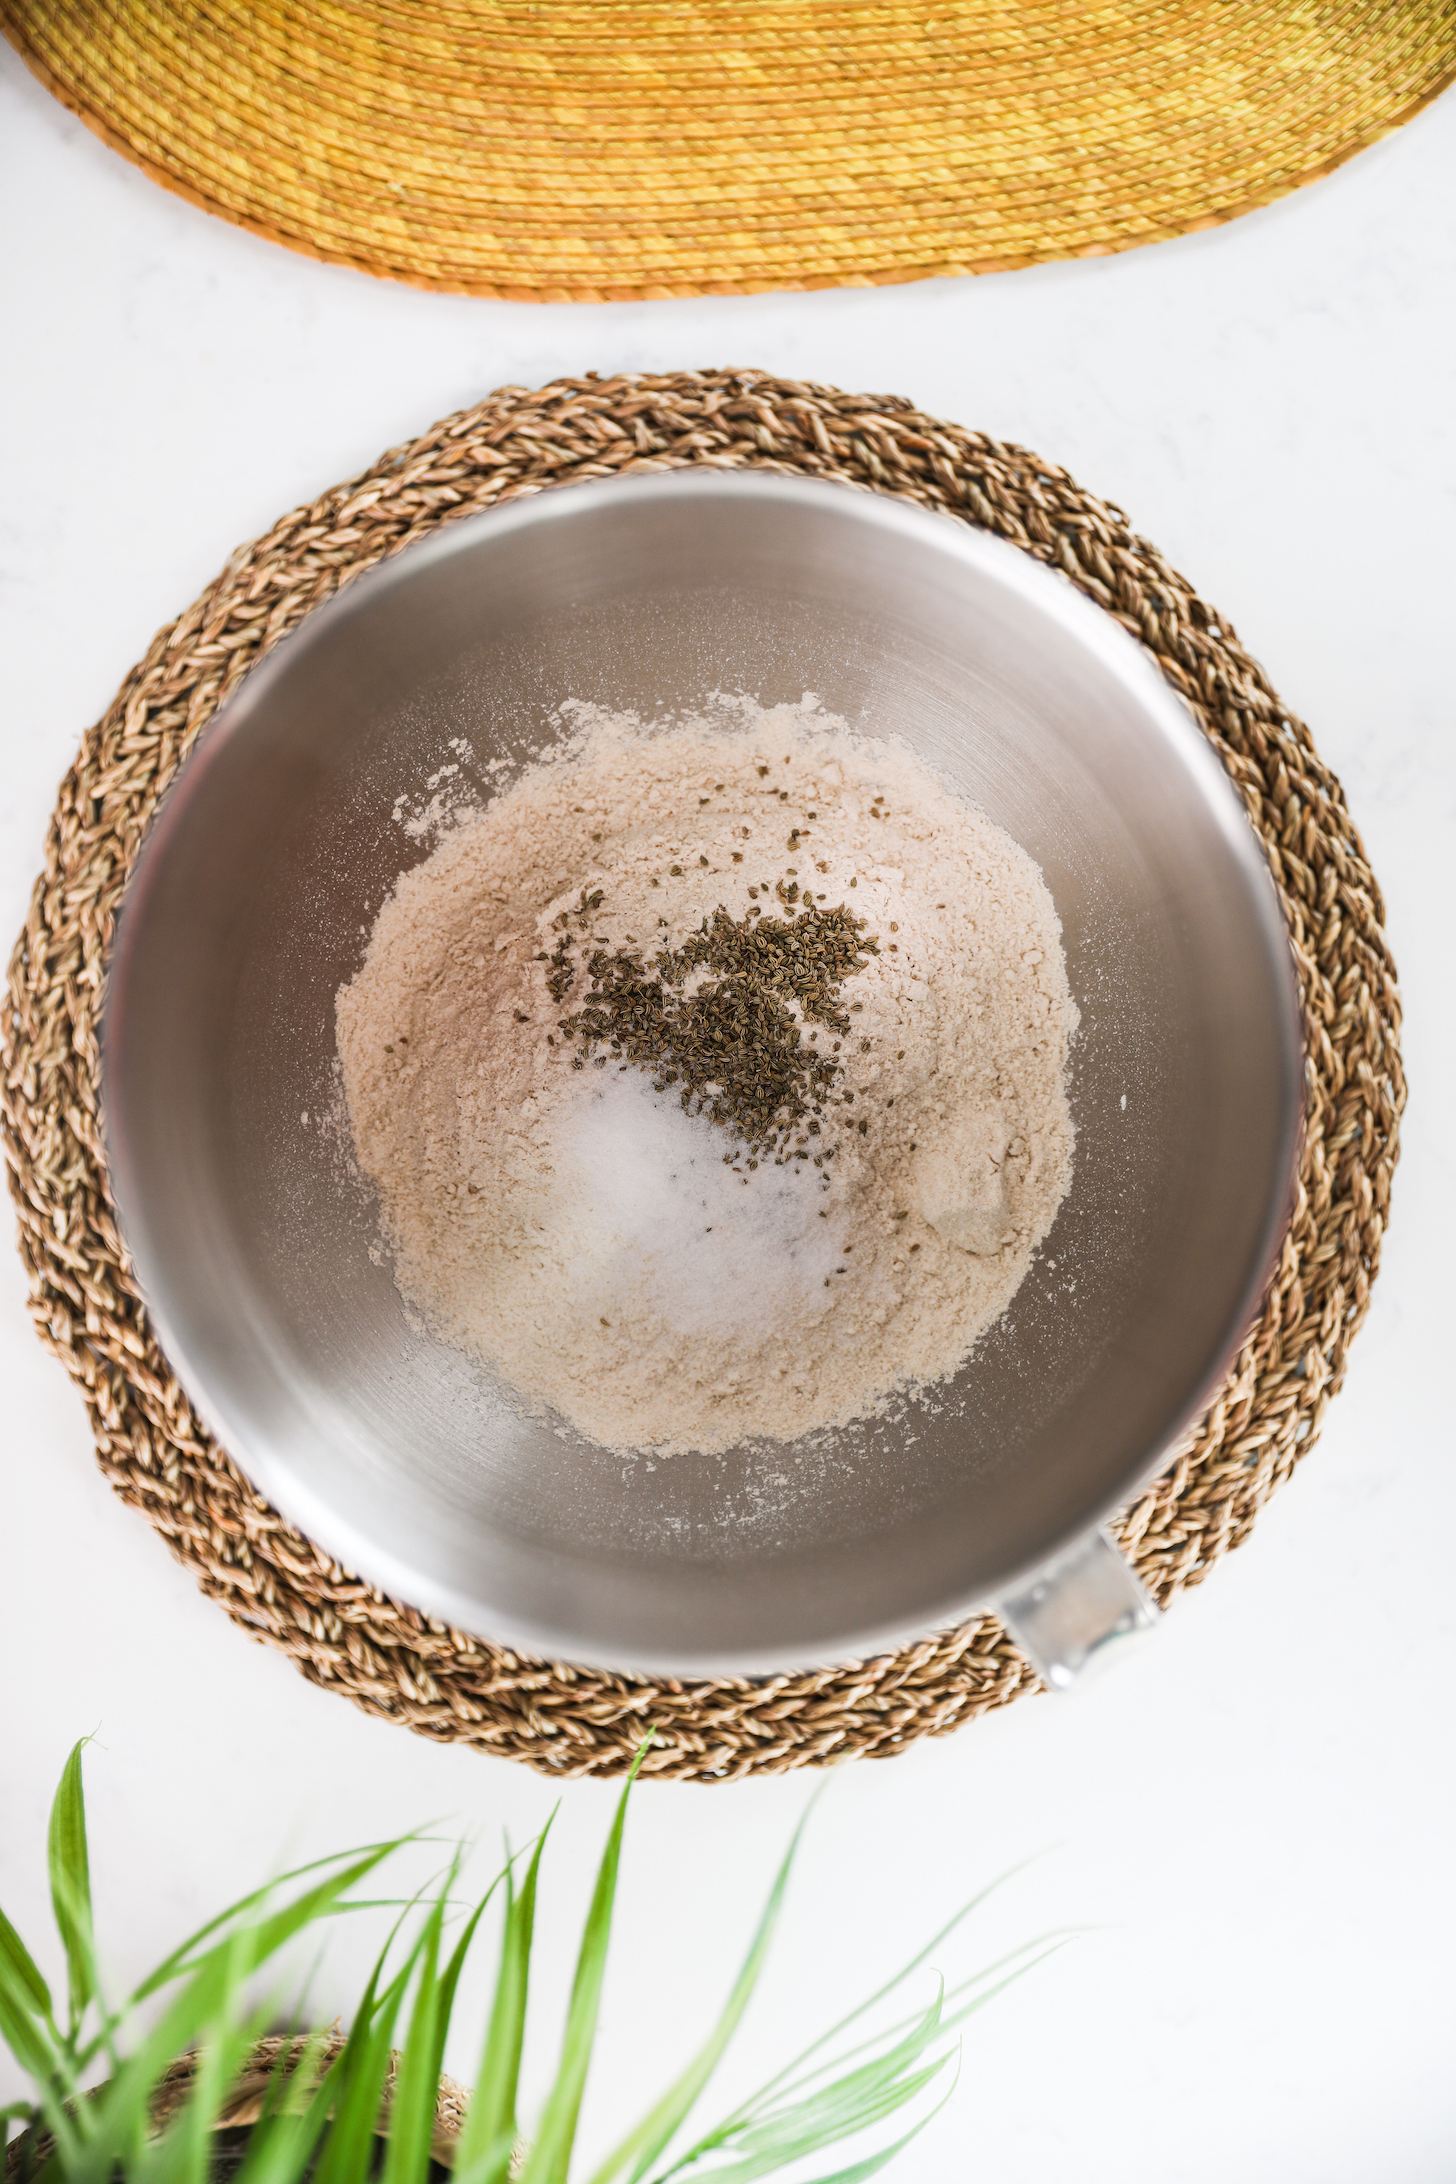
- 2½ cups wholewheat roti flour, plus extra for dusting and rolling
- ½ tbsp carom seeds
- 1 tsp salt, sea salt
- 1½ cups water, lukewarm
Equipment
- 1 stand mixer optional
Instructions
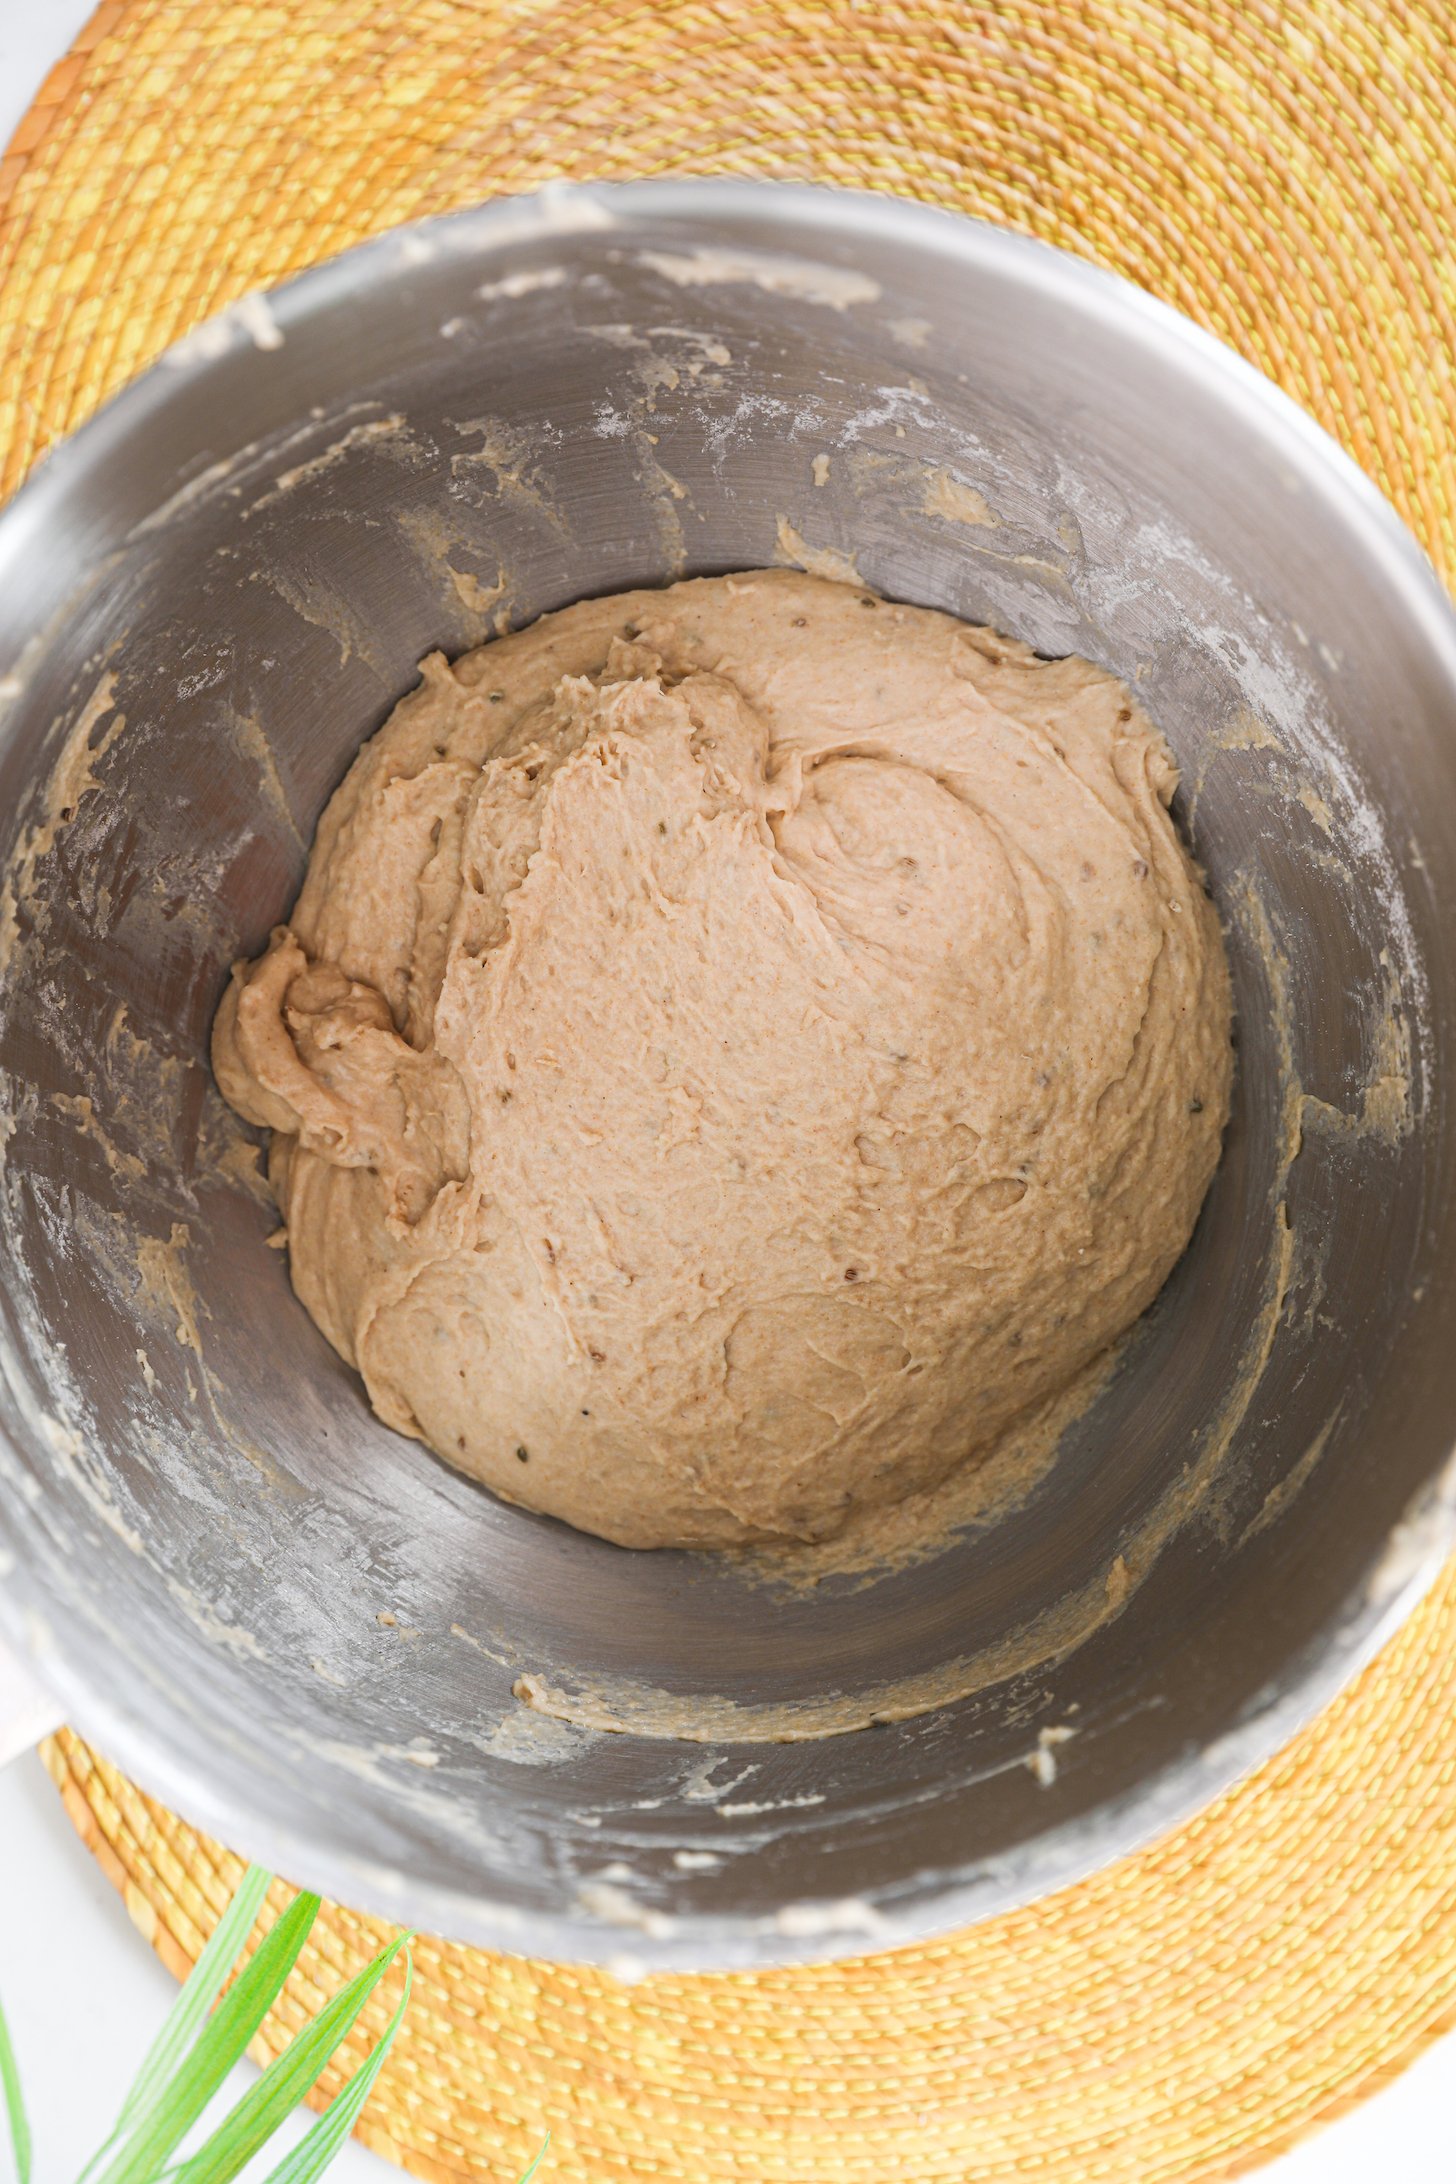
- Combine: In a mixing bowl, mix whole wheat flour, carom seeds, salt, and warm water until it forms a soft dough. You can also use a stand mixer if you prefer.
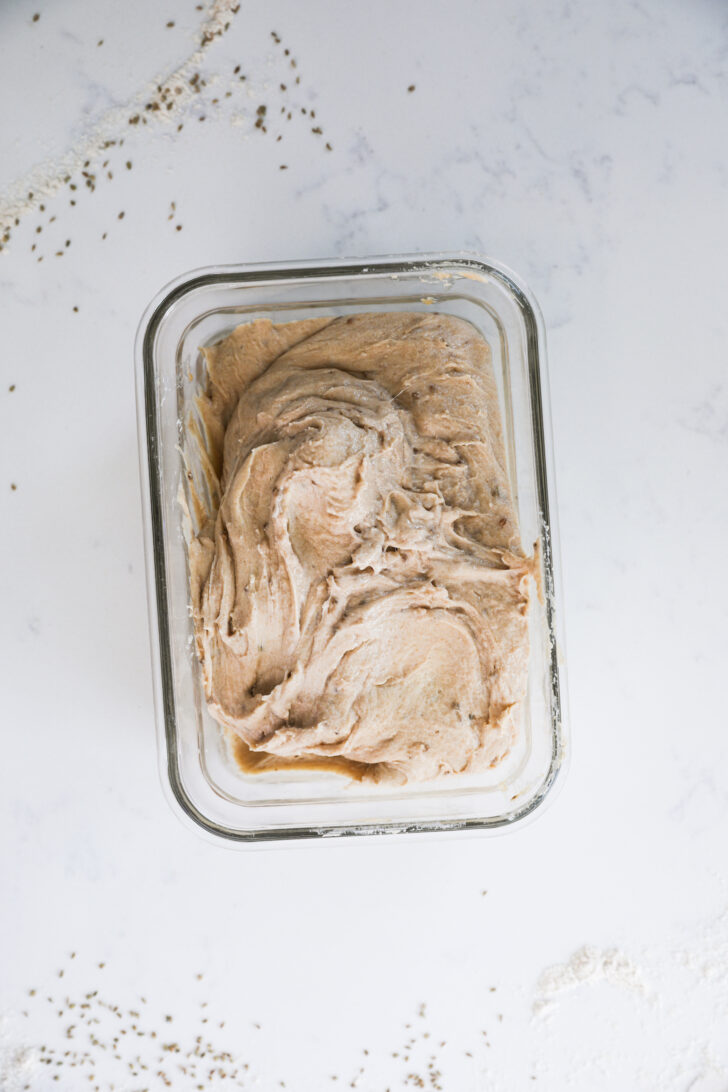
- Rest: Transfer the dough to an airtight container and let it rest overnight in the fridge.
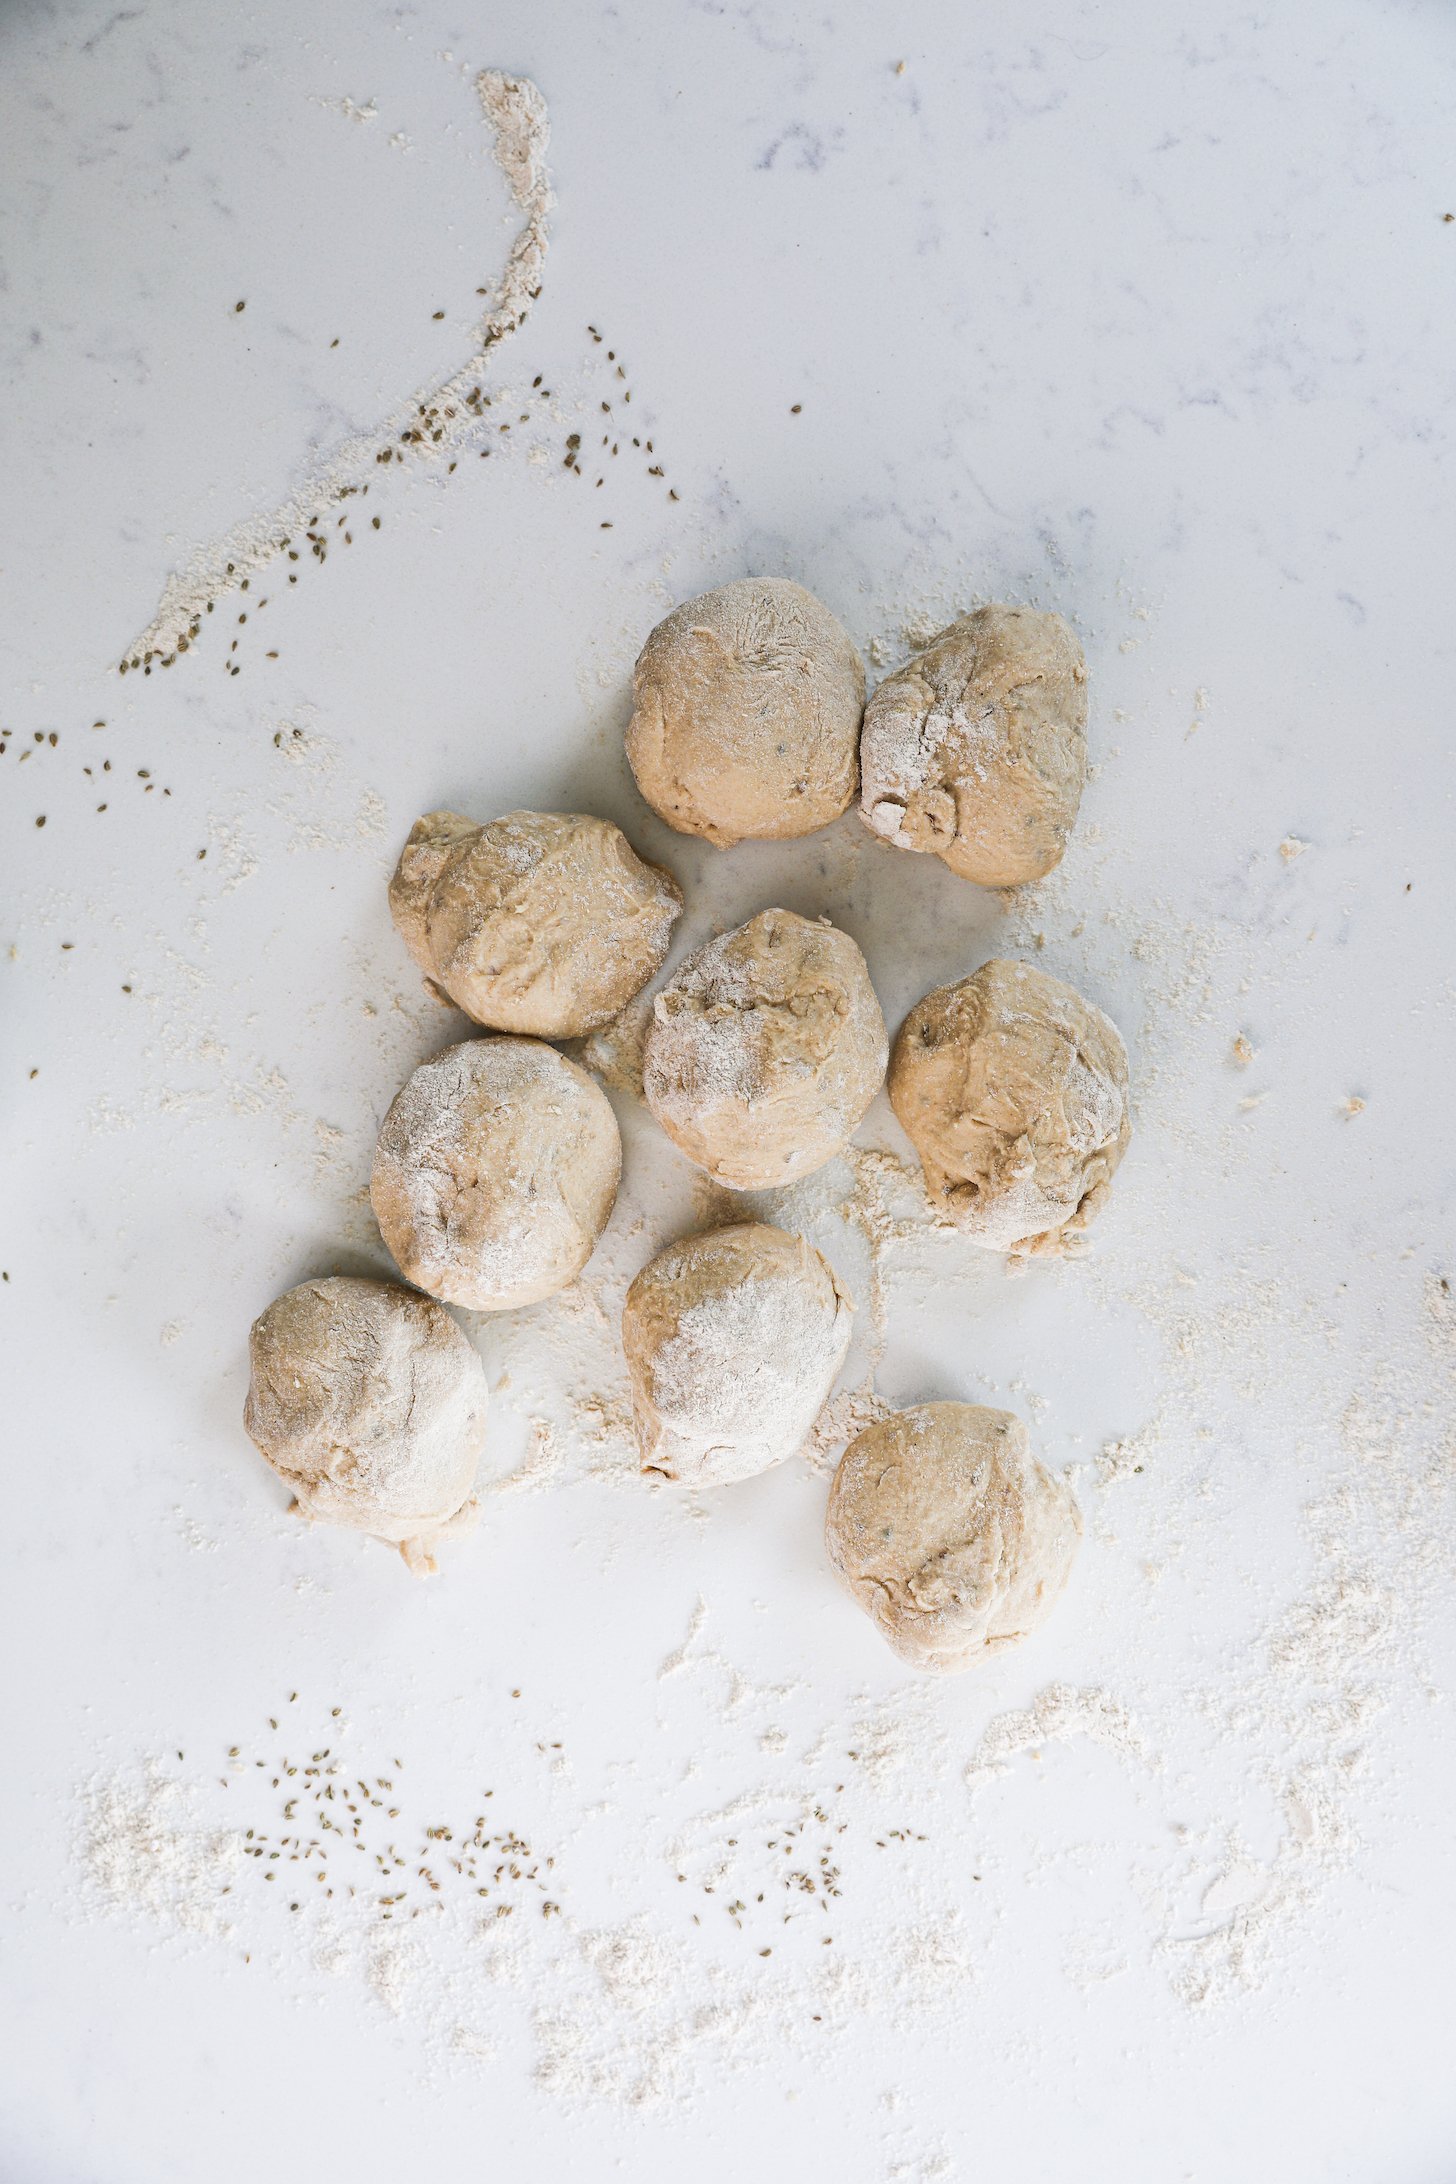
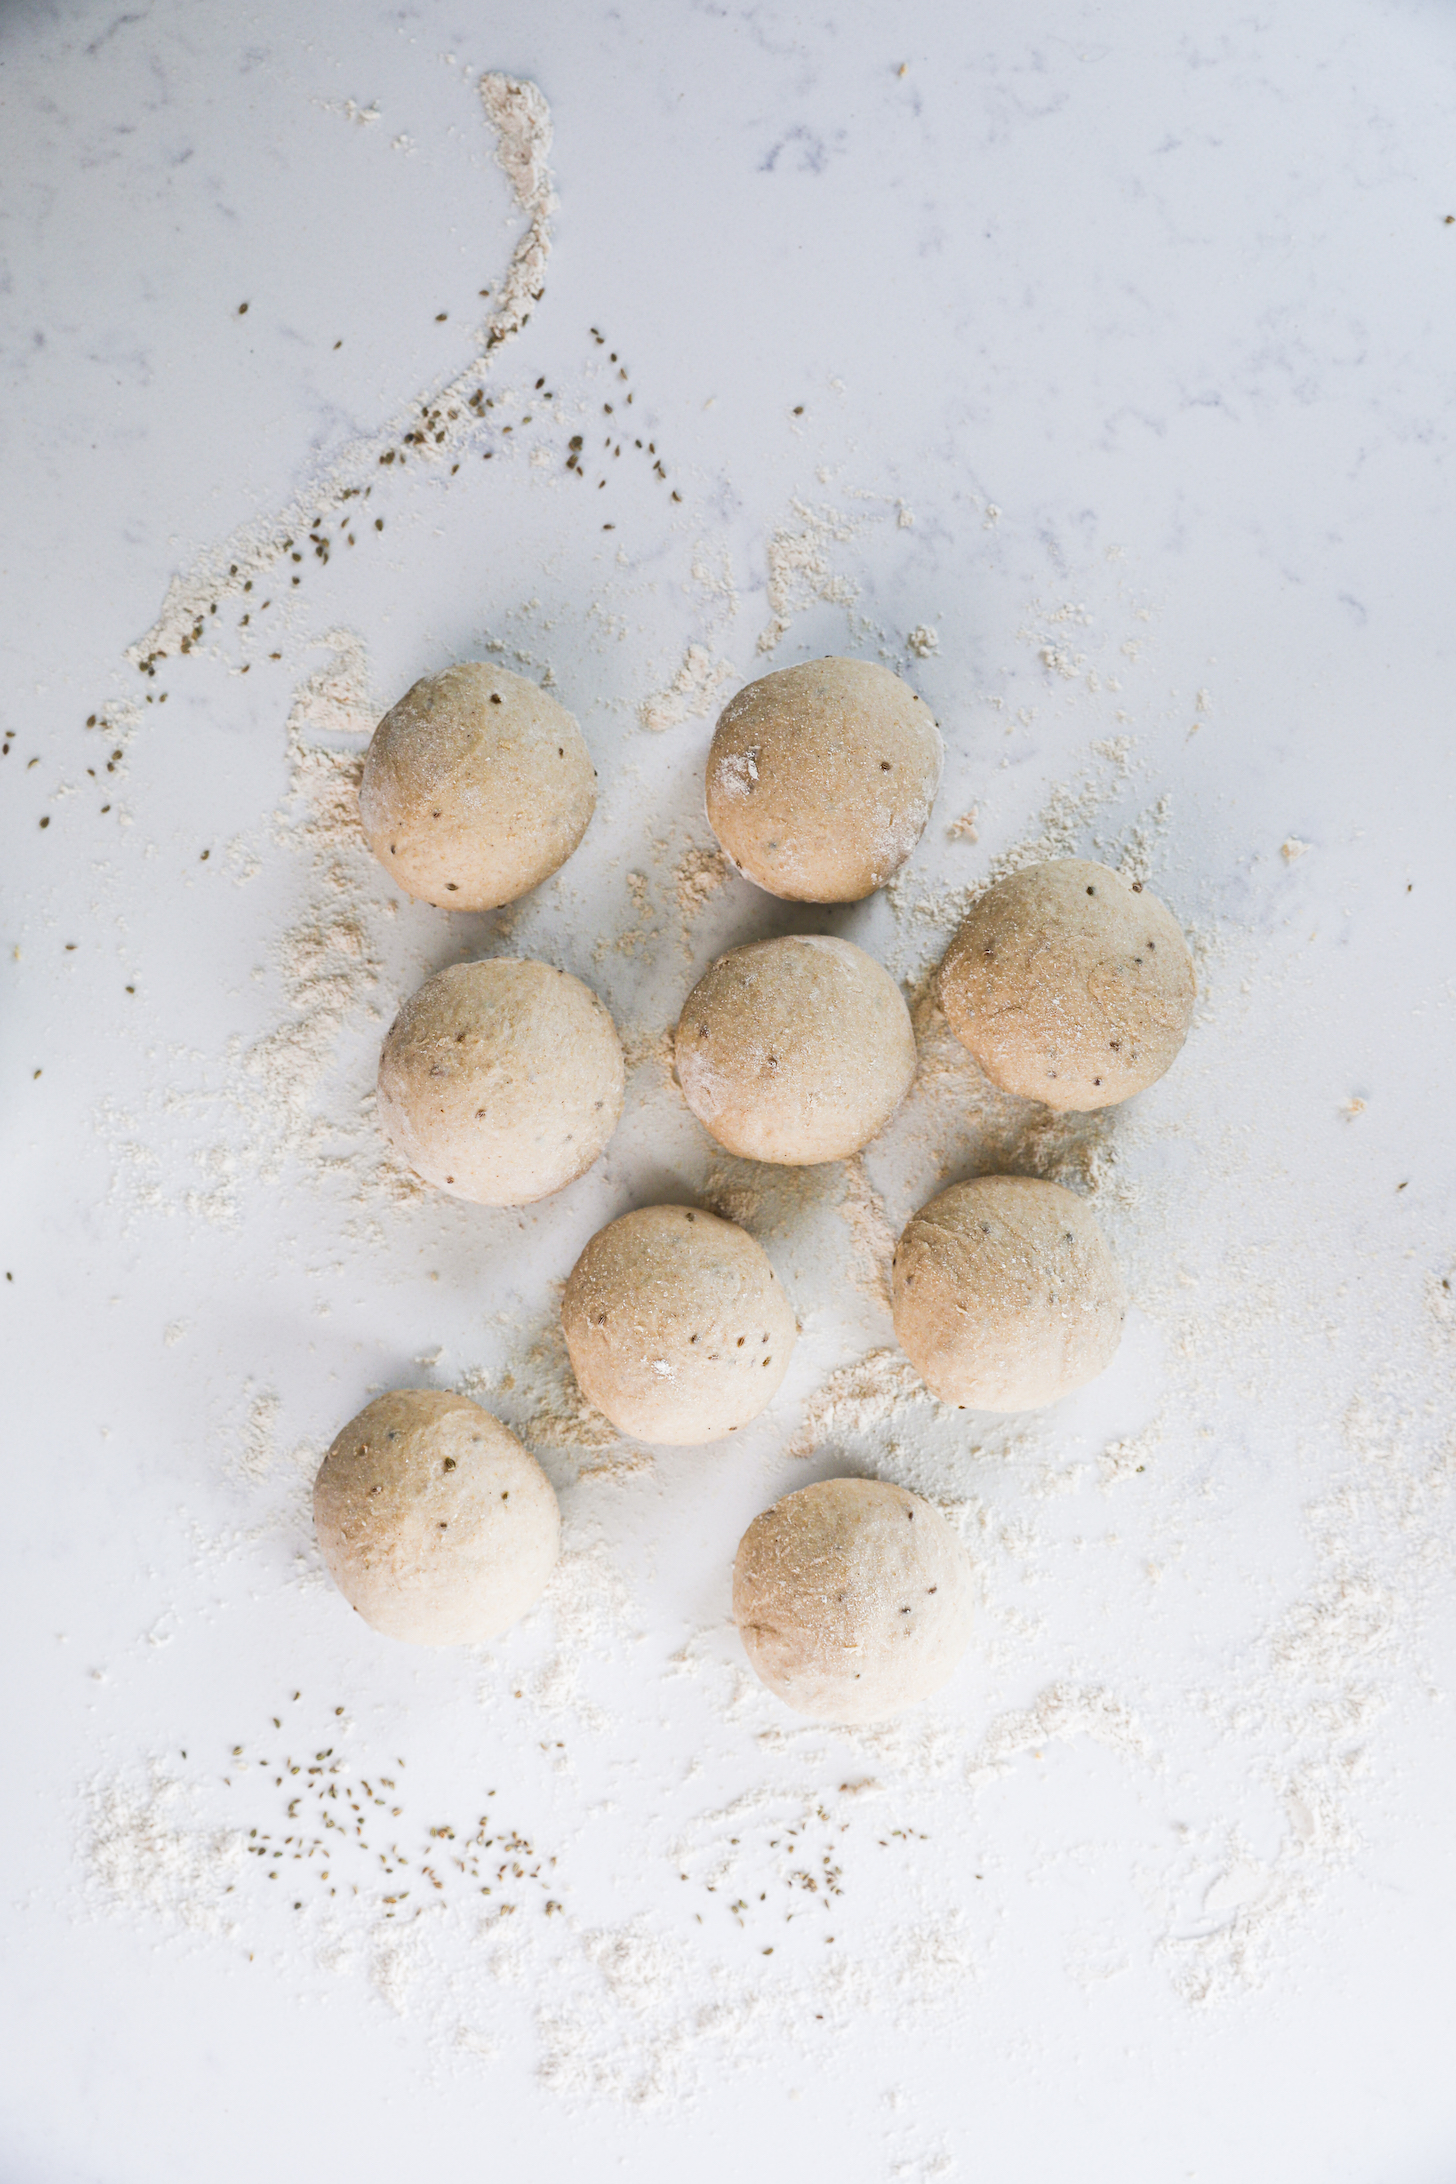
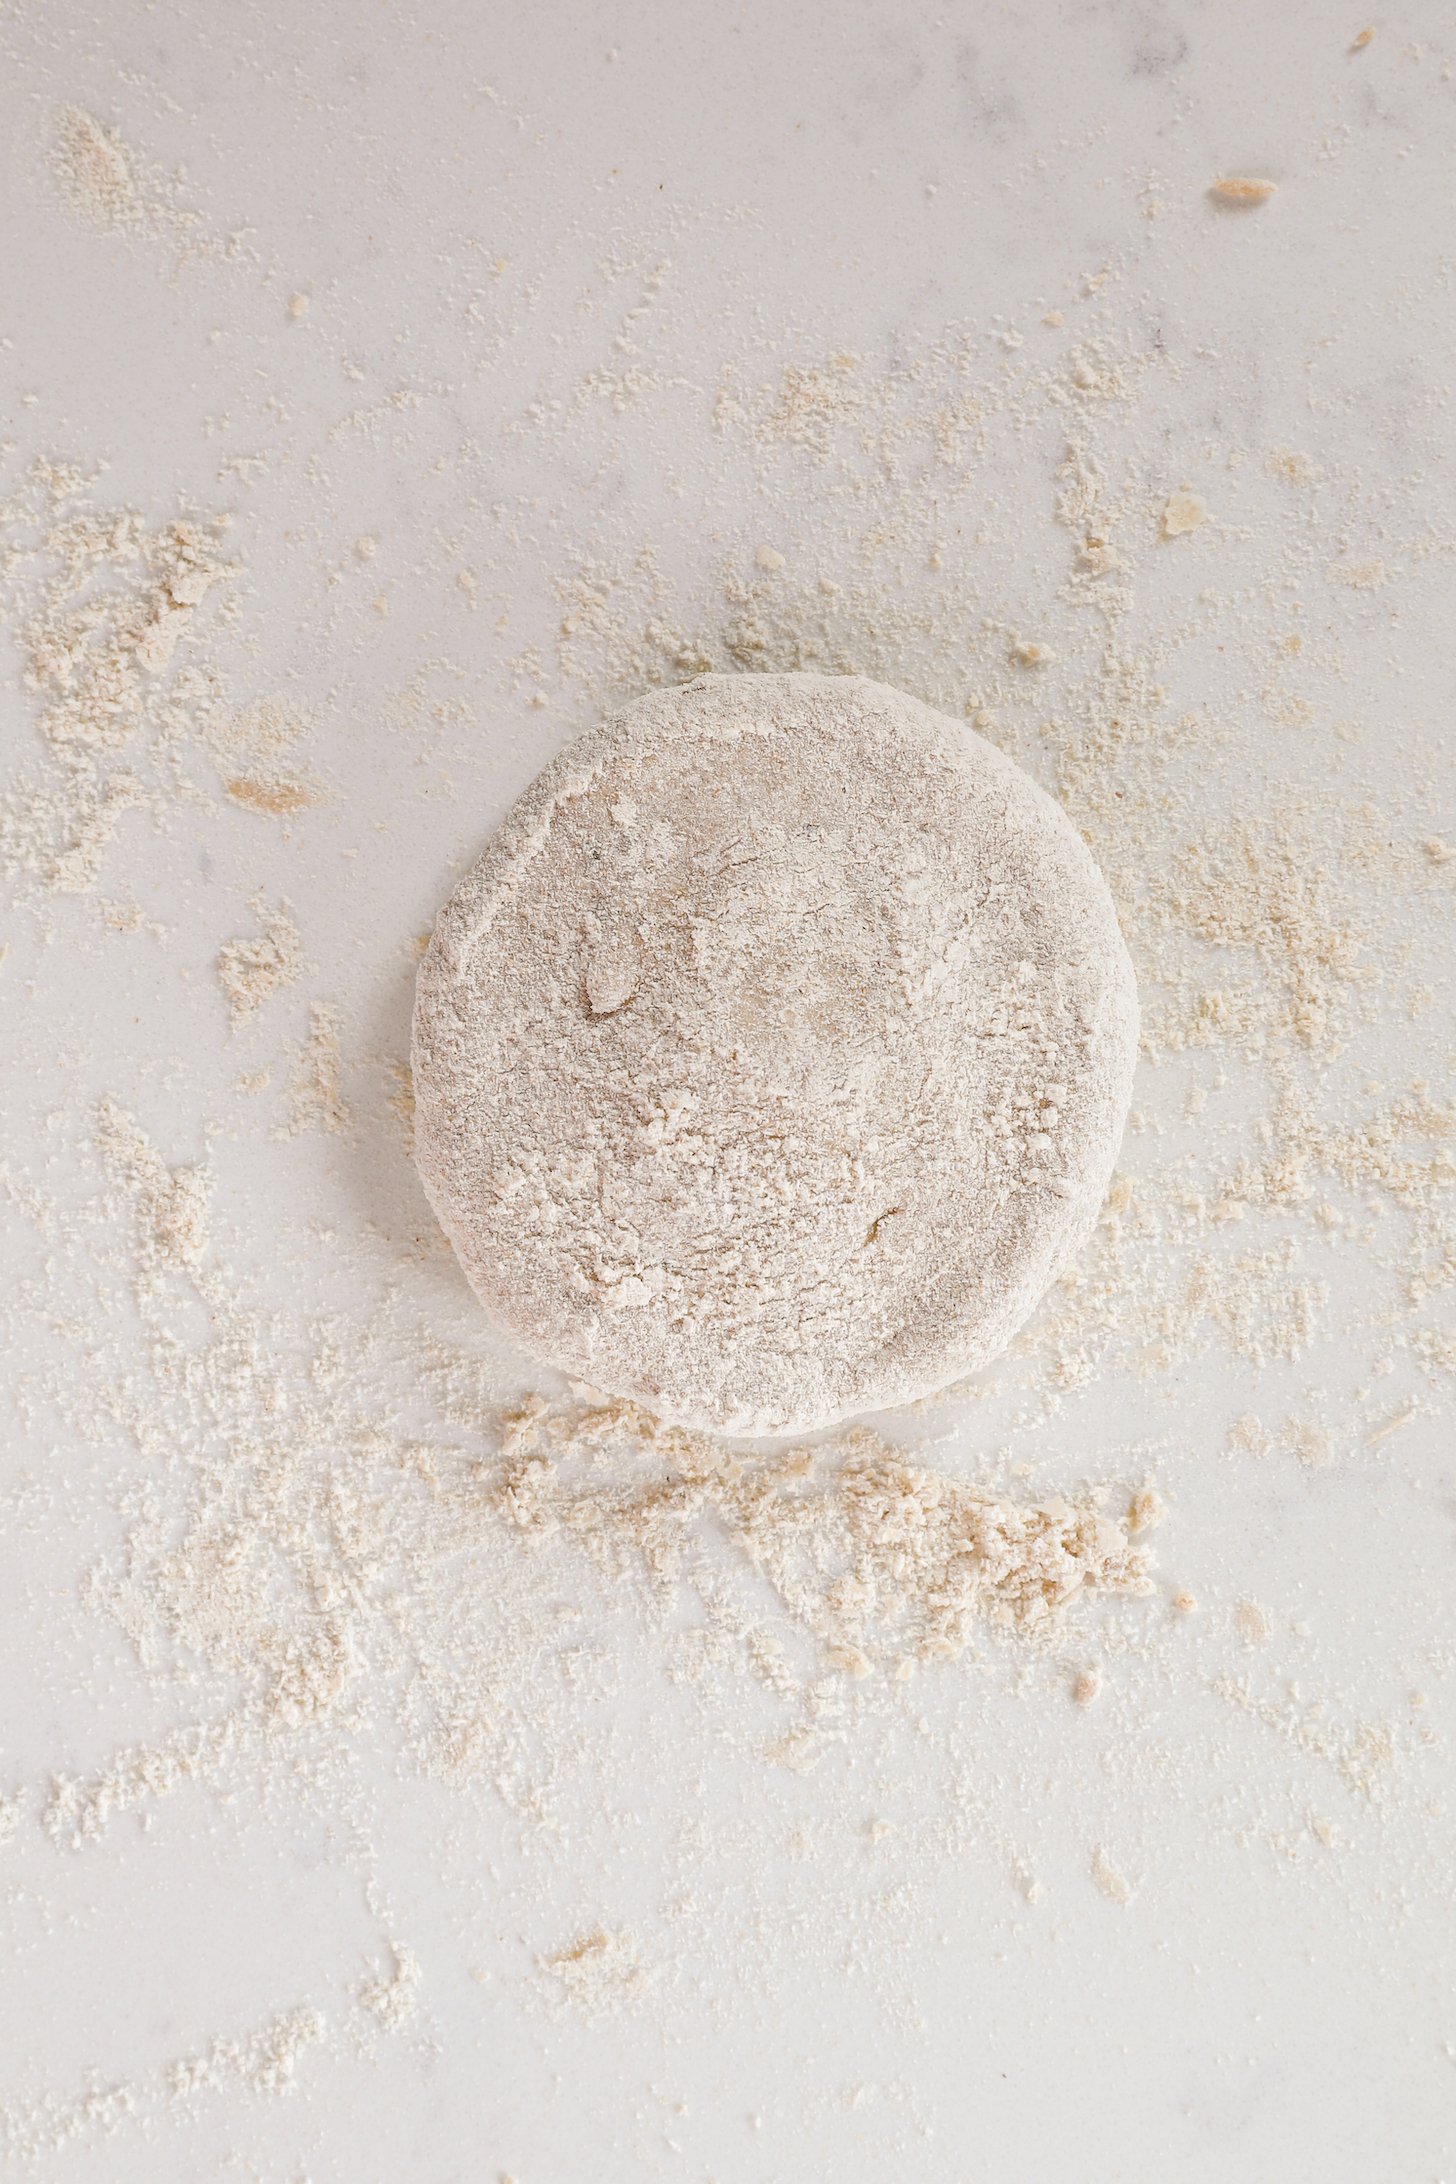
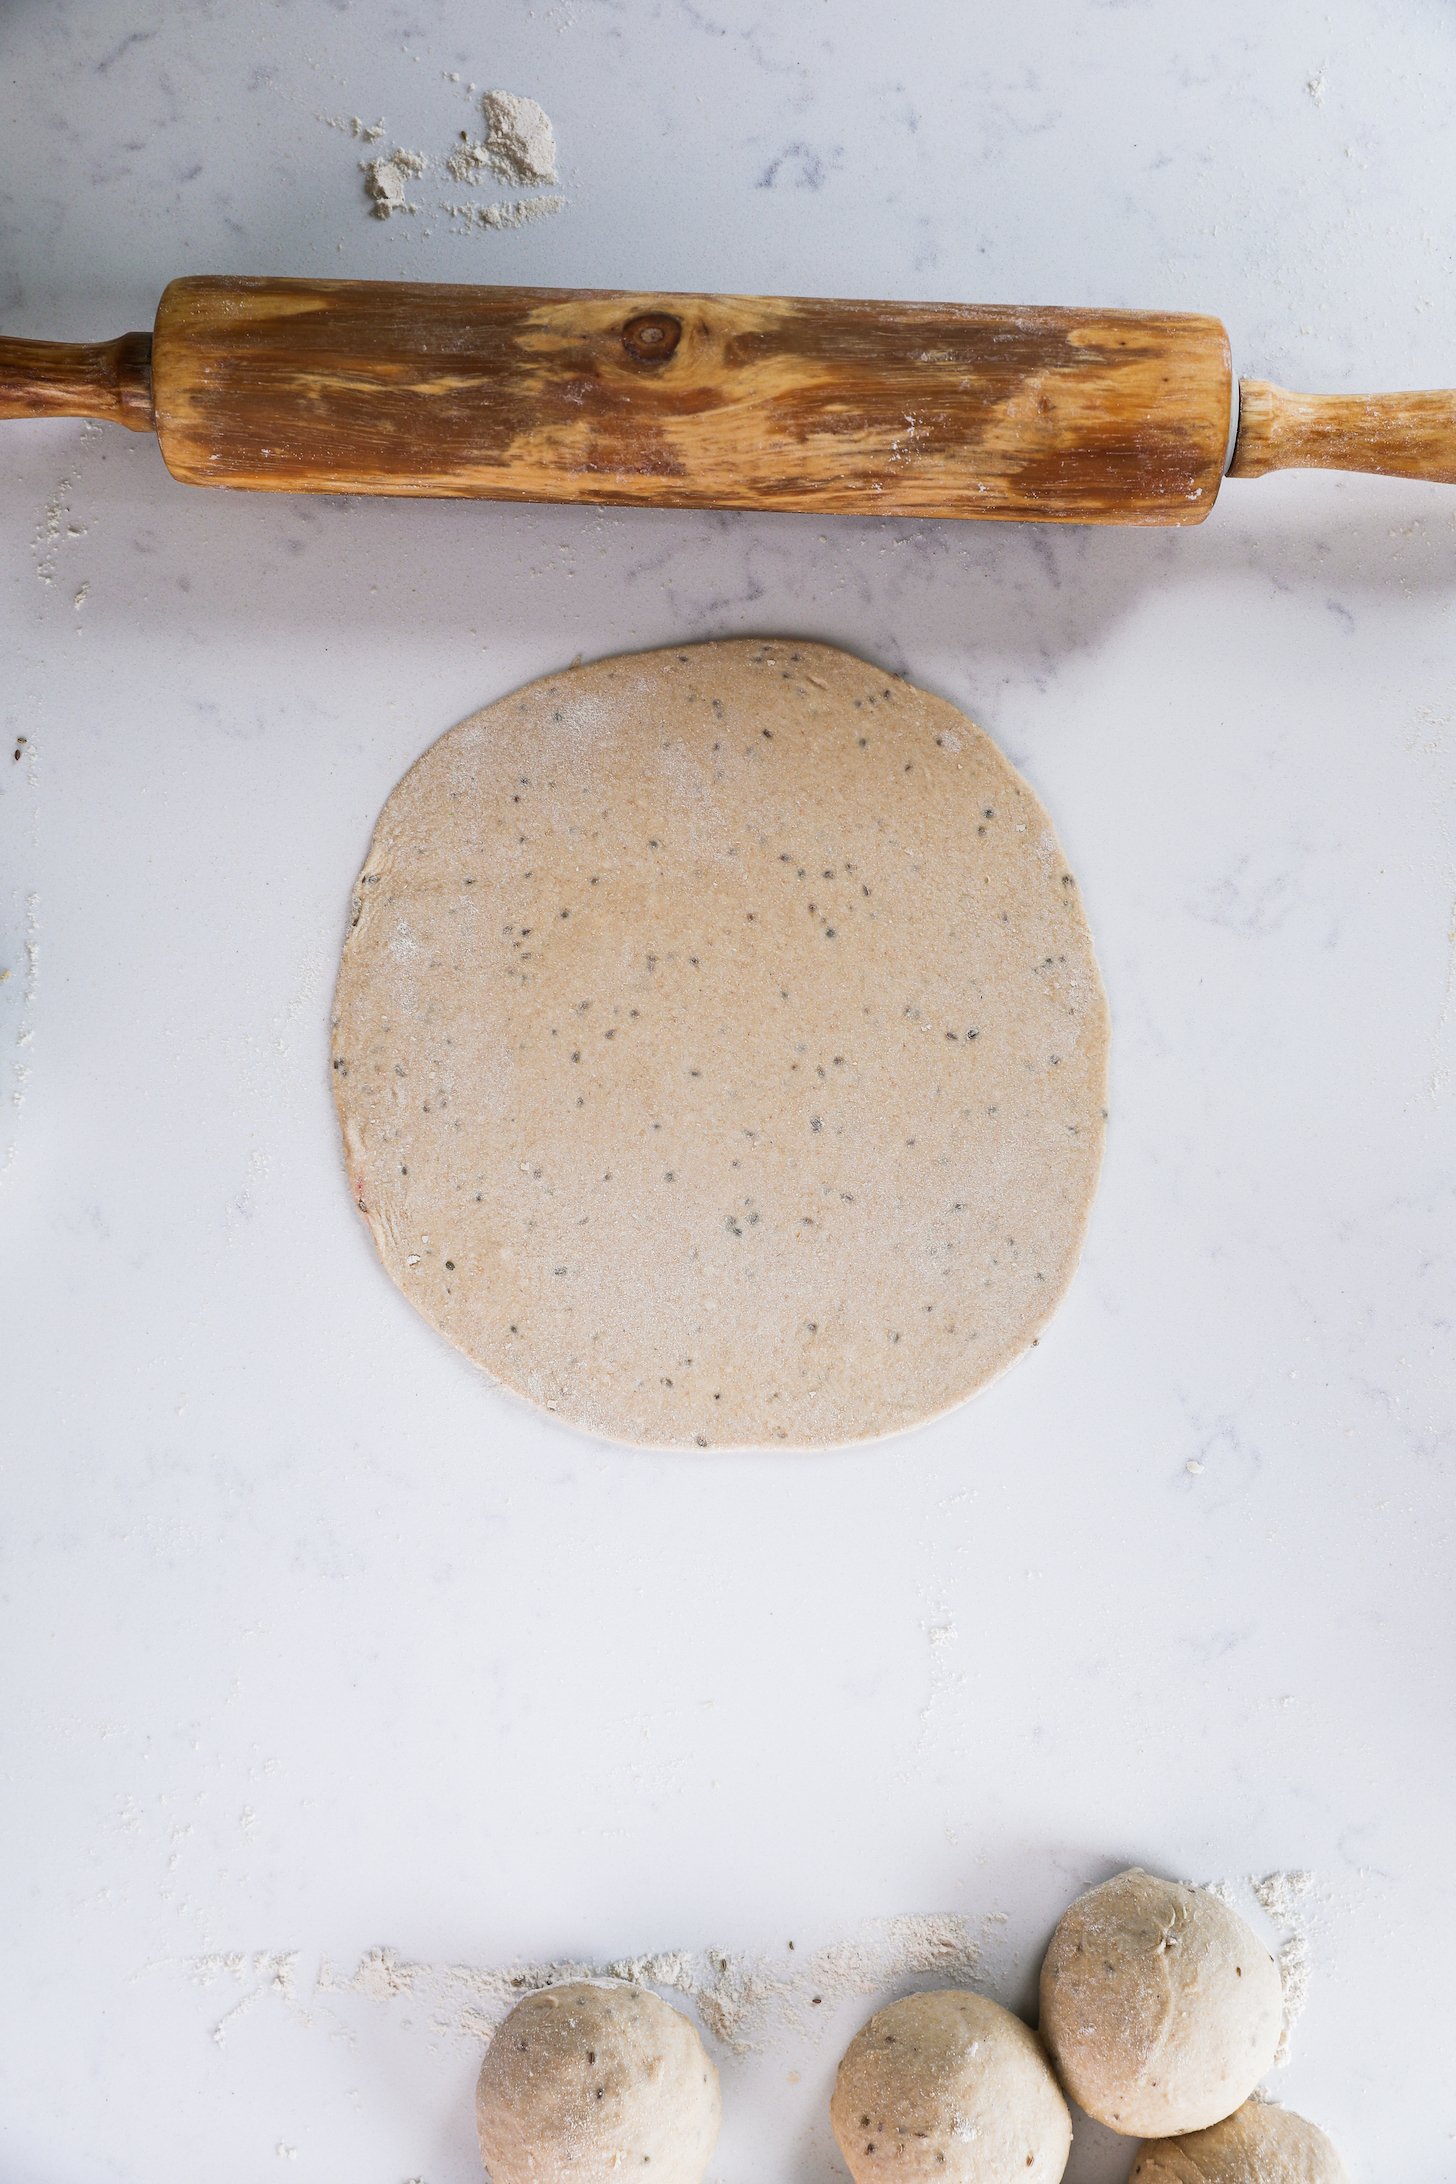
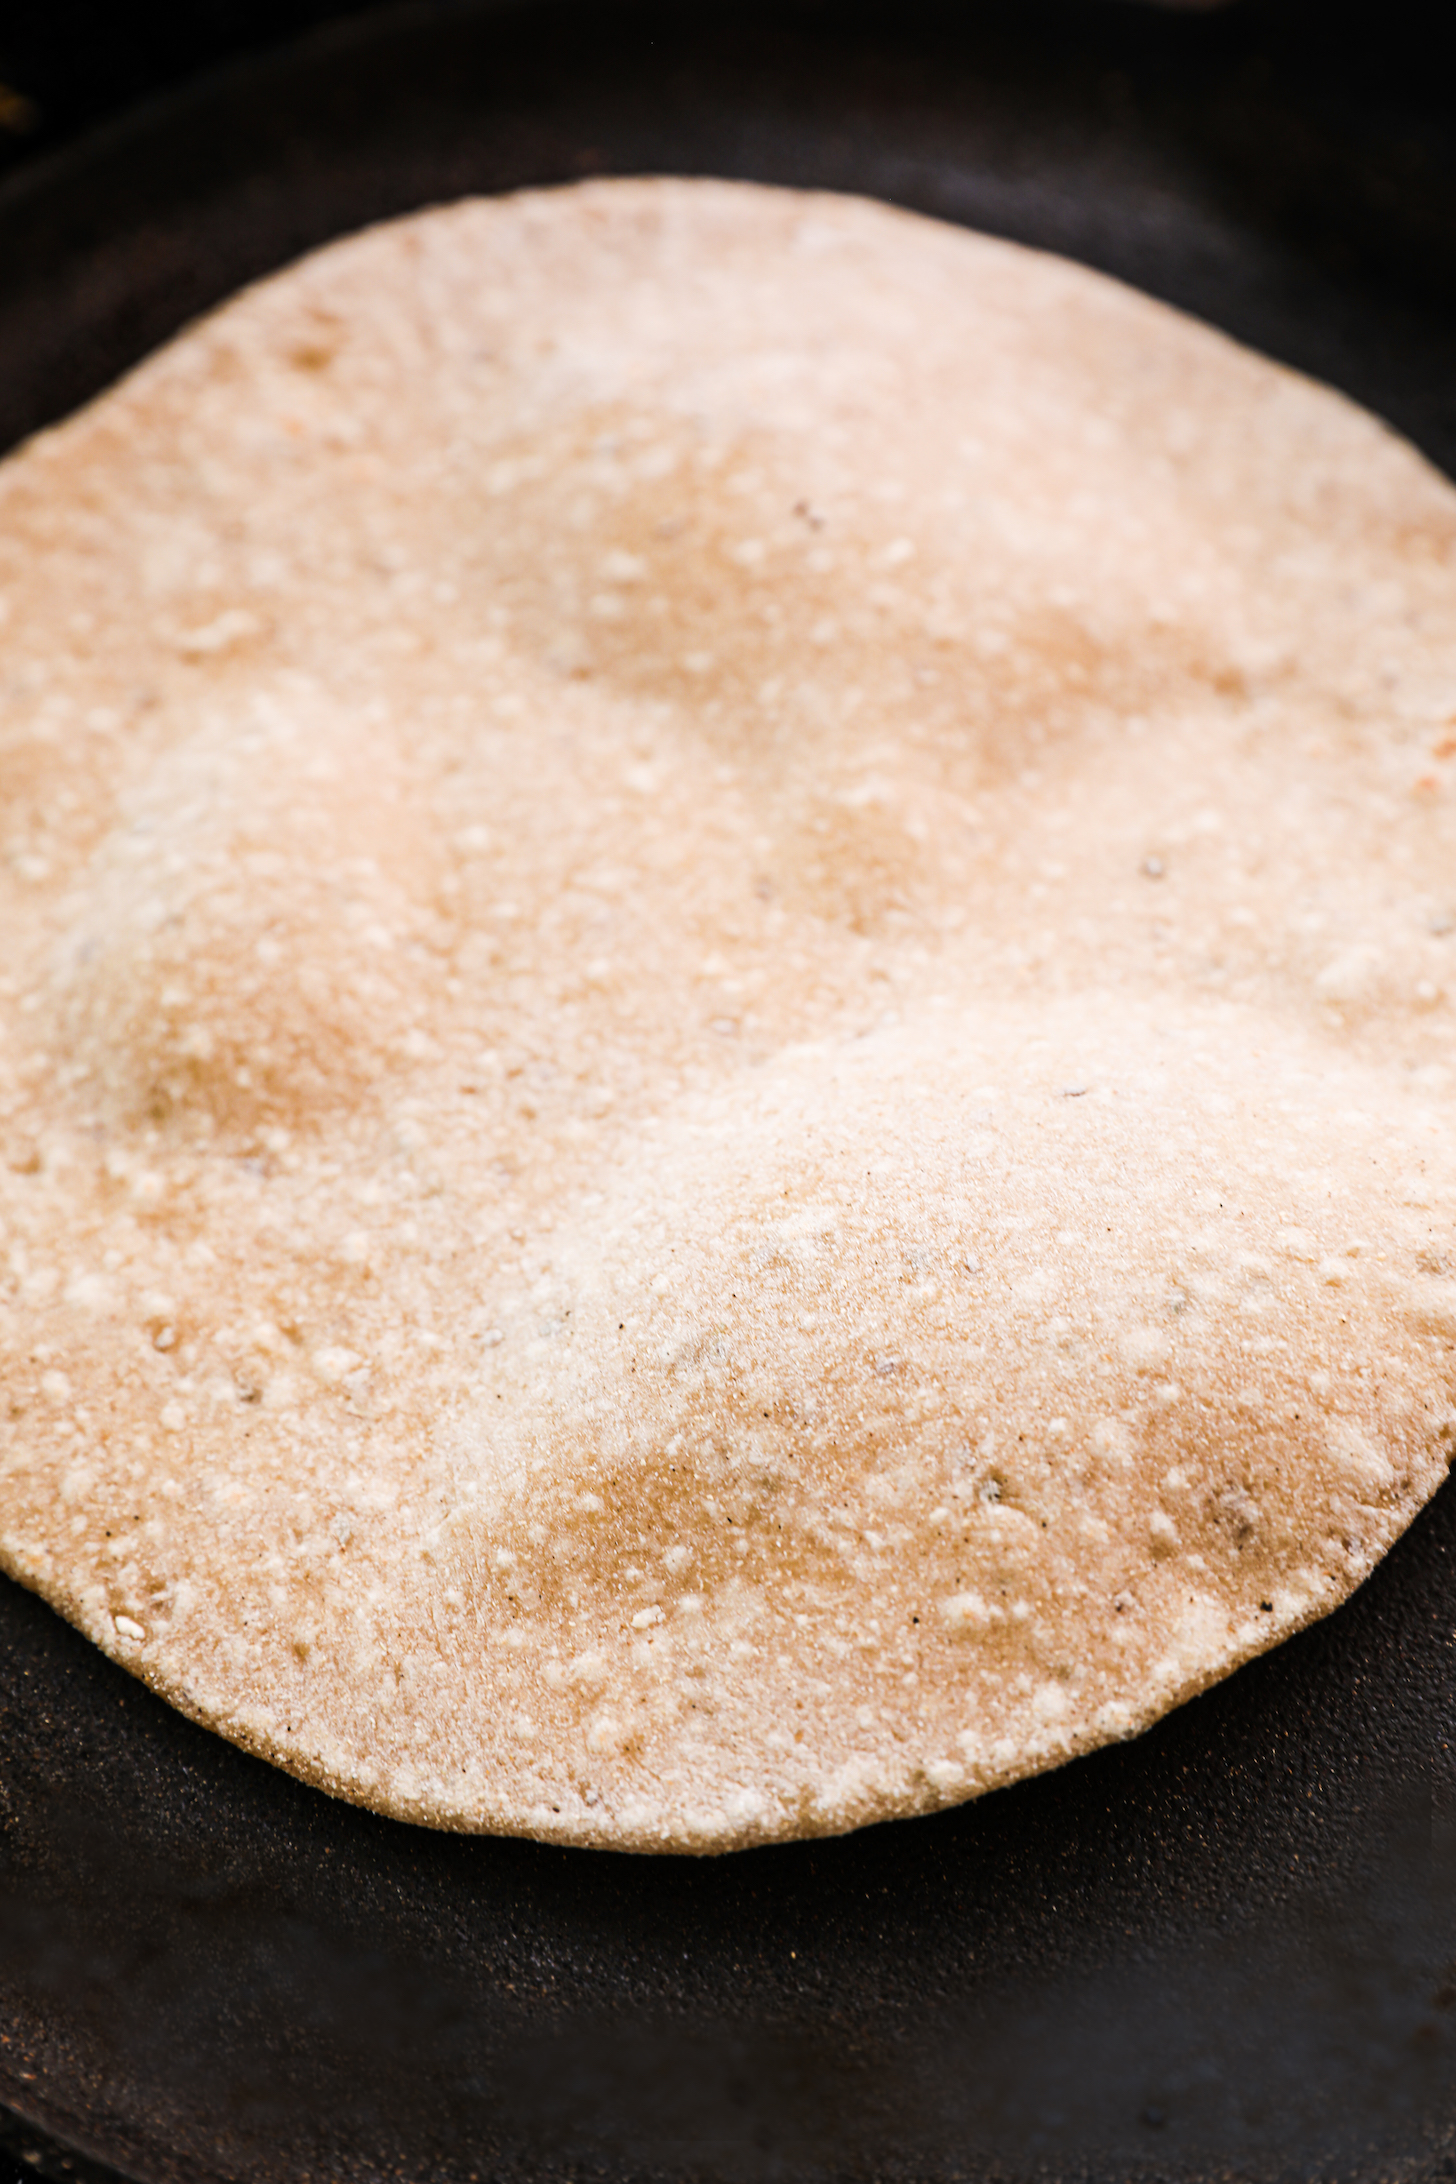
- Divide & Roll: Dust the surface. Divide the dough into eight small balls. Take each dough ball and roll it in your hands to make it smooth and ready for rolling. This step ensures a soft and consistent texture in your roti. Take one ball and coat it generously with flour, making sure to cover all sides. This will prevent sticking and ensure smooth rolling of the roti. Roll evenly into a 6-inch roti for consistent cooking and uniform puffing. Remember to lightly flour the roti on both sides as you roll them out to maintain smoothness. Avoid adding too much flour.
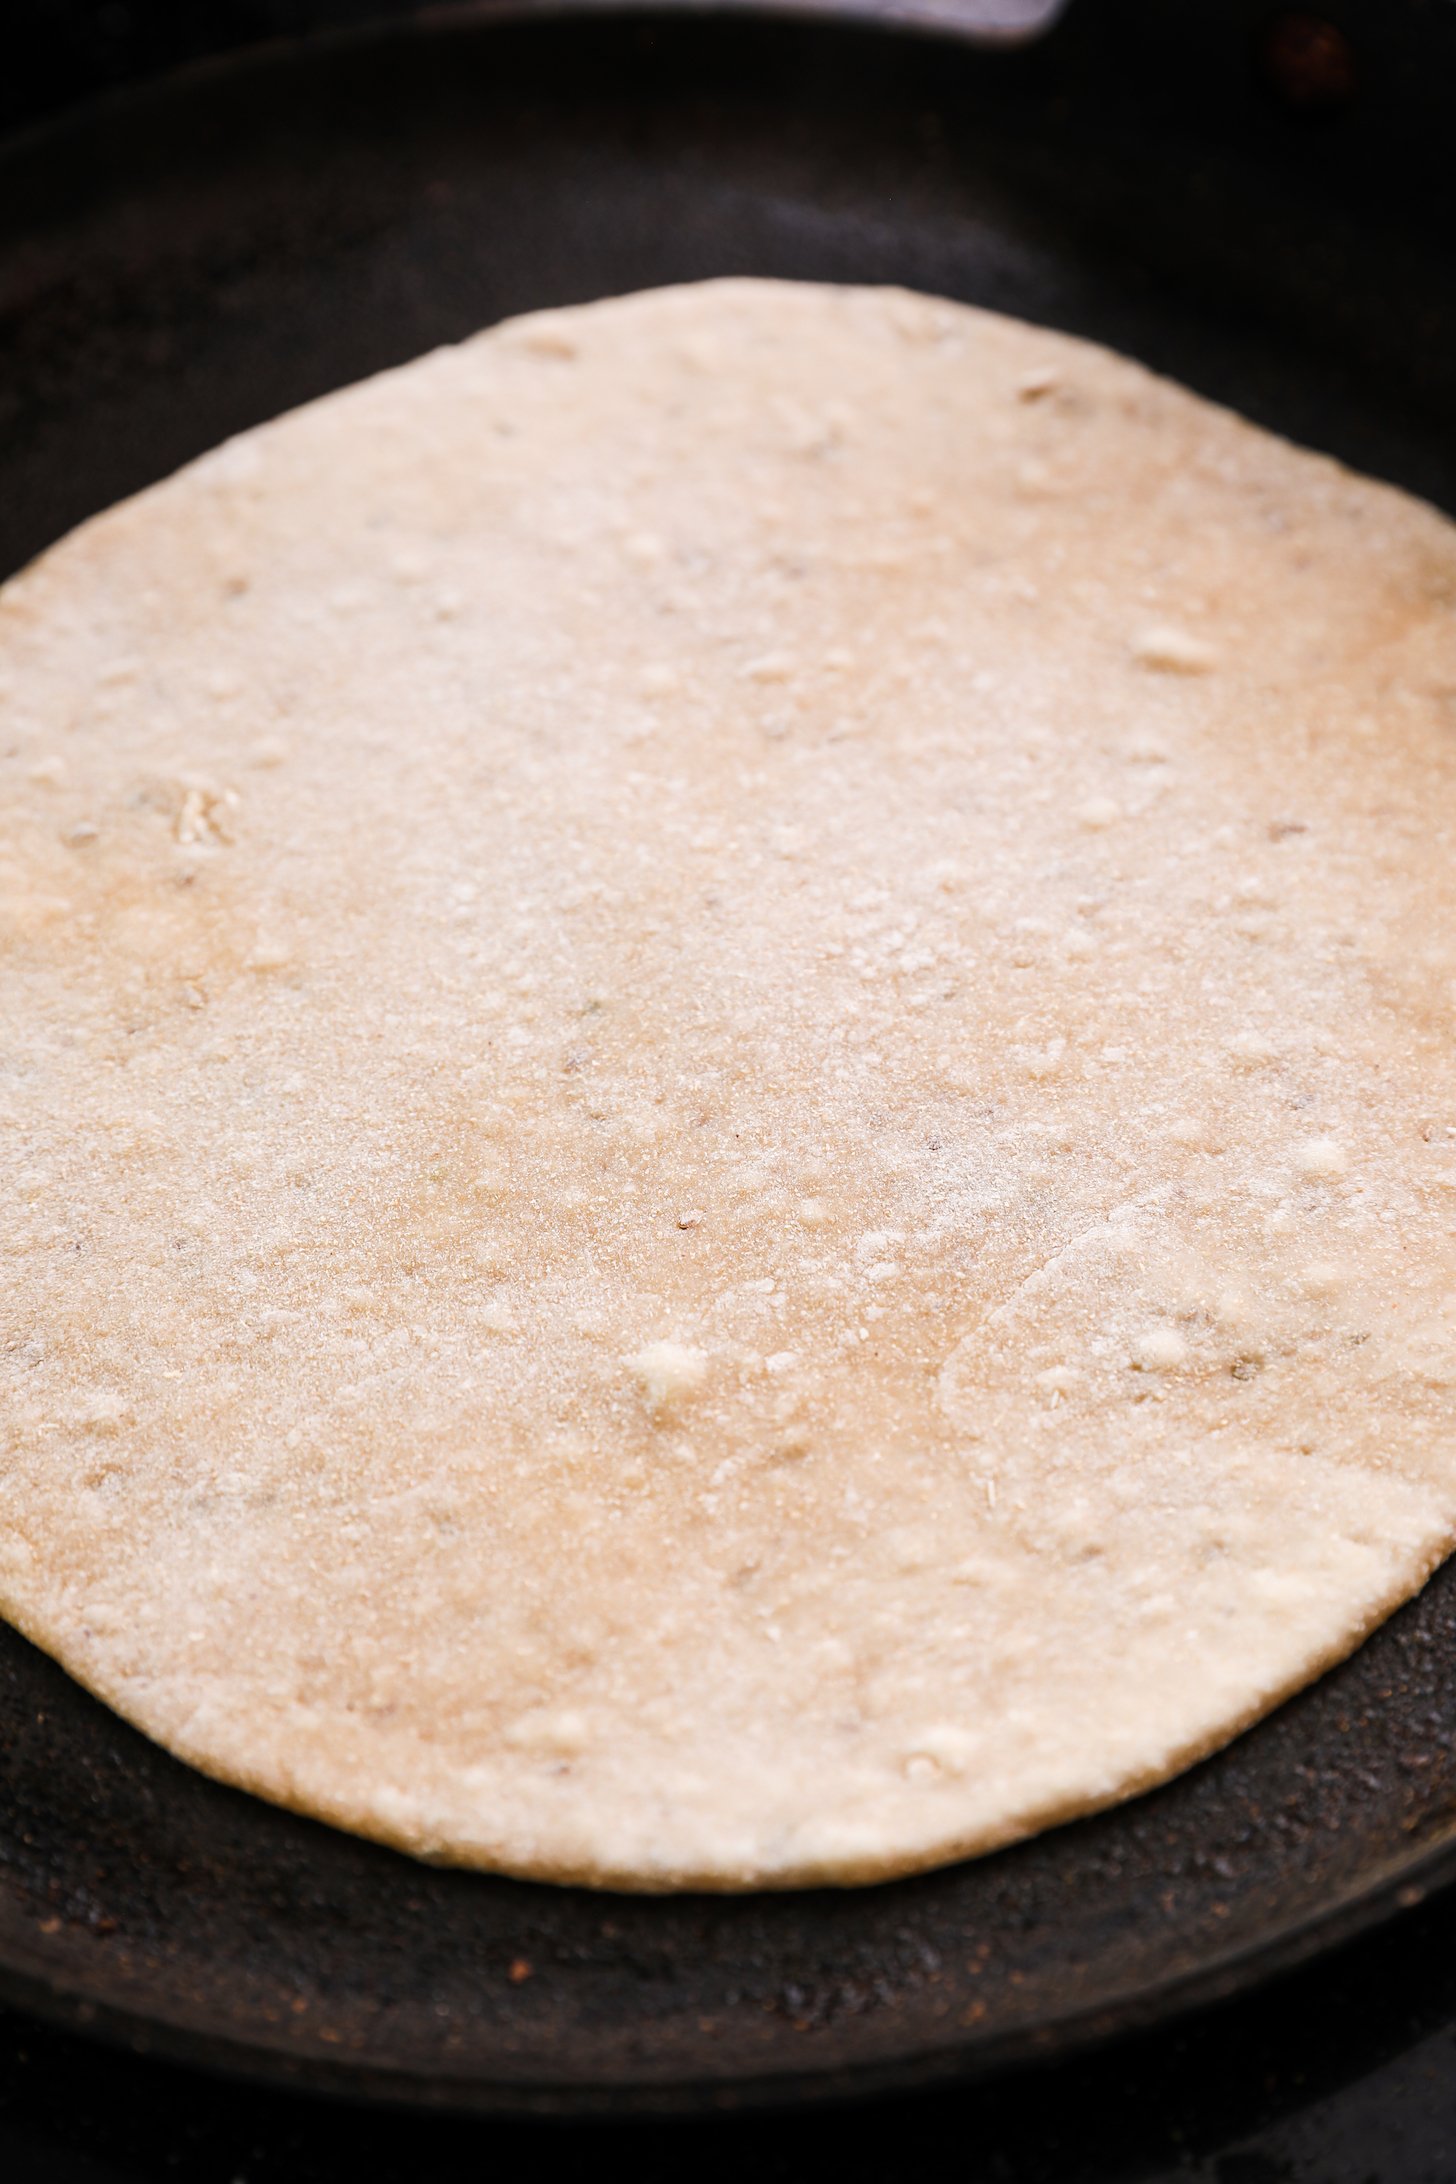
- Heat Tava & cook: Preheat the tava or skillet until hot before placing the rolled-out roti on it. Cook each roti for a few seconds on each side until it puffs up and develops golden brown spots. It's best to use a clean kitchen towel to gently press and rotate the roti, helping it poof up for a soft and fluffy texture. Repeat the process with the remaining seven balls of dough.
Notes
Food safe storage
- Keep Covered: Wrap the cooked rotis in a clean kitchen towel to keep them warm and soft. Indian roti is best enjoyed immediately, fresh off the tava, but if you need to store them, adding a bit of oil or ghee prevents them from drying out.
Why is my roti never soft?
- Overcooking: Cooking the roti for too long can lead to a dry and tough texture.
- Insufficient Kneading: Not kneading the dough thoroughly can affect its elasticity and softness.
- Uneven Rolling: Rolling the dough too thick or thin may result in uneven cooking, affecting the softness of the roti.
- Mastering the Art: By paying attention to cooking time, kneading, and rolling, you can achieve that perfect softness in your roti with practice and precision.
Nutrition Information:
Keep in mind that the nutritional values provided are approximations and suggestions, and might fluctuate depending on ingredient variations, portion sizes, and recipe adjustments. This nutrition facts table cannot account for your individual needs. Your body — including your hunger and satiety cues — change daily. It’s perfectly fine to eat more or less on different days. Instead of letting food guilt take over, consider mindful eating.
* Percent Daily Values are based on a 2000 calorie diet.